Recommended Tool Kits
Everyone has opinions to which tools are essential. Eventually you will too. To help the beginner get started I've compiled this list from hand tool experts and resources online. I've thrown in my 2 cents too for good measure. I've tried to make this chart as convenient as possible. Help support this site by using these links. Some links go straight to the source to help out the boutique tool makers. I'd appreciate any feedback.
Filter:


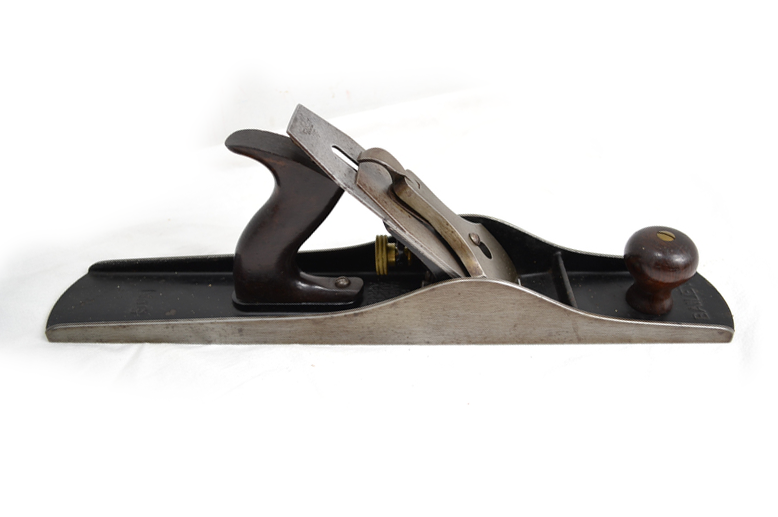
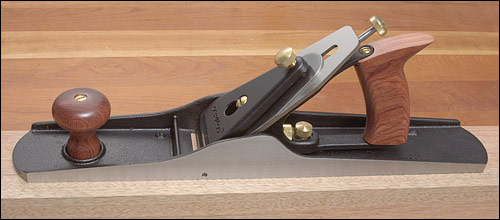
Bench Planes
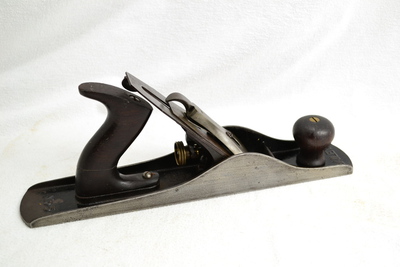
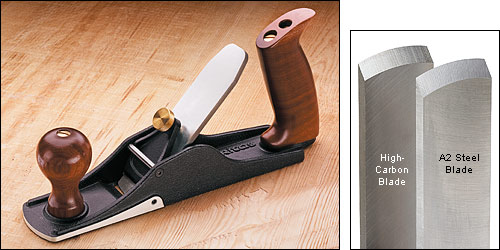
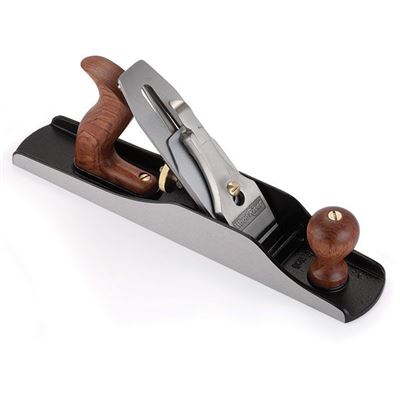
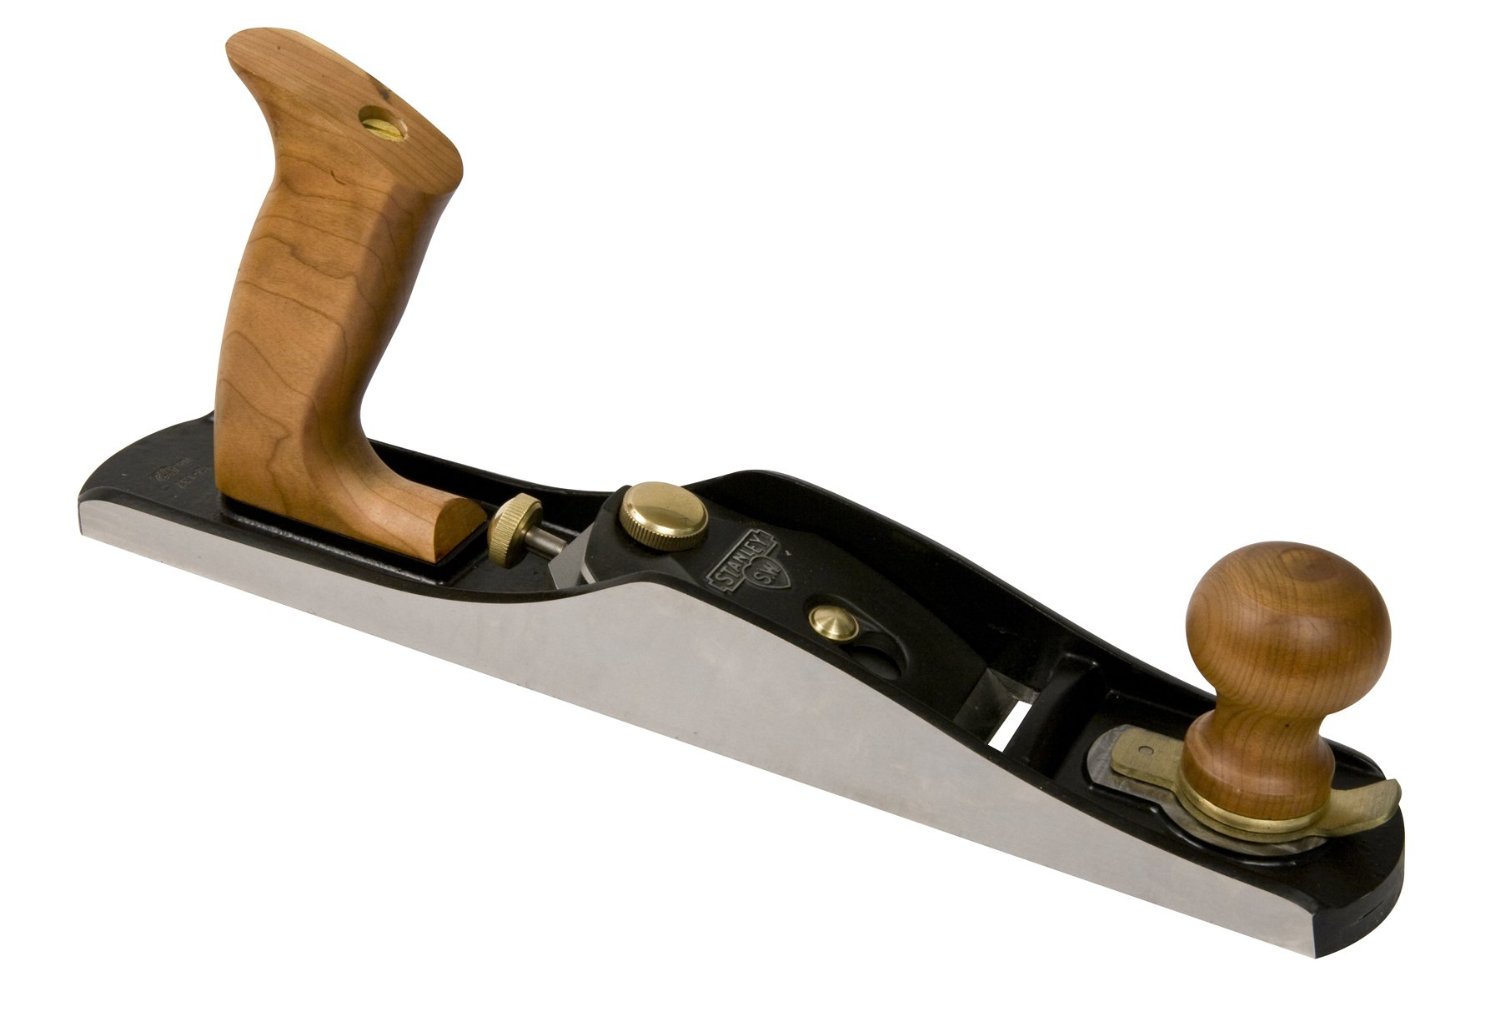
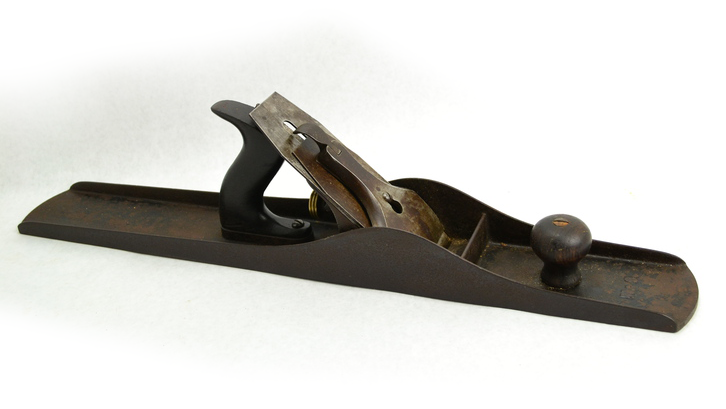
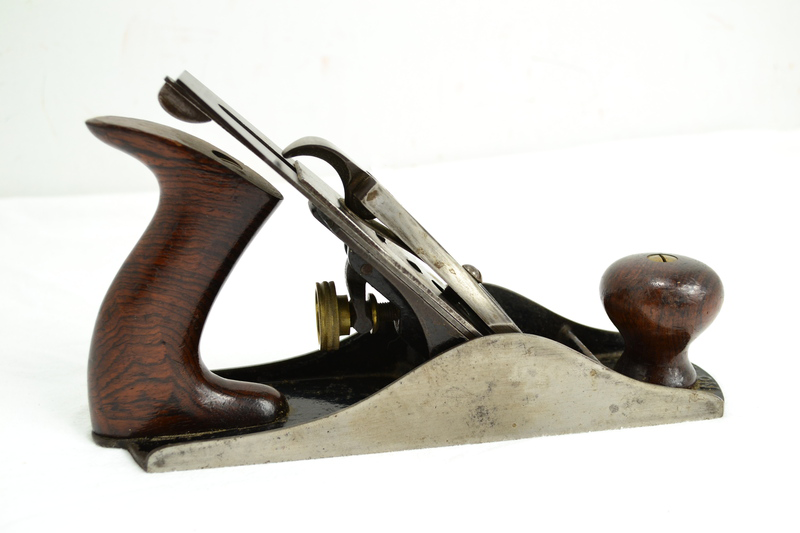
In a hand tool workshop, bench planes are the primary method to take rough-milled lumber and make them flat, square, and smooth. They are typically numbered based on the Stanley system. For a beginner, a vintage Stanley No. 5 Jack is a great option since they are cheap, a great experience to learn how planes work, and flexible enough to be useful for many of the taks you need to do. [ 1 2 Bevel up vs. Bevel down 4 5 ]
Scrub Plane
Scrub planes are for aggressively thinning boards down. They are used with a highly cambered blades to take out big chunks of wood. They are often used accross the grain of boards. Many people recommend using a No. 5 Jack Planes for this task [Schwarz] when equiped with a cambered blade. You could also use a No. 4. Newer versions of this plane exists but since this is a roughing tool, you typically don't need the high tolerance of a precision made plane.
 Build one
$$
Extra blades
 LV Scrub ($129)
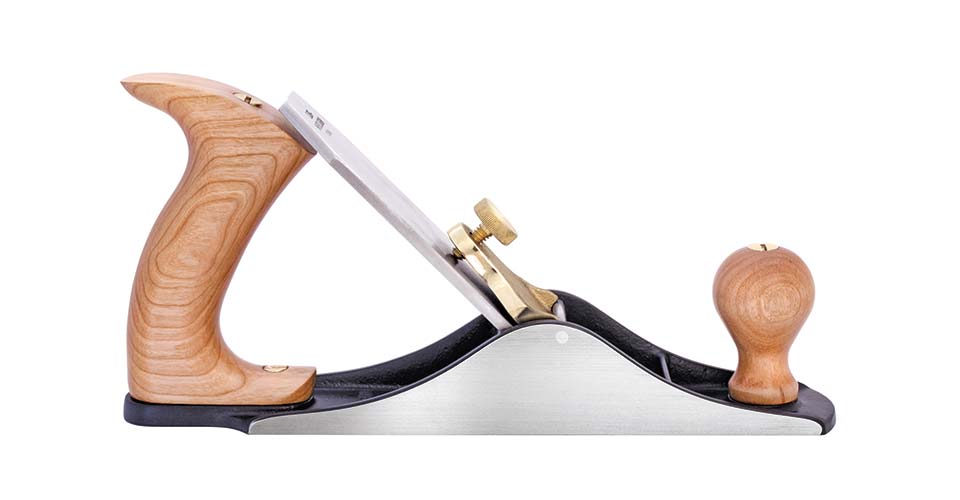 LN Scrub ($165)
Jack Plane
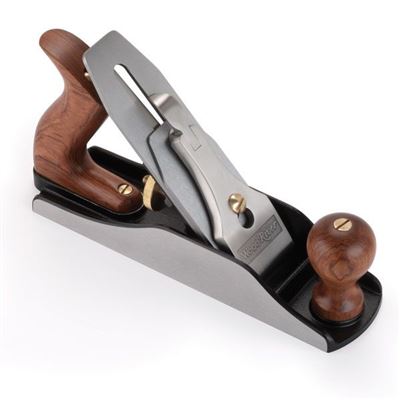
Many people recommend it as the first plane you buy [Schwarz] because it is versatile. Often used similarly as a scrub plane when blade is cambered. If you do use it as your only bench plane, it's best to have 2 blades, one cambered and one not.
Low-angled jack planes are often recommended as your jack plane bacause you can swap out blades with different angles and they work well as a shooting board plane.
$$
 WoodRiver No. 5 v3 ($169)
Extra blades
 LV Jack ($319)
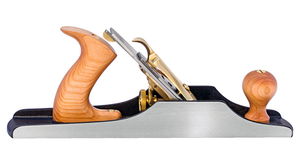 LN No. 5 ($325)
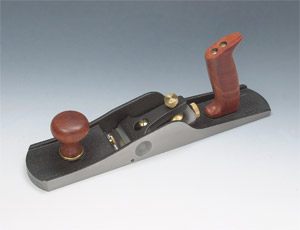 LV Low-angled Jack ($245)
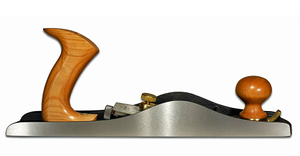 LN Low-angled Jack ($245)
Low Angle Jack
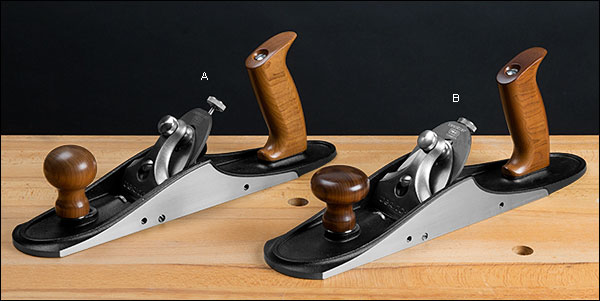
Low-angled jack planes were less common historically. Today there are new options because people have realized they are very versatile. Blades are bevel up, so by using multiple irons with differently sharpened angles, you are able to use this plane for end-grain (low-angle), regular planing (medium angle), difficult grain (high angle), scraping (negative angle), and toothing with a toothing blade. Since the blade is at a low angle, this is a great plane to also use on a shooting board. If you choose it for a shooting board, it pays to buy a premium plane so that the edges are swuare to the base. [ 1 2 ]
$
Unusual to make and used planes are rare.
 Stanley 62 ($135)
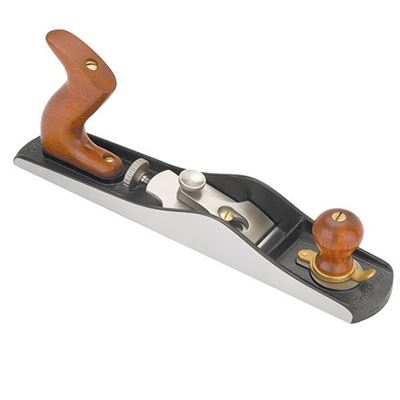 WoodRiver Low-angled Jack ($199)
Fore Plane
A plane between the number 5 and 7, it is often recommended as a good choice as a jointer for smaller work.
$
$$
 WoodRiver No. 6 v3 ($194)
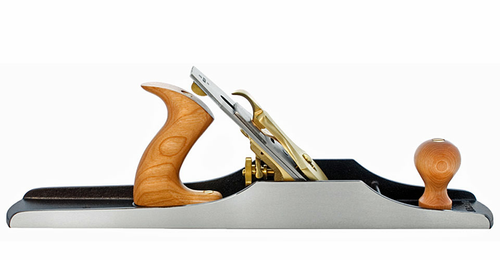 LN No. 6 ($375)
Jointer Plane
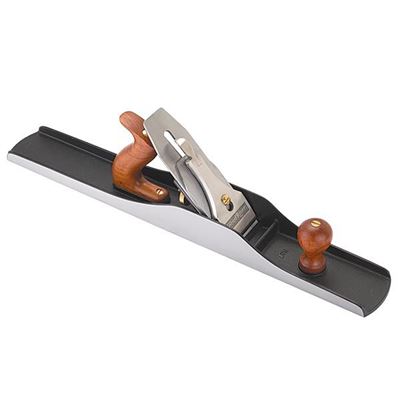
Jointer planes are typically the second plane used when flattening baords. It's long length makes it easy to get boards flat. If you can afford it, a premium plane here is money well spent because it's more difficult to true up a large plane.
Many people recommend using a slightly cambered blade on a jointer. This makes the task of squaring up edges of boards simpler since you can shift the plane to take a bigger shving on one side or another.
$$
 WoodRiver No. 7 ($299)
 LV Jointer ($379)
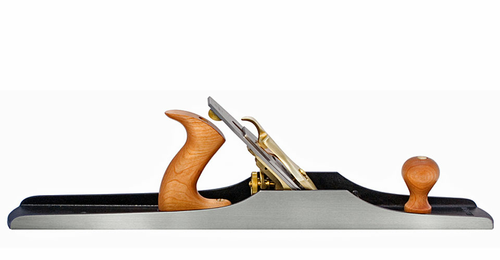 LN No. 7 ($425)
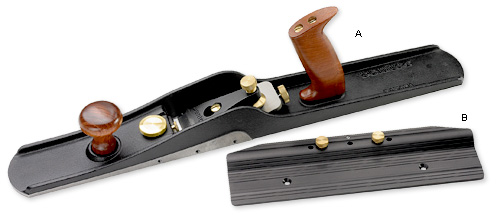 LV BU Jointer ($289)
Smoothing Plane
This is the last plane used on boards. It's for the final pass, often after assembly, to smooth out all the final surfaces of a piece of furniture.
$$
 WoodRiver No. 4 v3 ($144)
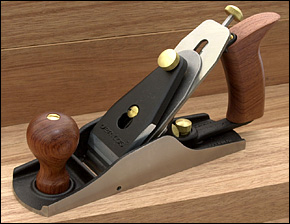 LV No. 4 ($209)
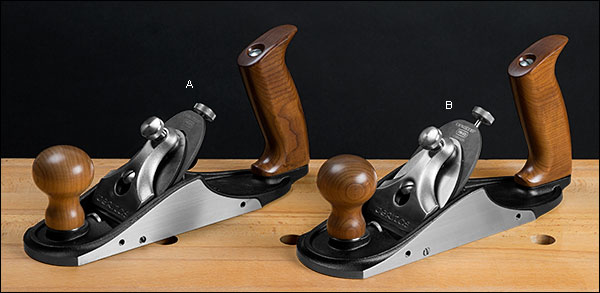 LV No. 4 Custom ($279)
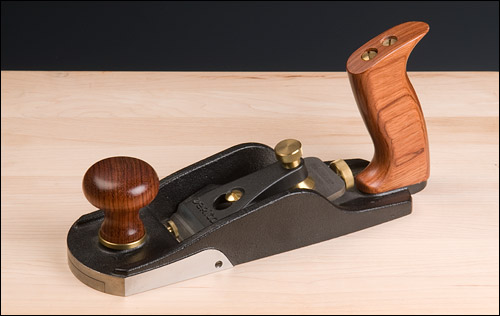 LV BU Smoother ($235)
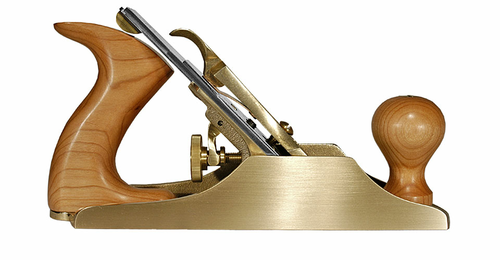 LN No. 4 ($350)
Joinery Planes
For creating furniture in a hand tool shop, these are more important than collecting all the numbers of bench planes. For a beginner I think 2 are essential: A router plane is a tool that can increase your accuracy in refining joints. A plow plane makes the grooves that are essential for frame and panel joinery and drawer bottoms. A modern shop could use a powered router for many of these tasks, but these planes don't require as much set up, jig making, or test cuts.
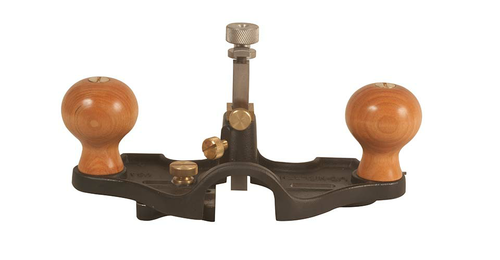
Router Planes
You could make a strong argument that router planes should be the first joinery plane you should get. They increase the accuracy of many joinet, including tenons and dadoes. [1]
 Paul Sellers: Poor man's router plane
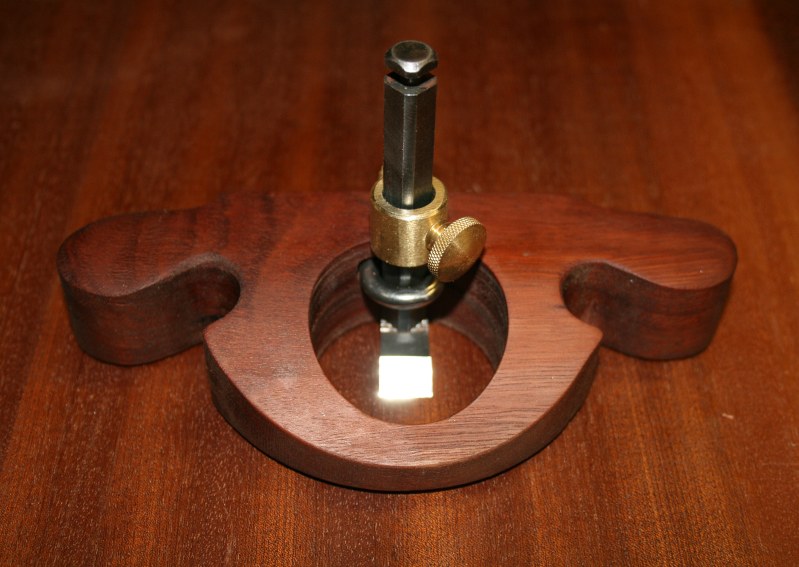 Derek Cohen: Router Plane
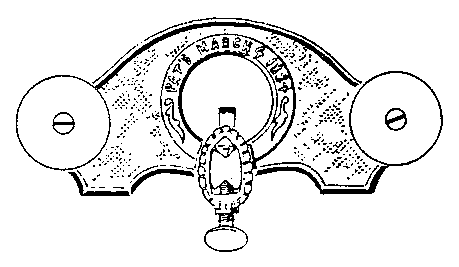
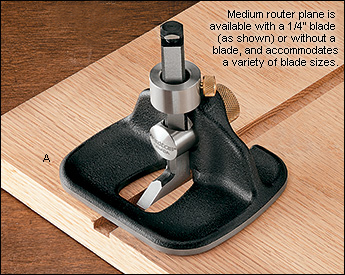 LV Medium Router Plane ($109)
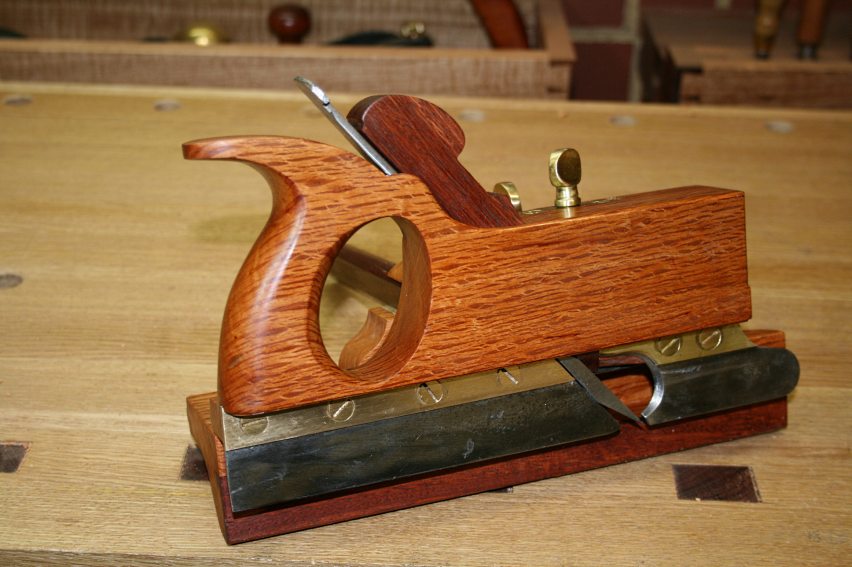
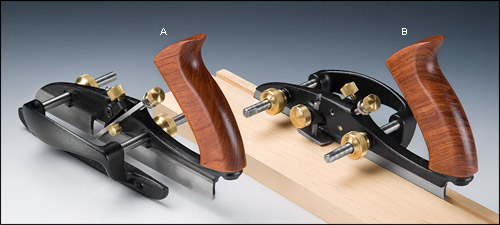
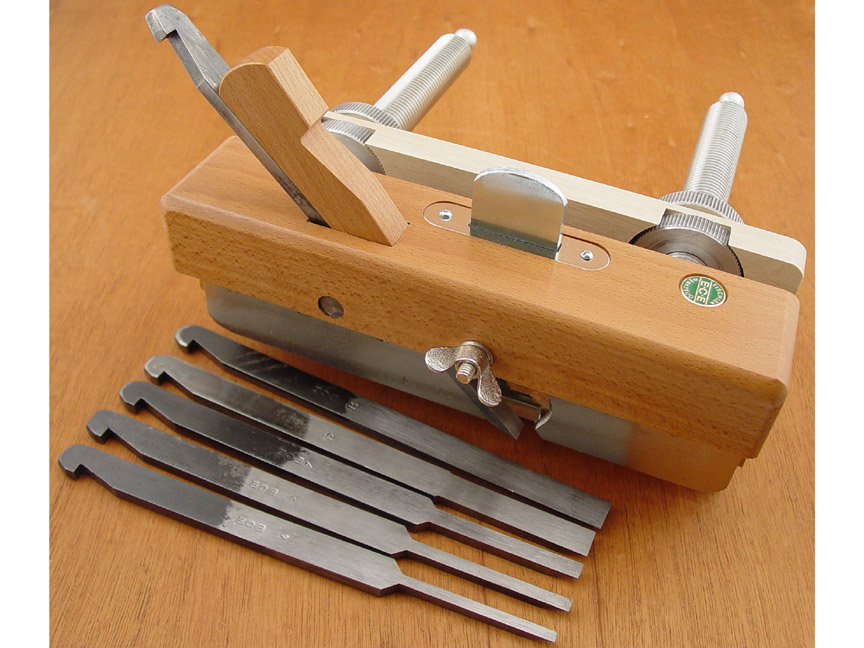
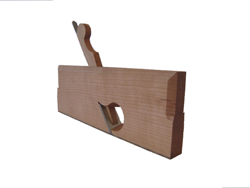
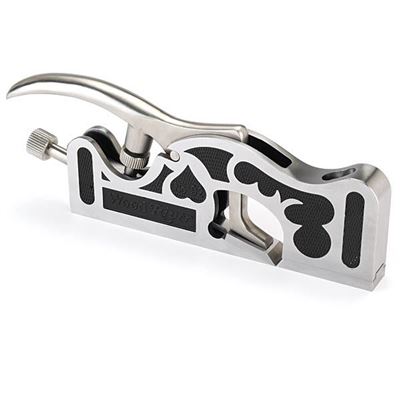
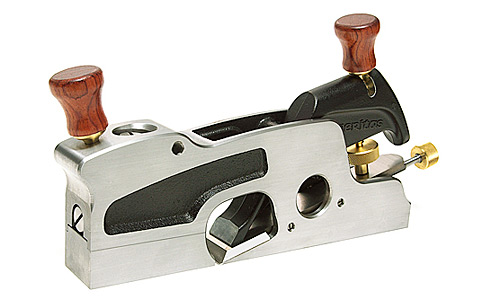
Plow Planes
Plow (plough) planes make it easy to add grooves to wood. Use it for channels for drawer bottoms or a panels in a frame and panel door. There are a number of vintage plow planes in wood or metal along with new versions. Shwarz prefers wooden plow planes, but the Veritas plow plane is more reasonably priced and can covert into a tongue and groove plane with an added kit. [ 1 2 3 4 5 6 ]
 Build one
$$
 LN Plow (Soon?)
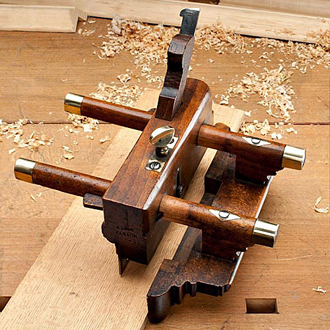
 ECE Plow ($449)
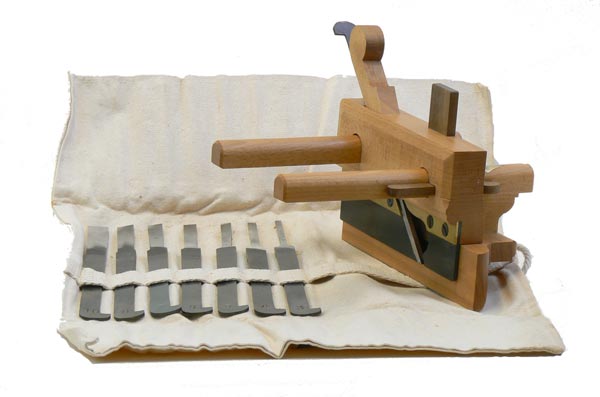 Old Street Tools (Wait)
 DLBS Plow ($1770)
Rabbet Plane
Rabbet (rebate) planes come in a wide variety of forms. They have blades that run to the side of the plane and are used to make square notches on the edges of boards. More complicated versions have skewed blades, fences, depth stops, and nickers, in any and all of those combinations, in a number of sizes and configurations. For making typical rabbets, the favorite of most reviewers is the LV/Veritas Skew Rabbet plane, though the basic wooden rabbets work too in the hands of skilled woodworkers. [ 1 2 3 4 5 6 7 8 9 ]
 Build one
$$
 New Stanley 78 ($56)
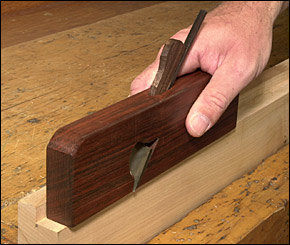 Wooden Rabbet Plane ($40)
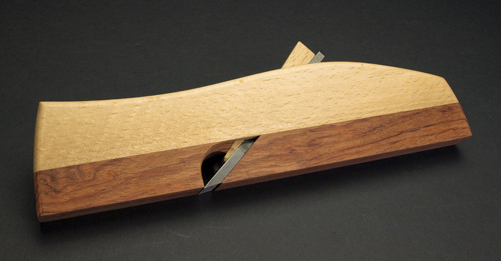 Build Hock Kit ($95)
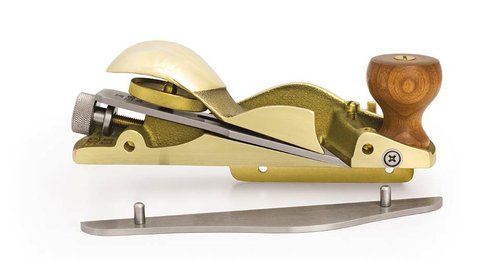 LN Skew Block Plane ($225)
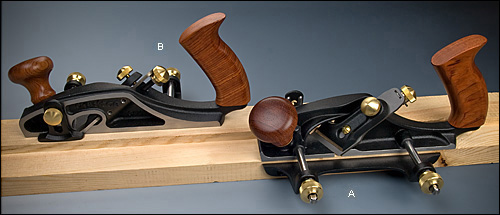
 Bickford Rabbet ($225)
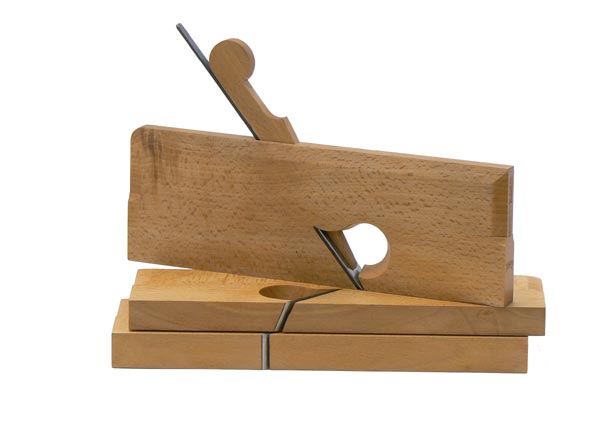 Old Street Rabbet (Wait)
Shoulder Plane
Shoulder planes are similar to rabbet planes (and can be considered a subset) but are specifically tuned to work on end grain and have faces that are machined at right angles so you can use it on it's side. You can use a shoulder plane to make rabbets, but typicall a shoulder plane is used to refine existing surfaces. Most reviews prefer the Lee Valley/Veritas plane because it provides better options for gripping. [ 1 2 3 ]
$
See rabbet planes.
 WoodRiver 92 ($149)
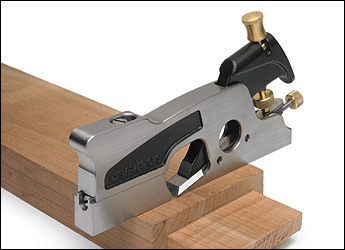
 LV Shoulder Large ($235)
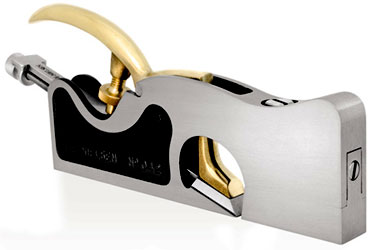 LV Shoulder Medium ($195)
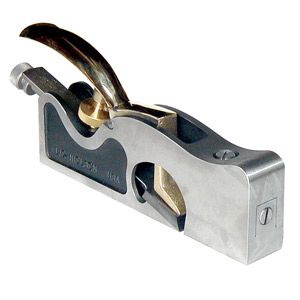 LN Shoulder Large ($250)
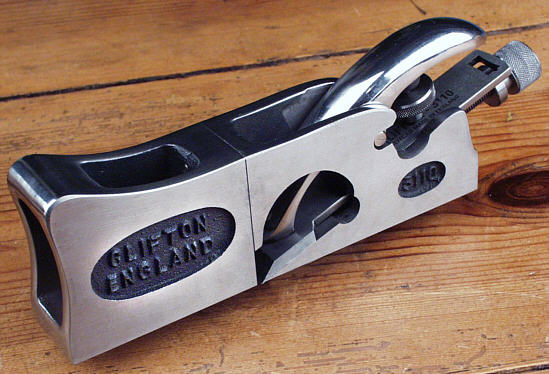 Clifton 3110/3 in 1 ($299)
Block Plane
Block planes are useful little planes for doing small planing tasks from chamfering edges to cleaning up joinery.
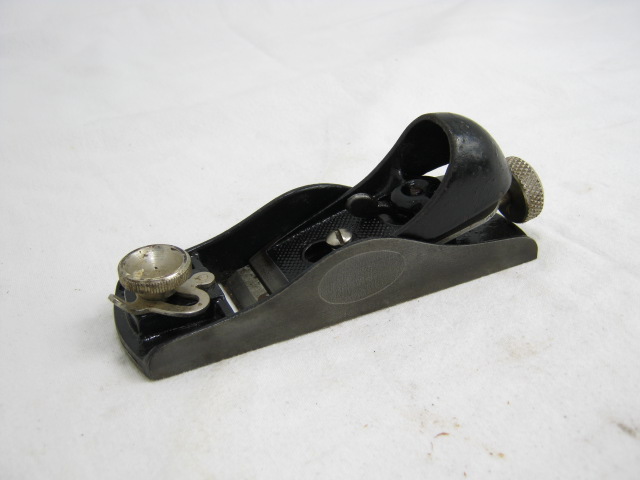
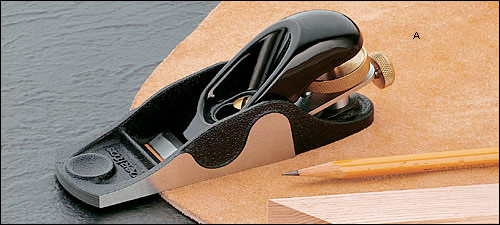 LV Apron Plane ($89)
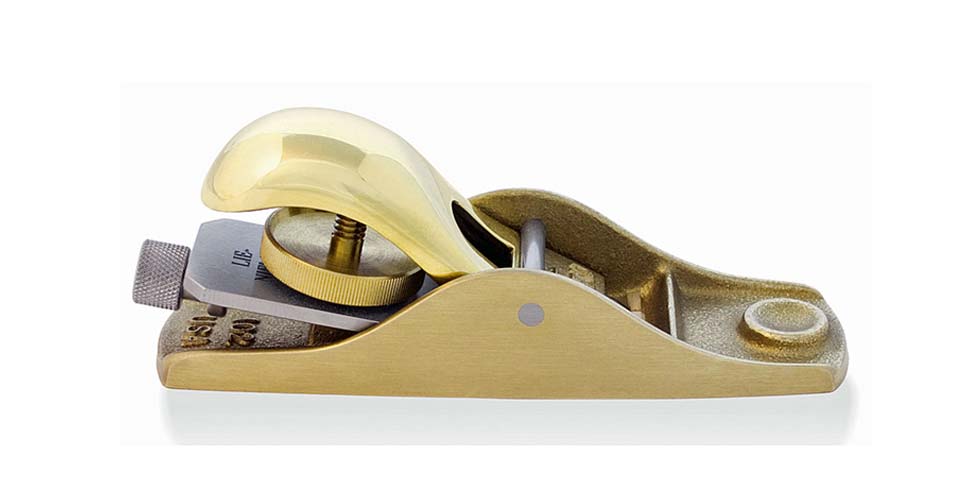
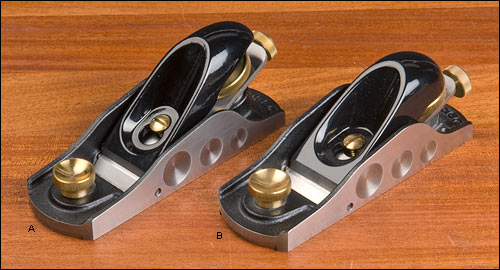 LV Block Plane ($155)
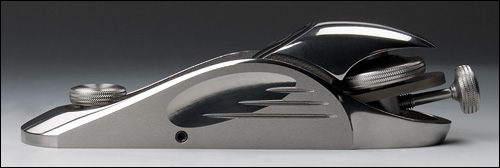 LV DX60 ($189)
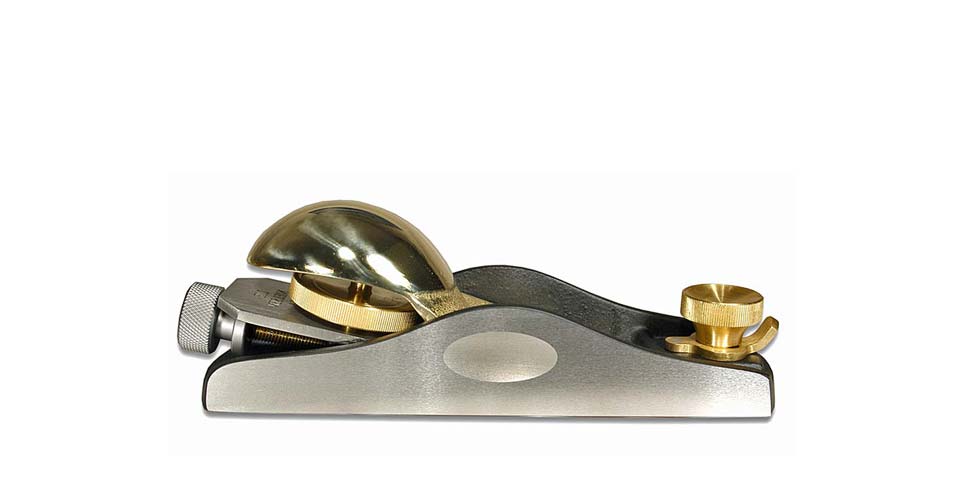 LN 60-1/2 ($165)
Marking & Measuring
Accurate marking and measuring are critical to quality work. To start, a few are basic but essential: A knife is used over pencils for accuracy. Adjustable squares are essential for their multitude of uses. Marking guages let you copy one measurement consistently to other pieces. Many of the other tools, make great first projects.
 Build one
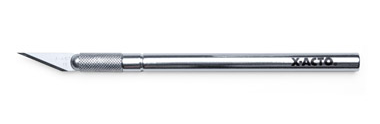 X-Acto ($5)
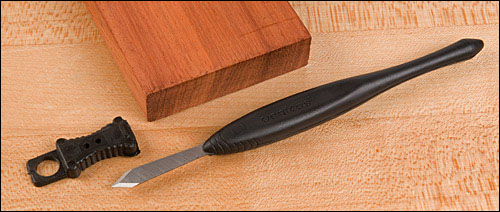
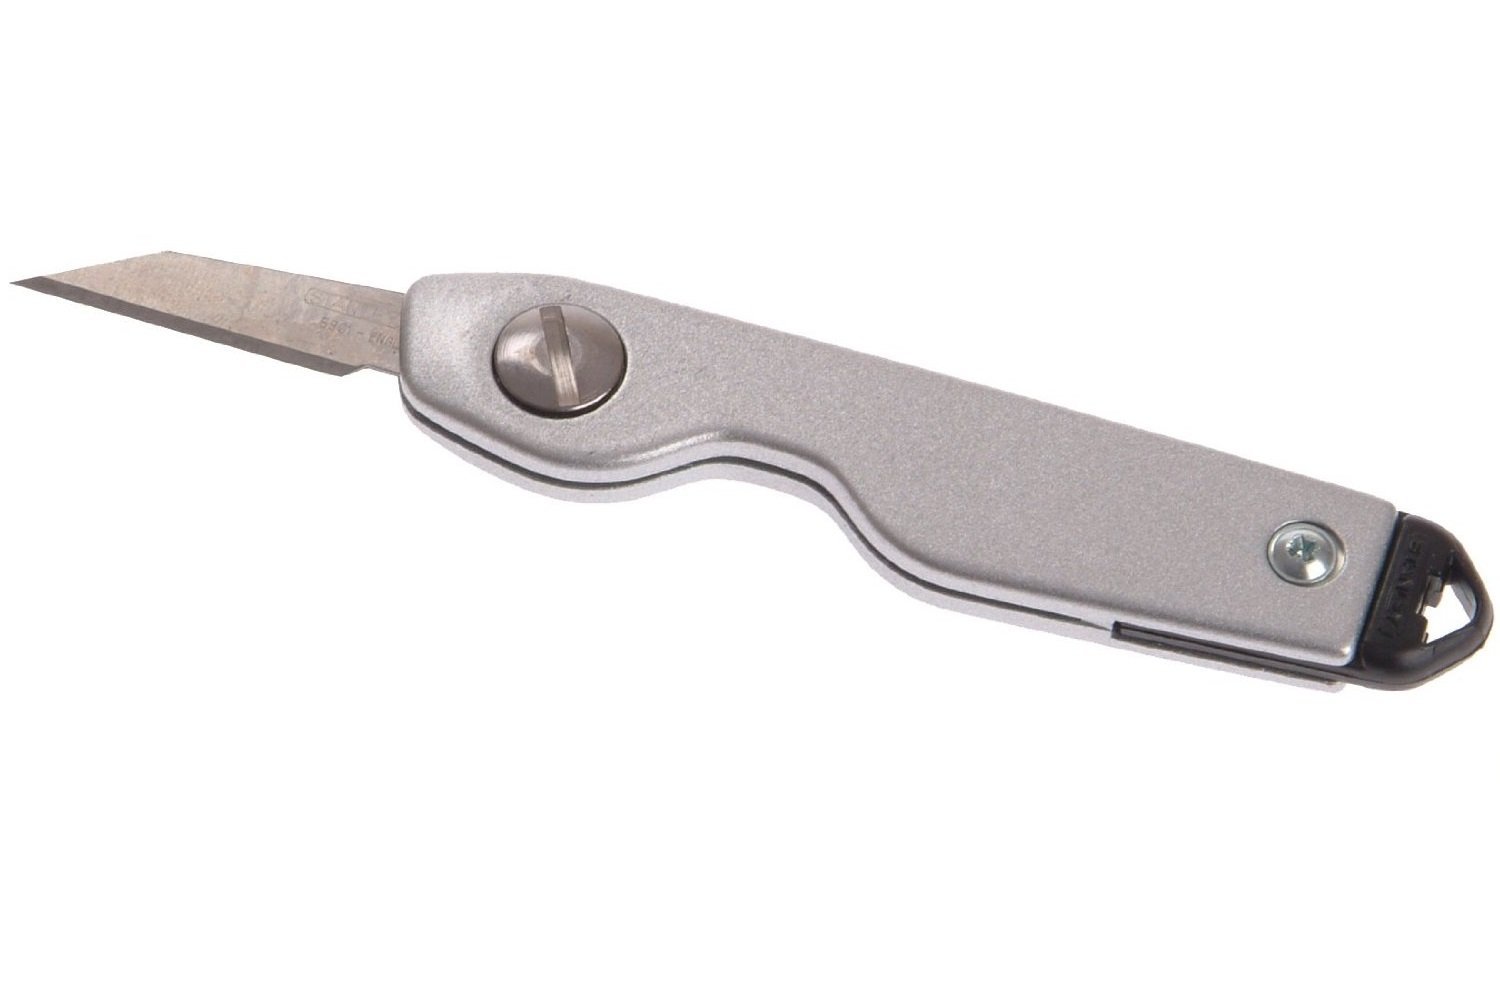 Stanley Knife ($13)
 Czeck Edge Marking Knife ($48)
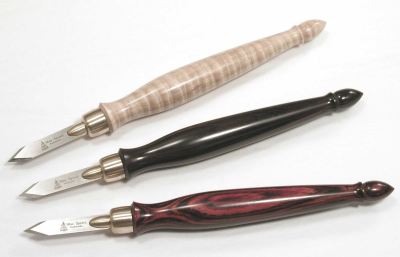 Blue Spruce Small Marking Knife ($50)
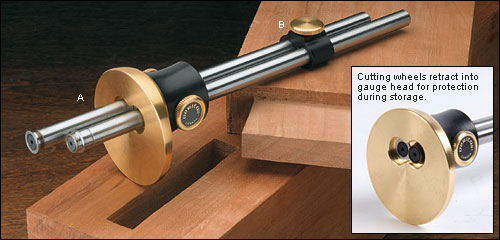
Marking Gauge
Marking gauges allow you to consistently mark distances from the edge of a board. Most people prefer versions that use a knife or wheel/
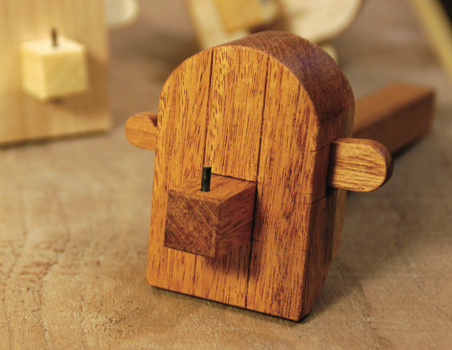 Build one
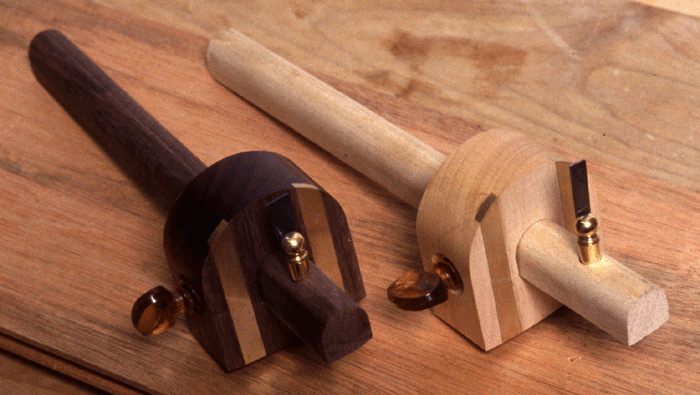
 LV Dual Marking Gauge & Shaft Clamp Set ($65)
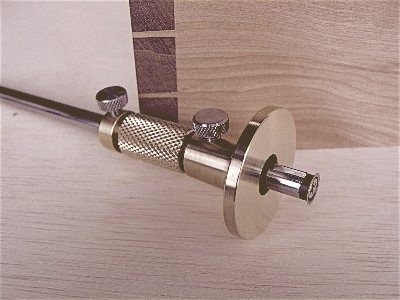 Tite-mark Marking Gauge Long ($99)
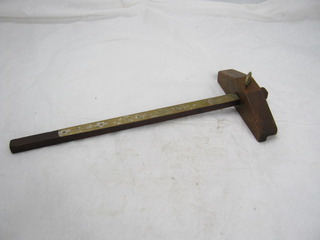
Panel Gauge
Panel gauges are used to consistently mark the width of boards. Often these are made by the craftsman, and used ones come up pretty often.
 Buy a vintage panel gauge:
 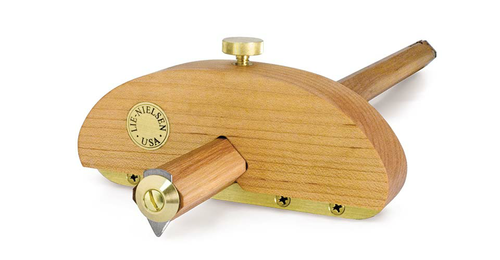 LN Panel Gauge ($85)
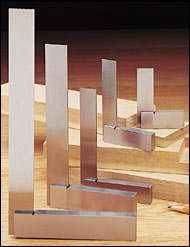
Square 4″
When squaring up the edge of a board with your hand planes, it's handy to have a small square to check your progress. It's also useful for fitting into tight spots. Double squares have an adjustable bar and can work well as depth gauges too.
 LV Engineers square 4" ($14)
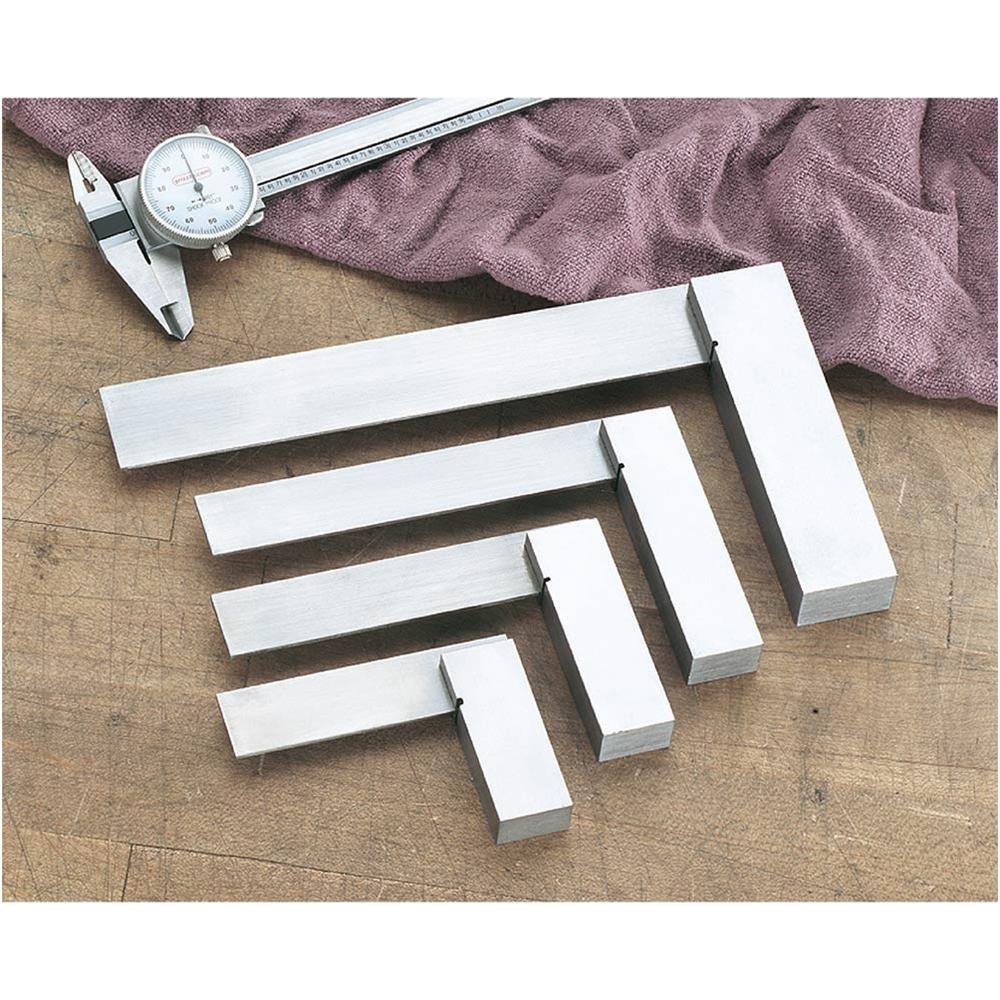 Grizzly square set ($33)
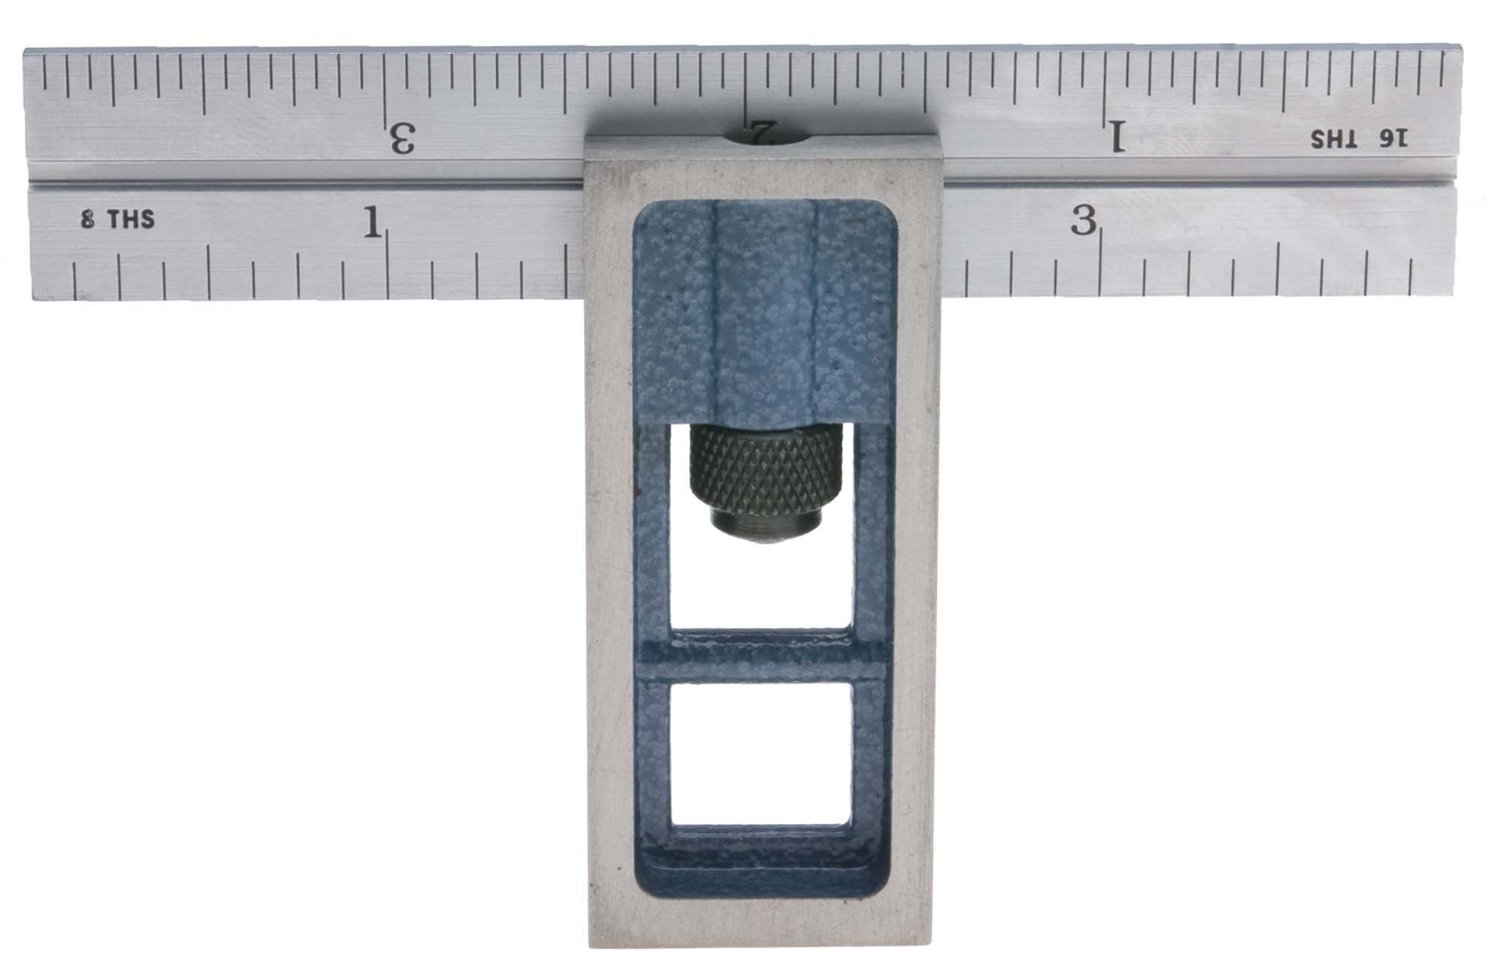 PEC Tools Double Square 4" ($36)
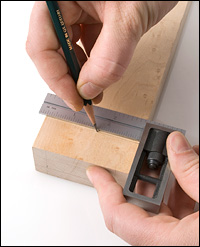 LV Double Square 4" ($39)
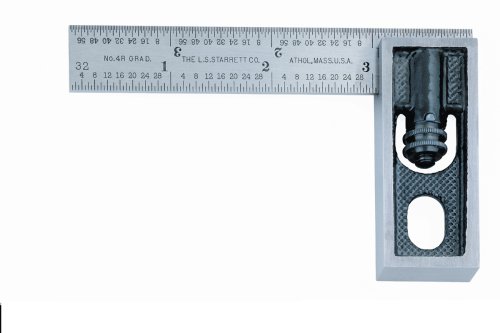 Starrett 13A Double Square ($63)
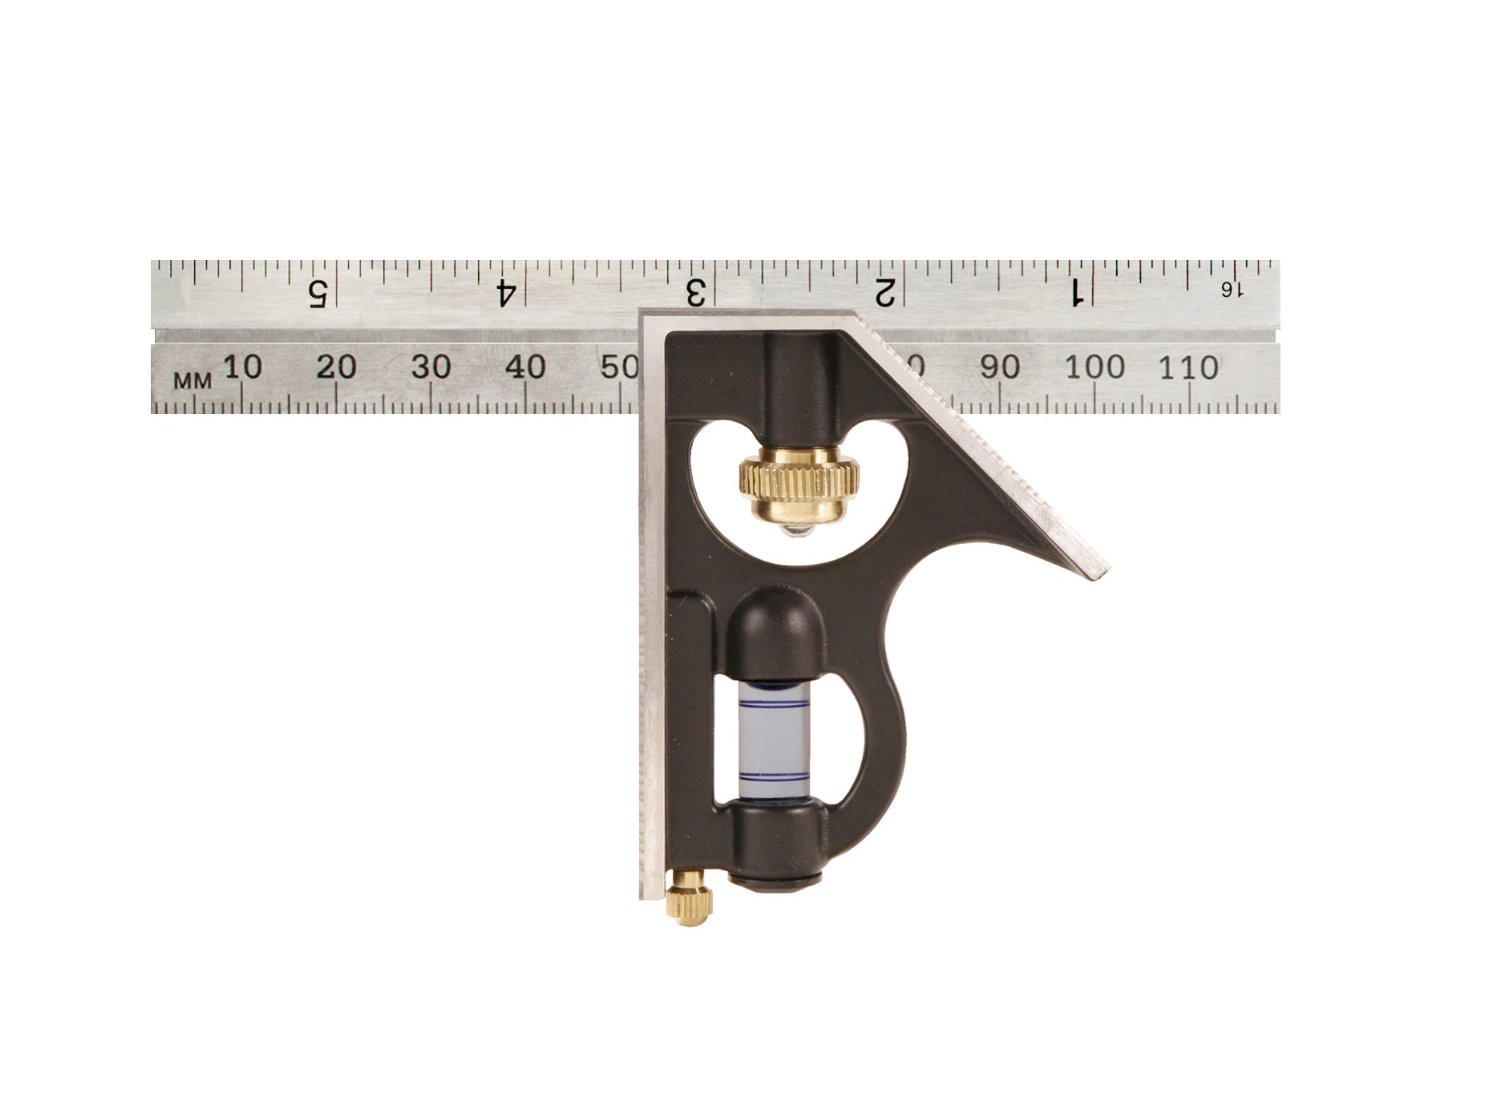
Square 6″
You need a combination square, either a 12 inch or 6 inch. While 6 inch combination squares are not as common, I find them to be a more useful size: big enough for accuracy, yet small enough to not get in the way. If you opt for a machinist square, make sure your 12 inch is a combo. [ 1 2 3 ]
 Empire Pro ($12)
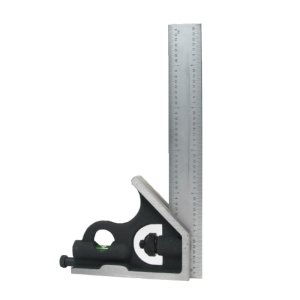 Generic 6″ ($35)
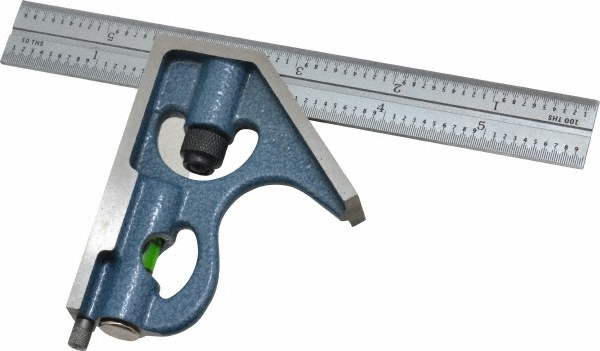 PEC 6″ ($52)
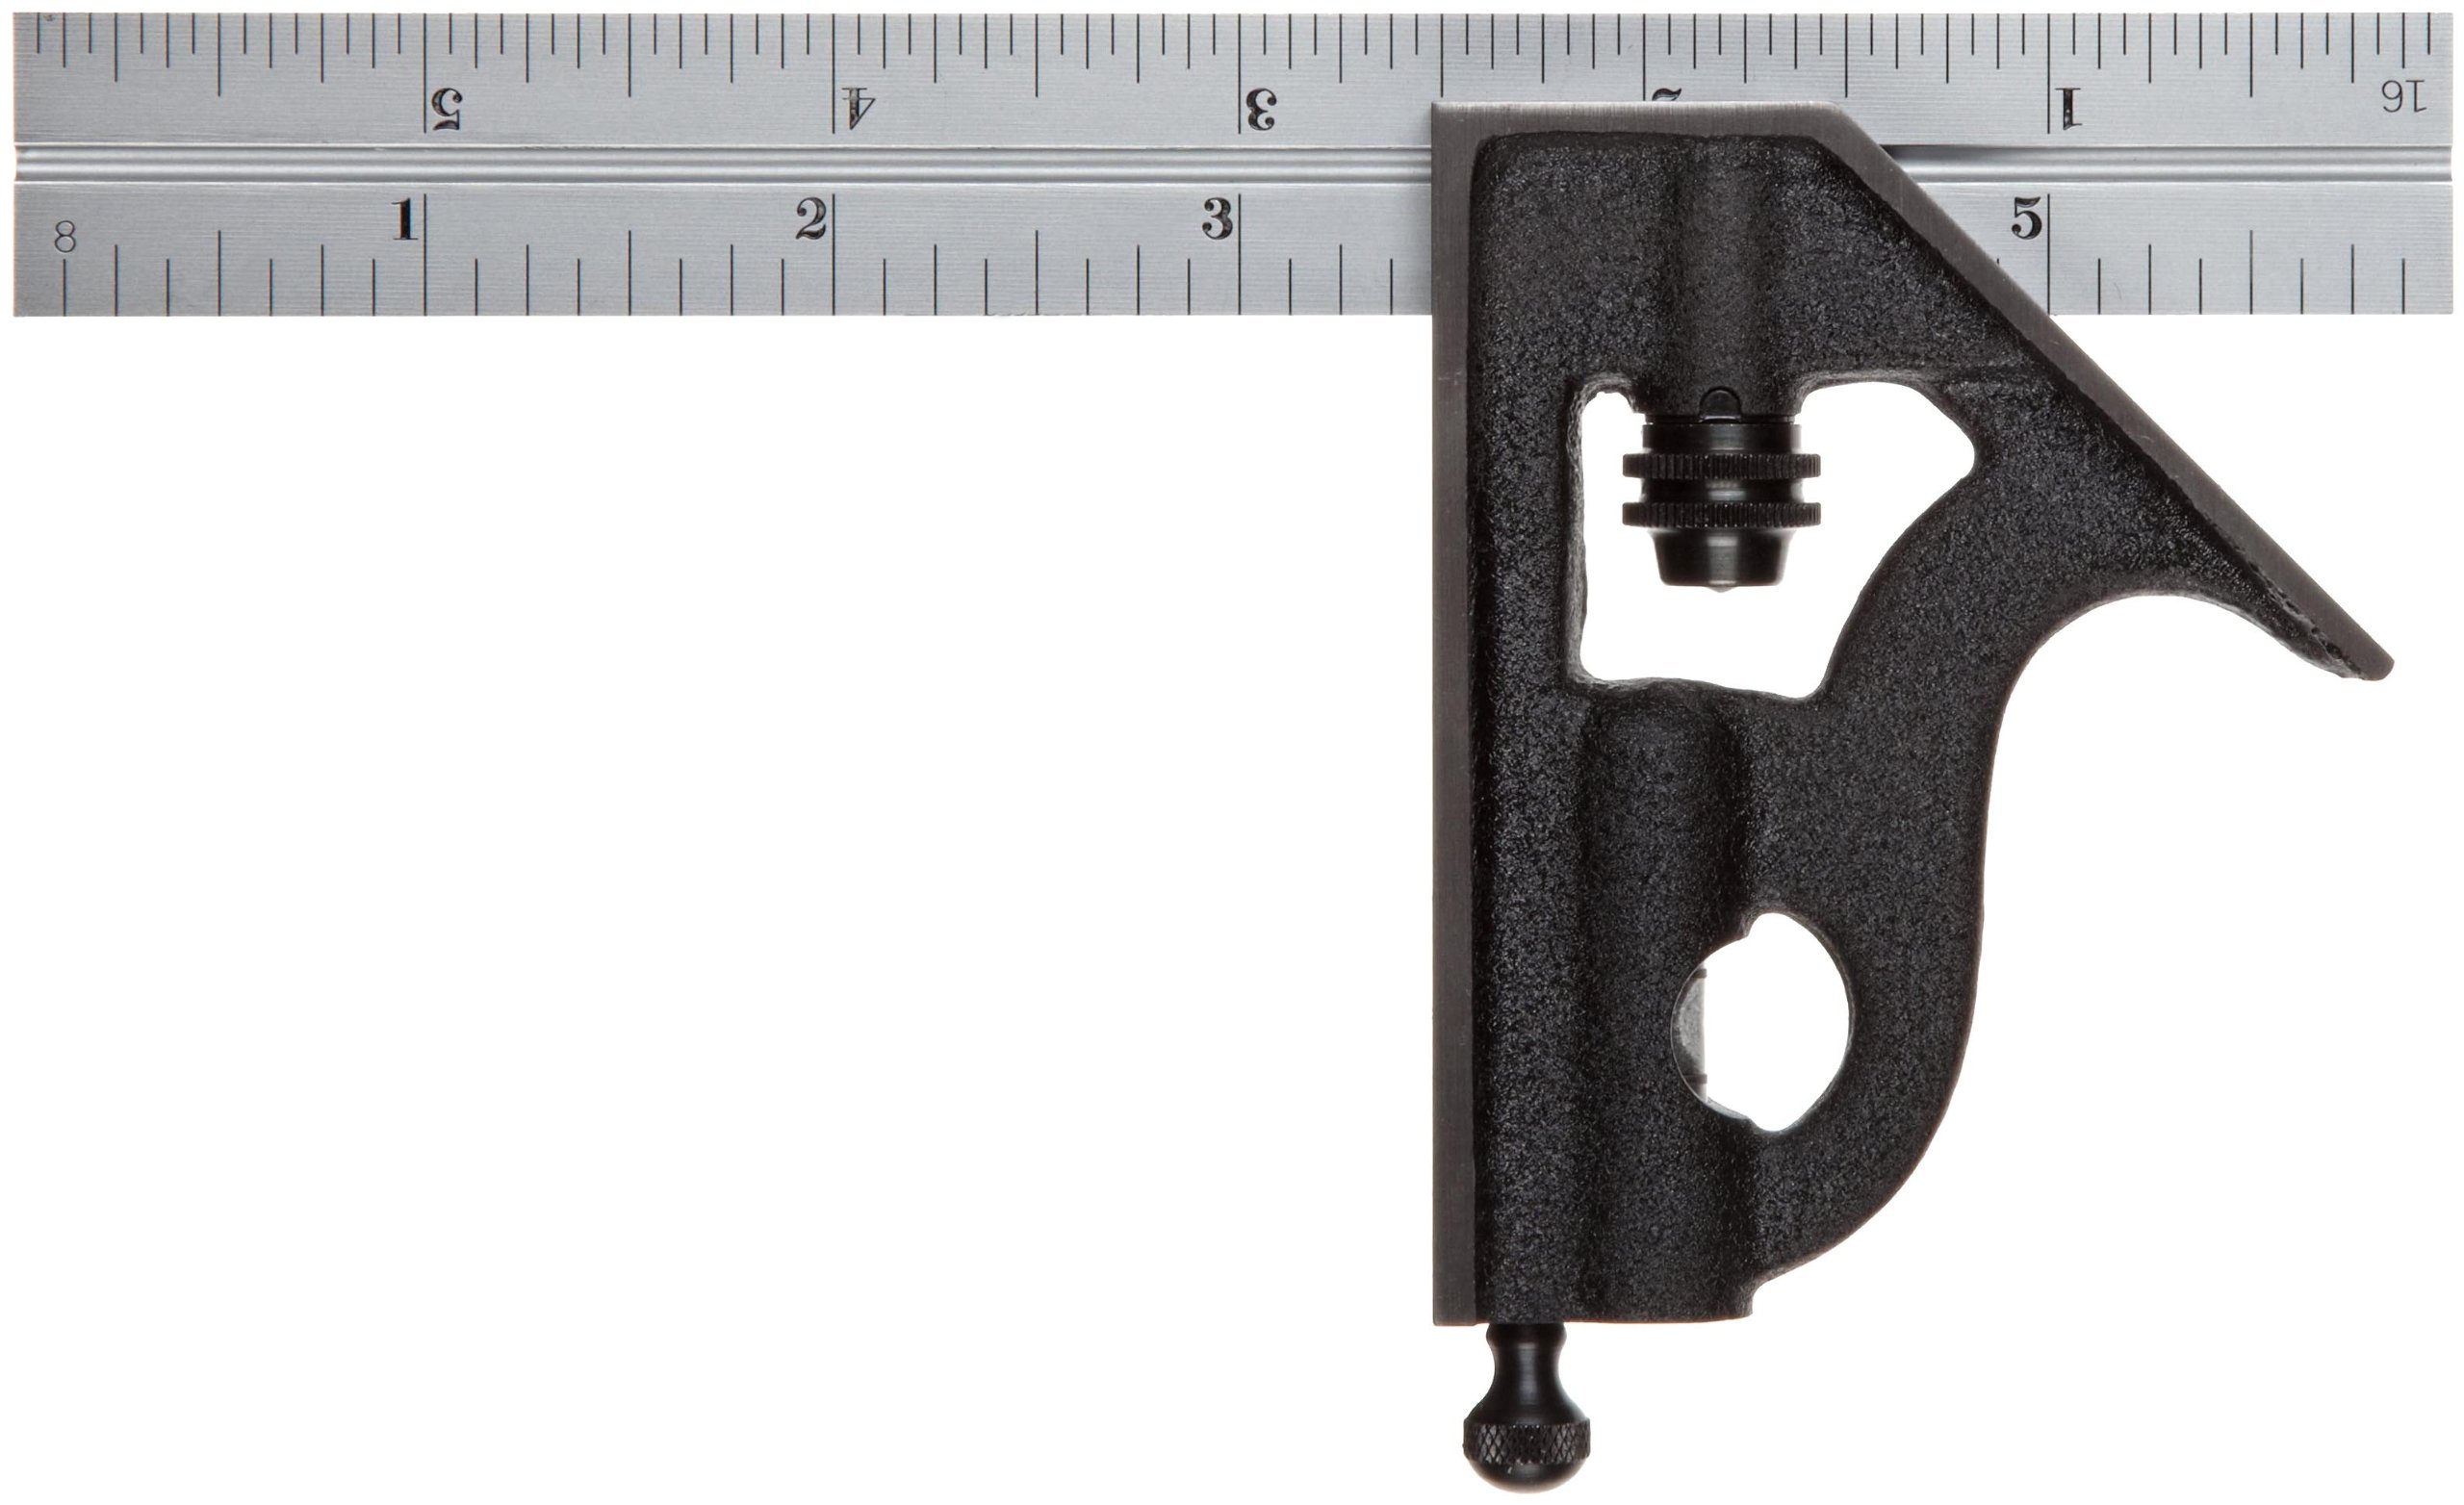 Starrett 11H Combination Square ($63)
 Build one
 Build one
$$$
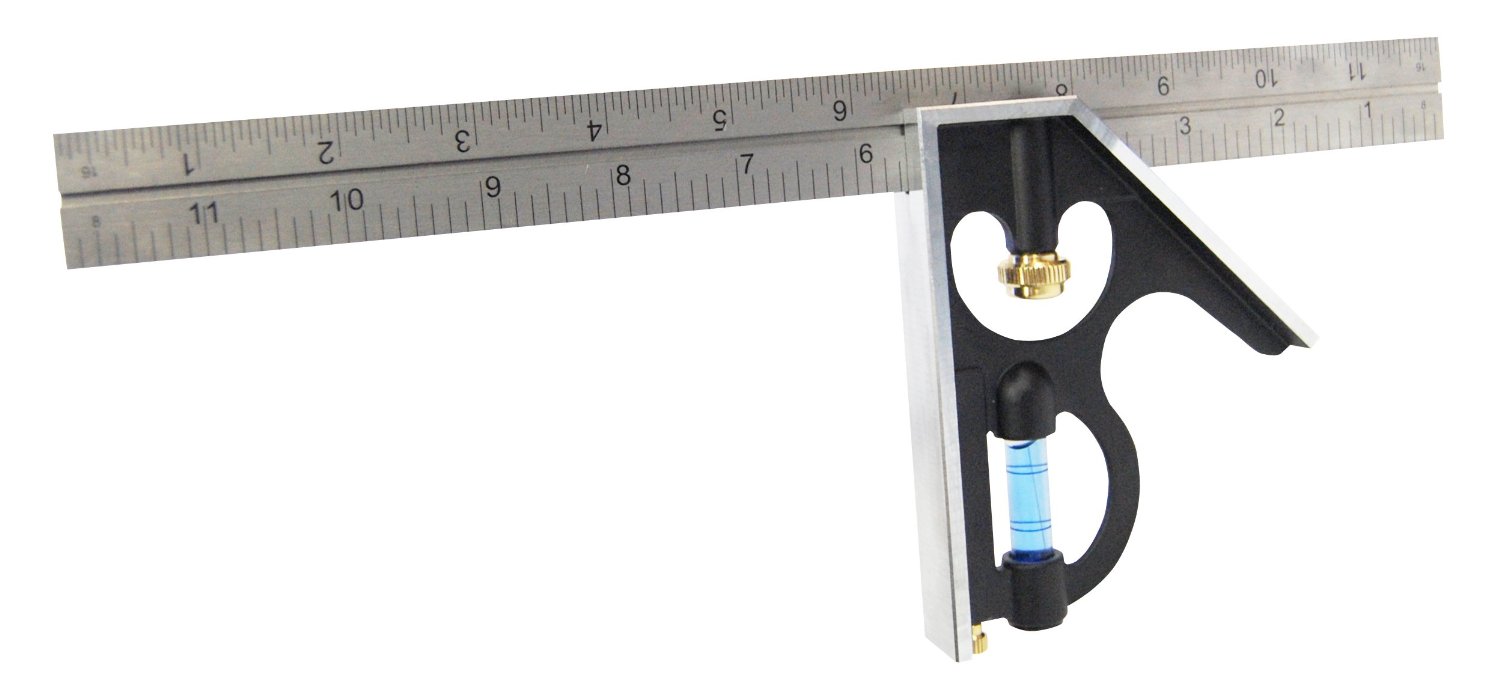
Square 12″
You need a combination square, either a 12 inch or 6 inch. Most people recommend the 12 inch. Be sure to read up on all of a combination squares uses. A quality square is worth the money. If you need to save, be sure to test the cheaper squares in the store to pick out the most accurate. [ 1 ]
$
 Empire Pro ($15)
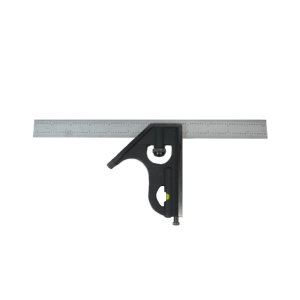 Generic 12″ ($35)
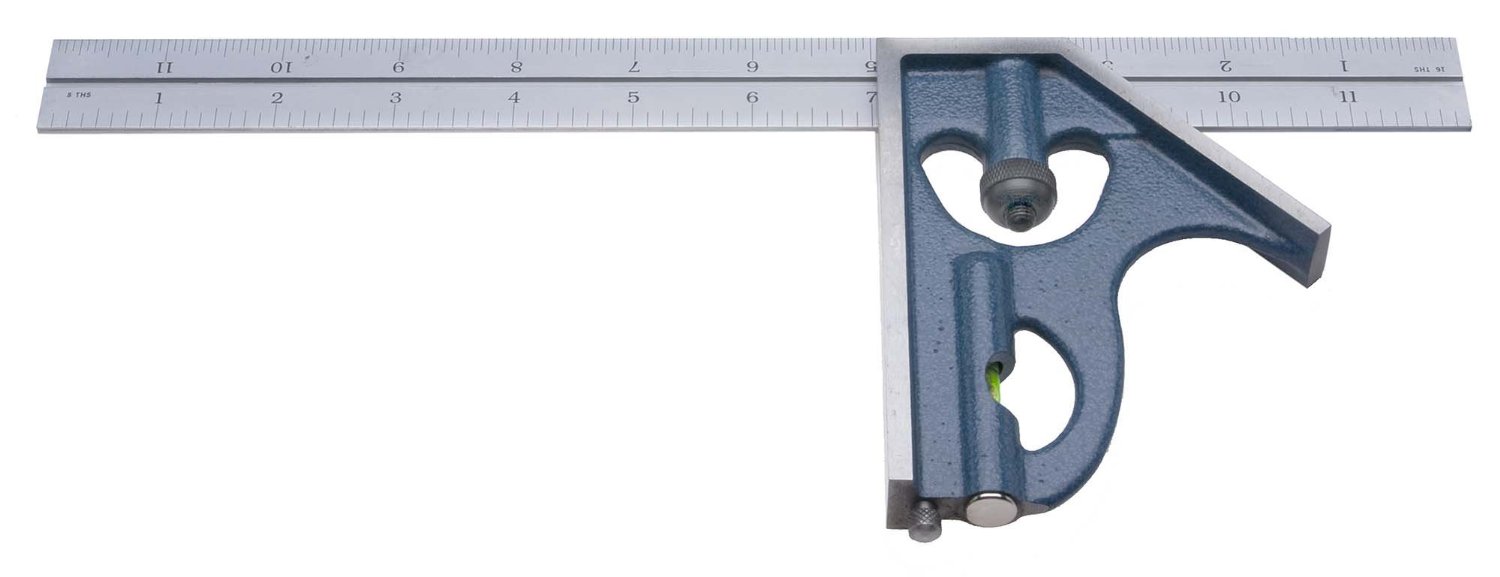 PEC 12″ ($60)
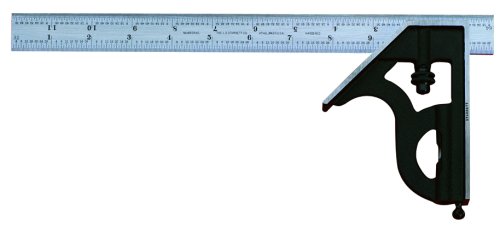 Starrett 11H Combination Square ($73)
Framing Square
Framing squares are great for larger work.
 Build One
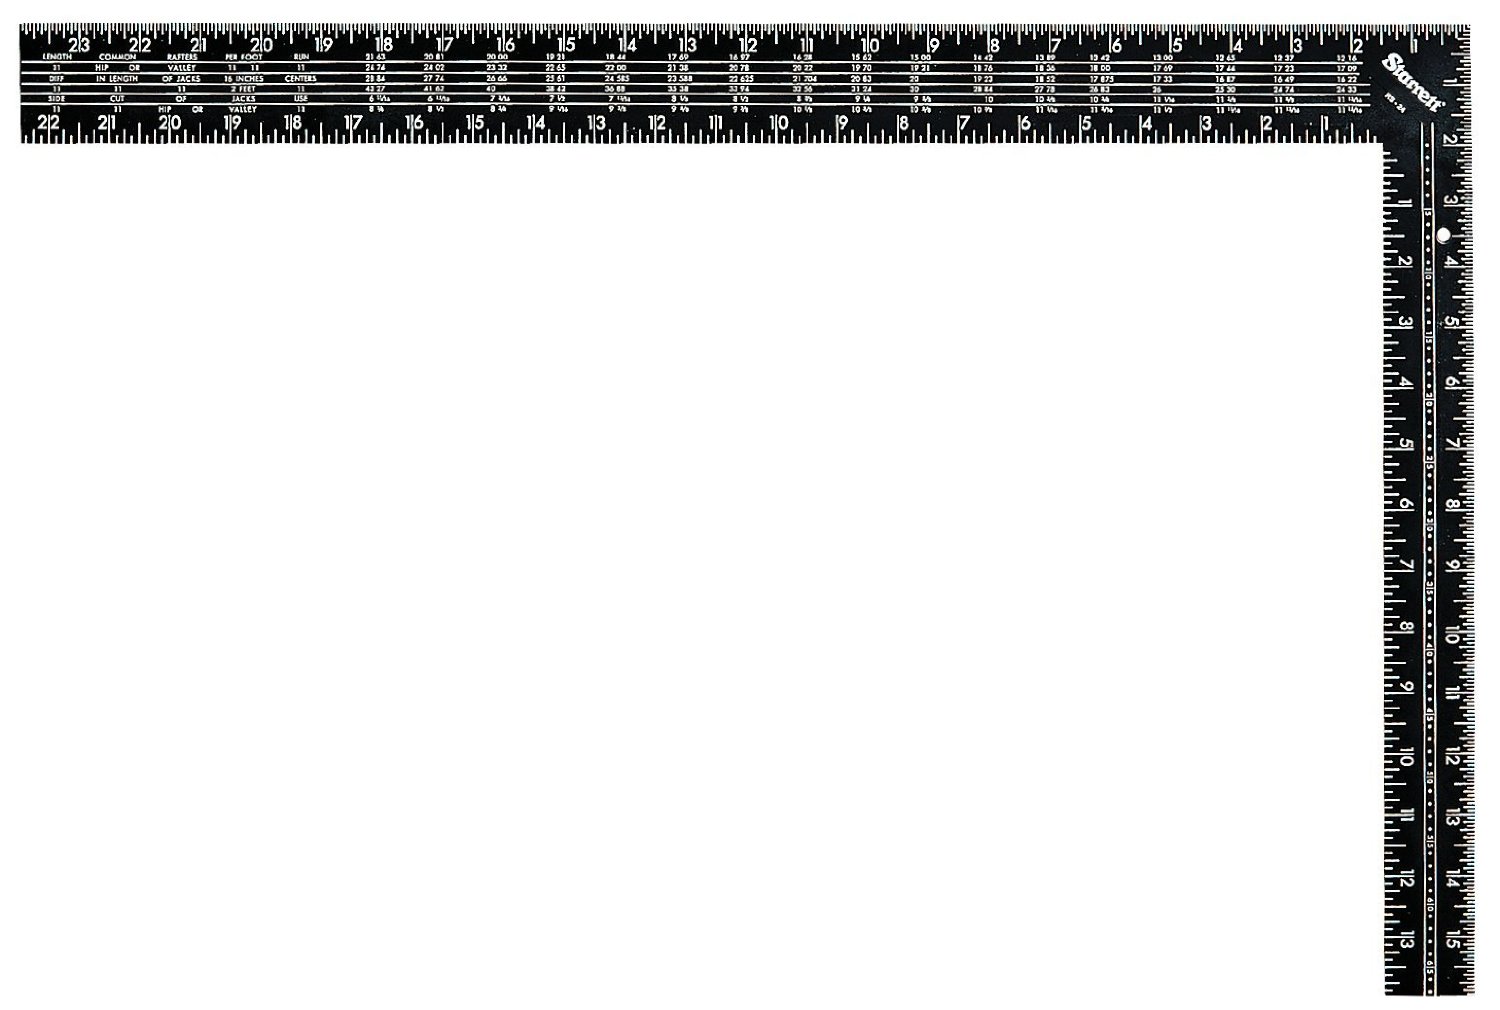 Starrett Framing Square ($21)
$$$
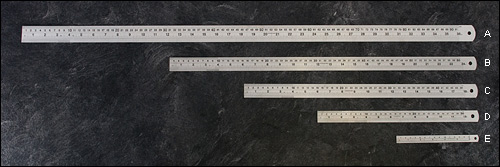
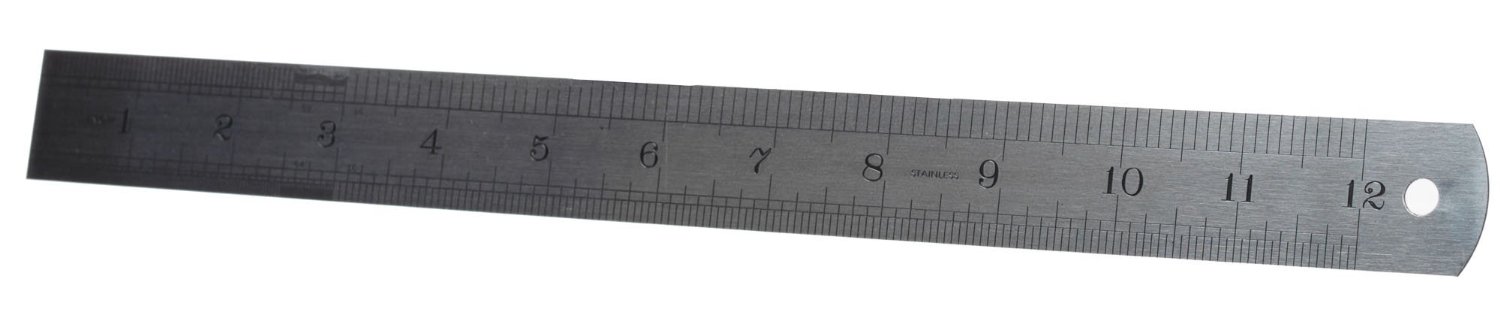
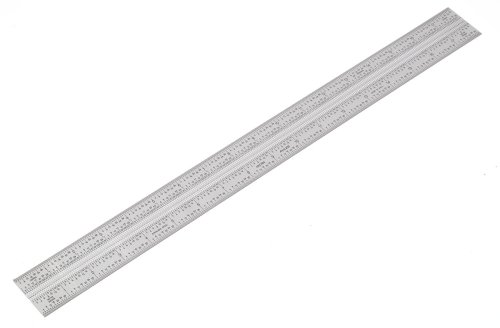
6″ Ruler
If you have a 6 inch combination square, you can remove the ruler for measuring in tight spaces. Thin flexible stainless steel rulers are useful for the Charlesworth "Ruler Trick" in sharpening plane blades;
 LV (Thin) Rulers ($4)
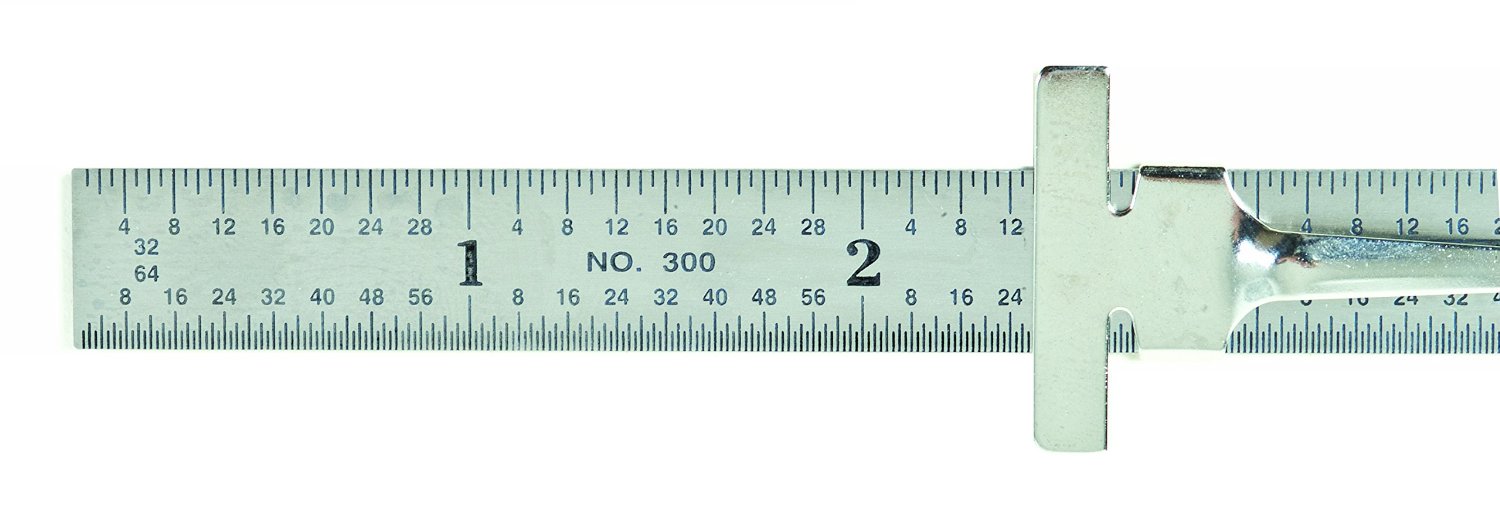 General Tools (Thin) 6″ ($5)
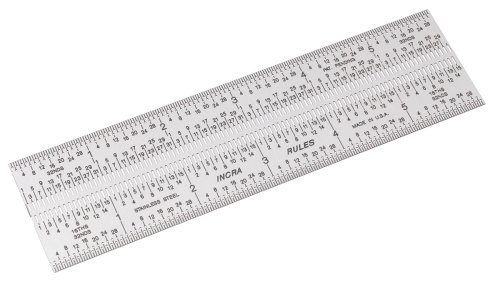 Incra Marking Rule 6″ ($13)
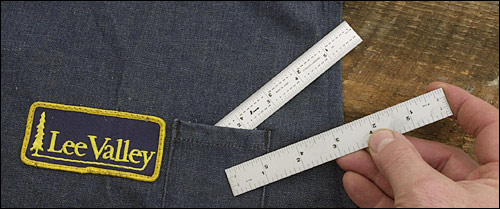 LV Pocket Rule ($12)
 Starrett 604RE 6″ ($21)
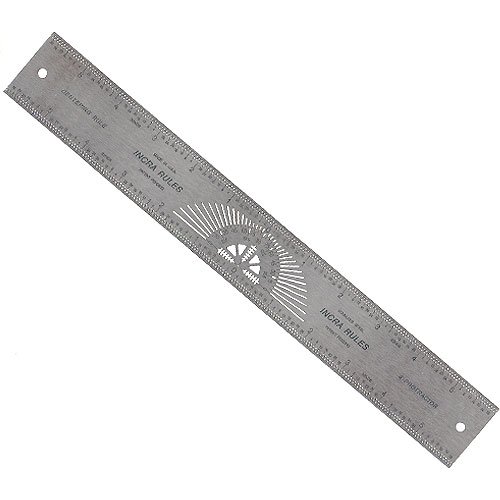
12″ Ruler
Avoid cork-backed or non-slip back tools since it's nice to be able to measure close to the work and modern non-slip backs can mar work. Incra rules have a lot of fans. Consider buying a center-ruler or a ruler with metric equivalents if your combination square is imperial, or vice-versa.
 SE-Ruler-Steel-Pouch-12in 6″ ($4)
$$
 INCRA-CENTER12-Centering-Rule-12-Inch ($18)
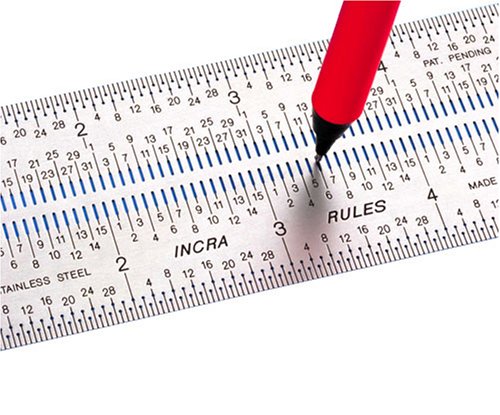 Incra-RULE12-12-Inch-Rules-Marking ($15)
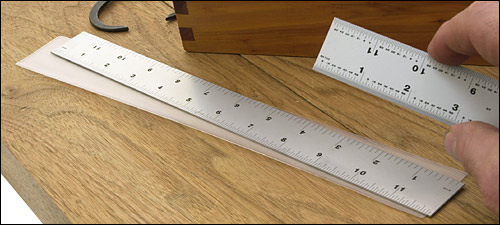 LV Cabinet Maker's Rule ($14)
 Starrett 604R 12″ ($34)
18″ Ruler
18″ rulers are nice when needing to accurately measure beyond your typical combination square. They tend to be more accurate than an equivalent tape measure or wooden ruler. Avoid cork-backed or non-slip back tools since it's nice to be able to measure close to the work and modern non-slip backs can mar work. Incra rules have a lot of fans. Consider buying a center-ruler or a ruler with metric equivalents if your combination square is imperial, or vice-versa.
 Incra-RULE18-18-Inch-Rules-Marking ($25)
24″ Ruler
24″ rulers are nice when needing to accurately measure beyond your typical combination square. They tend to be more accurate than an equivalent tape measure or wooden ruler. Avoid cork-backed or non-slip back tools since it's nice to be able to measure close to the work and modern non-slip backs can mar work. Incra rules have a lot of fans. Consider buying a center-ruler or a ruler with metric equivalents if your combination square is imperial, or vice-versa. [ 1 ]
$$
 Rober Larson 3 Foot Ruler ($18)
 Starrett 604R 24″ ($96)
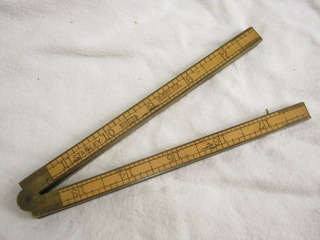
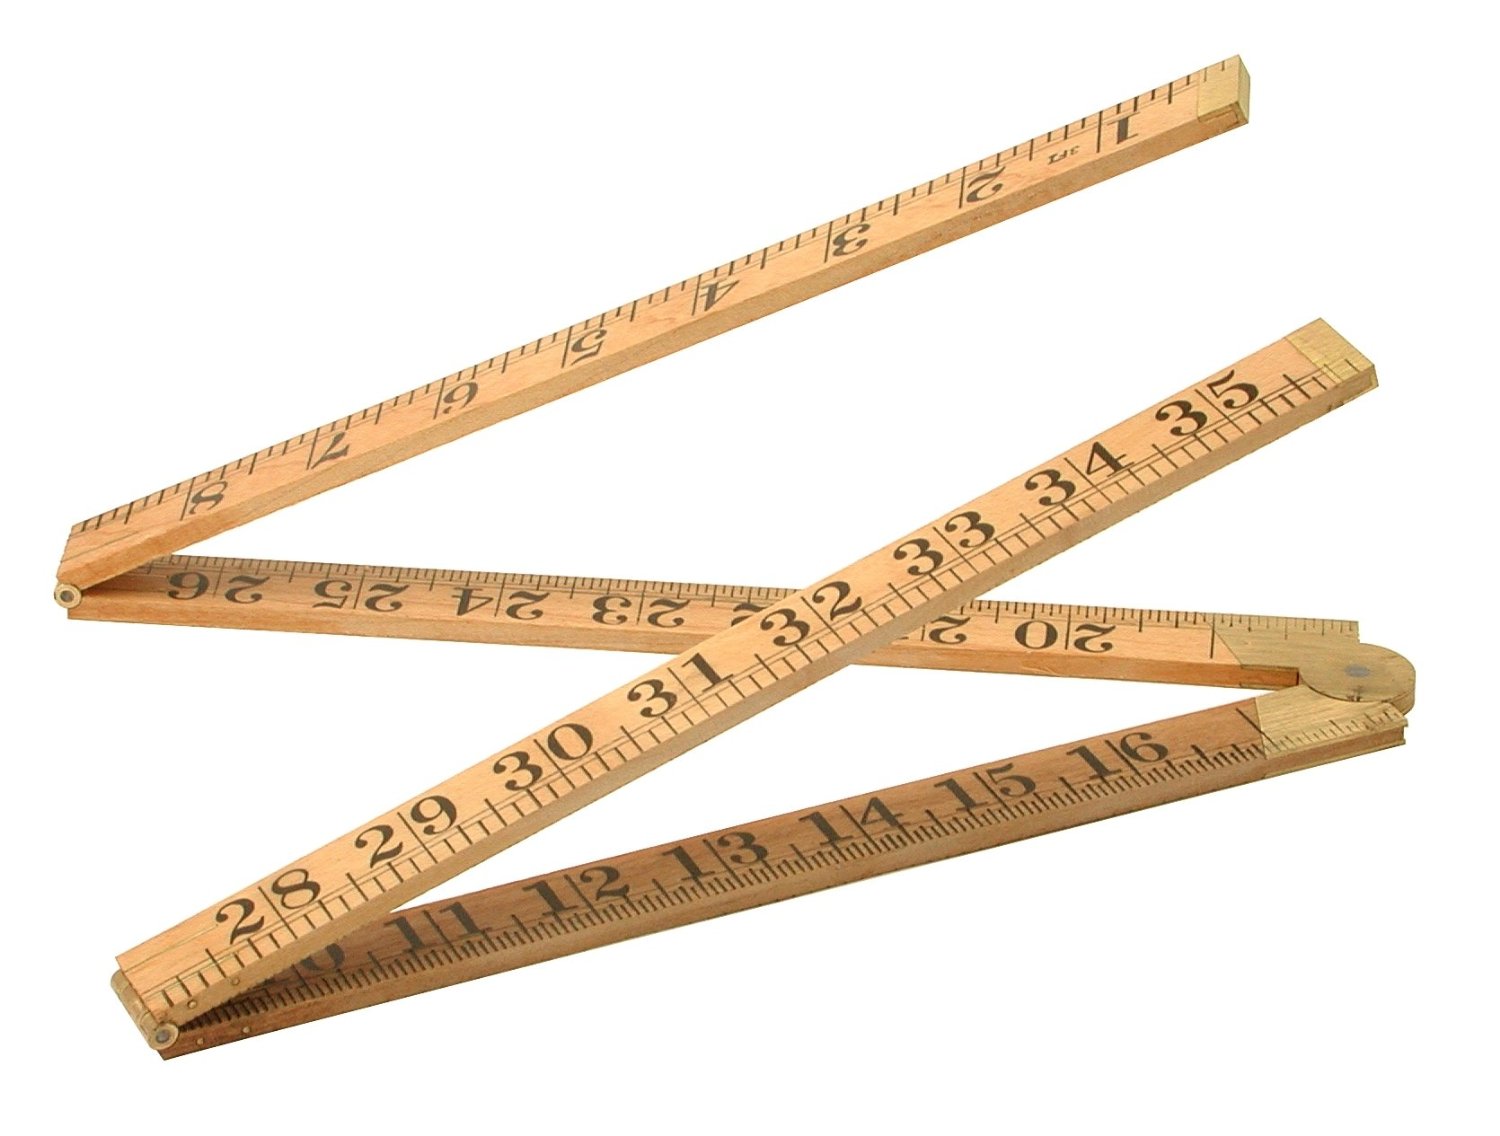
Tape Measure
Hand tool woodworkers often measure against existing pieces and with ratios instead of working strictly off measurements. However, tape measures come in handy for general sizing. For consistency's sake, consider using the same tape measure for the entire project. Story sticks are also a great option for consistent measurement.
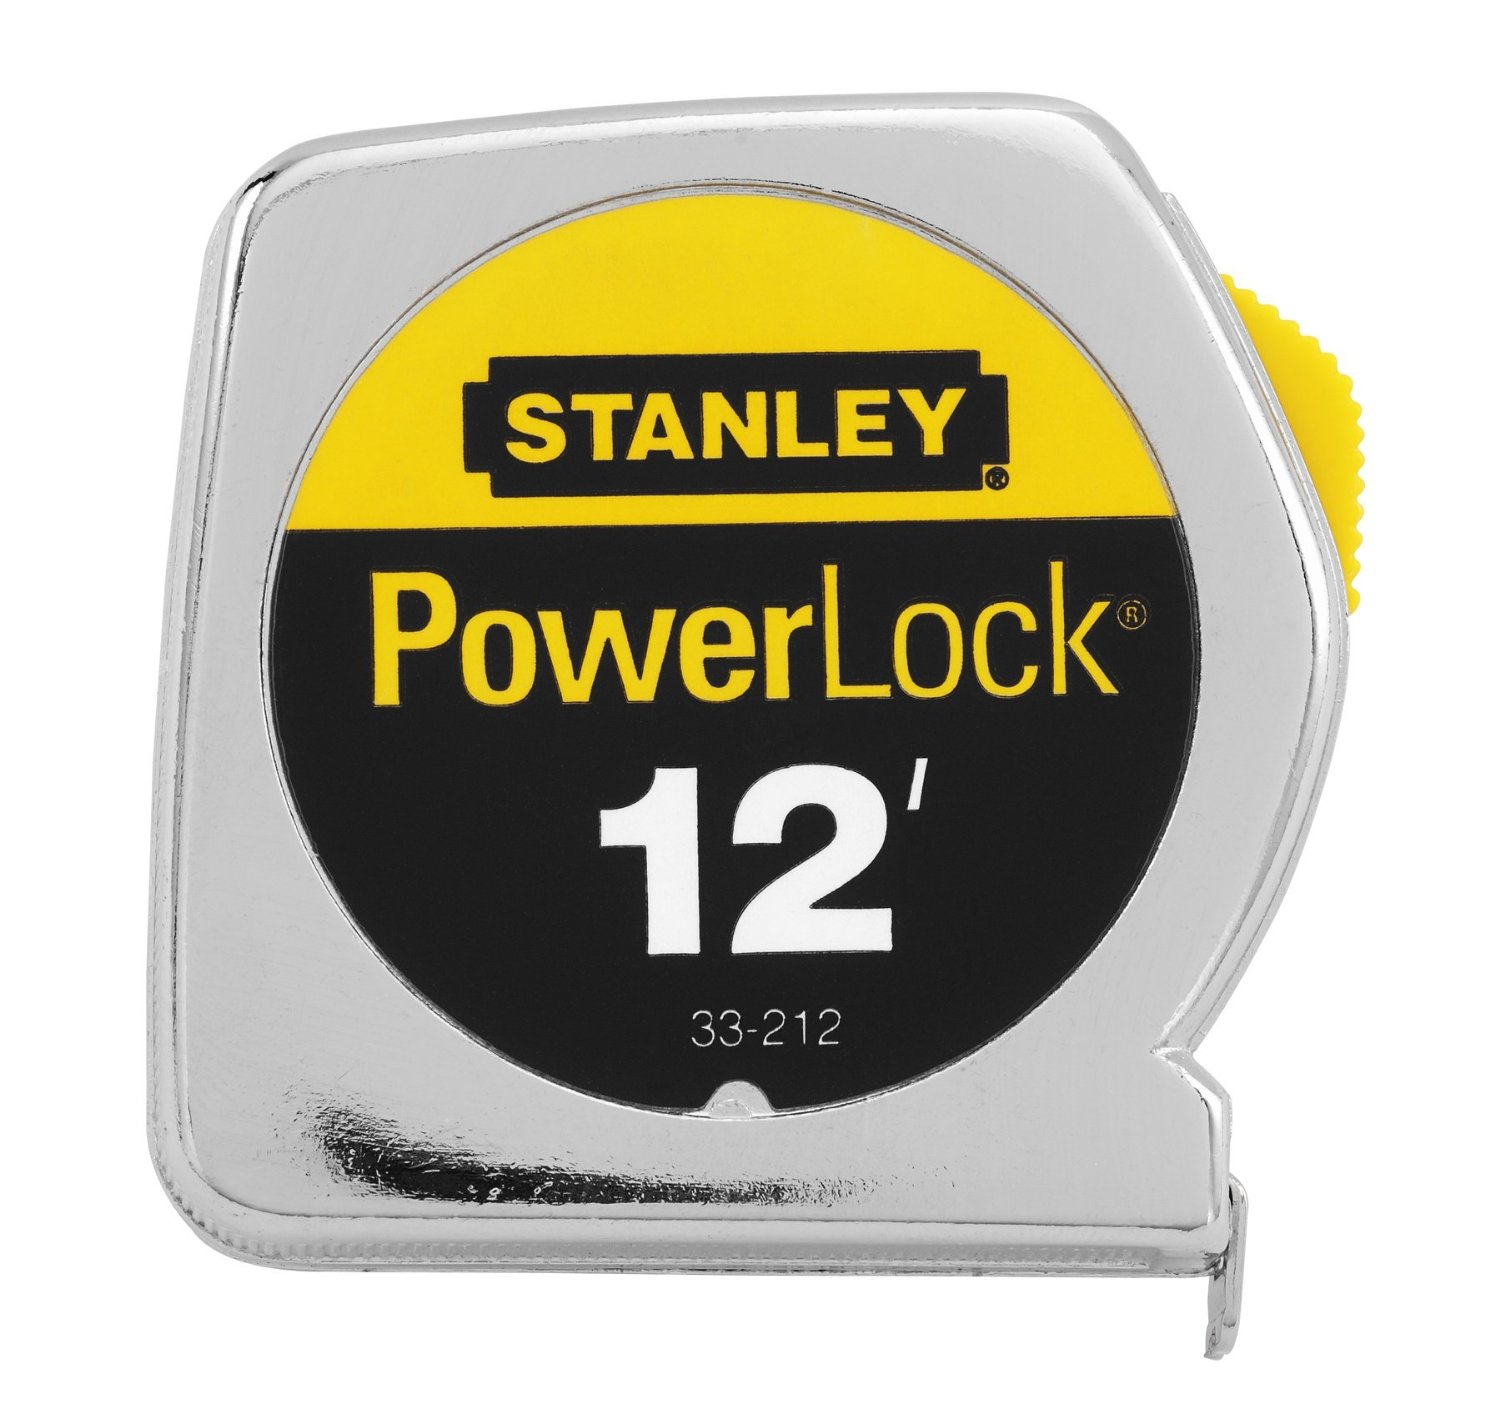 Stanley 12′ x 3/4″ Metal Body($8)
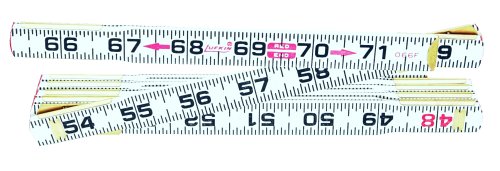 Lufkin 6′ Wooden Folding Rule ($12)
$$$
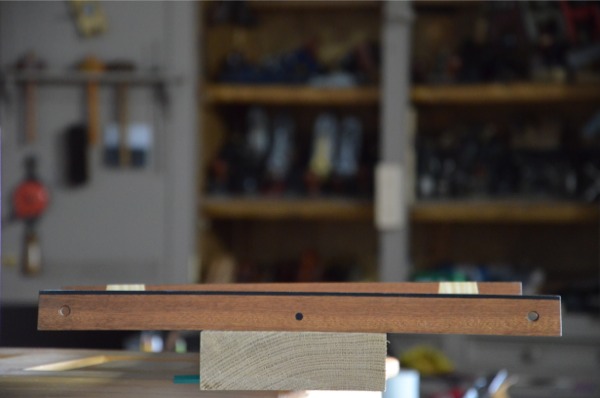
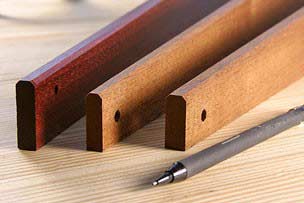
Winding Sticks
Winding sticks help you determine twist in boards you are flattening. Winding sticks are great first projects for learning how to work with your hand tools.
 Build one
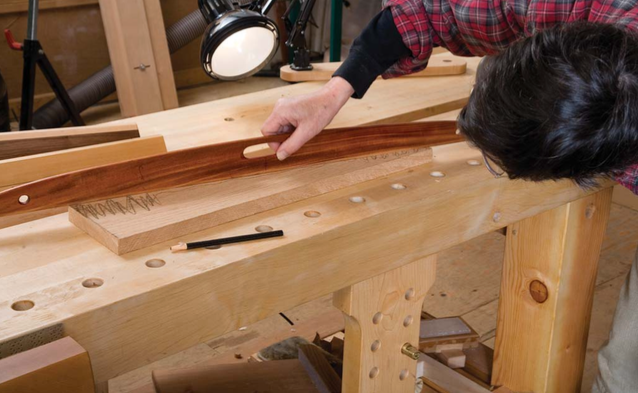 Build one
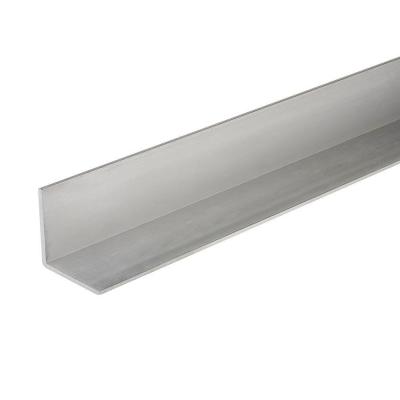 2 Each Aluminum Angle Iron ($14)
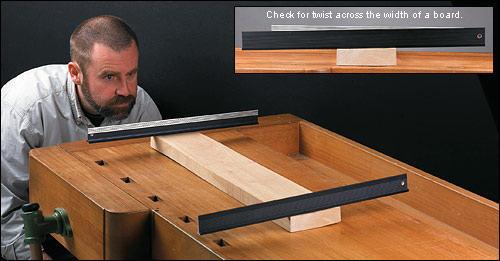 LV Winding Sticks ($30)
Straight Edge
Straight Edges help determine your parts are flat and true. While you can purchase accurate machinist's straight edges, there are other alternatives. Wooden straightedges work well, specially when made of stable quarter sawn wood. Also, you can just as easily use your jointer plane to check for straight. [ 1 2 ]
 Build one
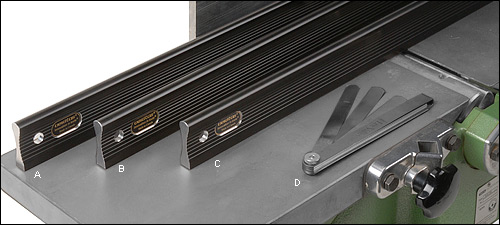 LV Aluminum Straightedge ($40)
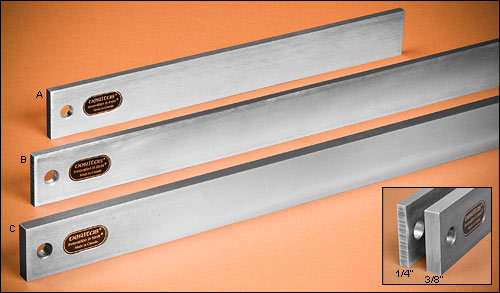 LV Steel Straightedge ($88)
Sliding Bevel
Sliding bevels (aka bevel gauges) let you replicate angles consistently. Choose one where the mechanism that tightens the blade doesn't stick out and prevent you from laying it flat.
$
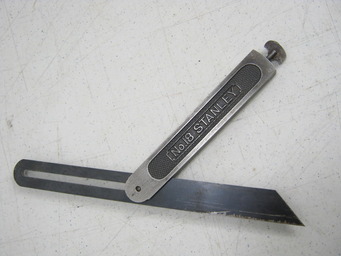 Buy vintage:
 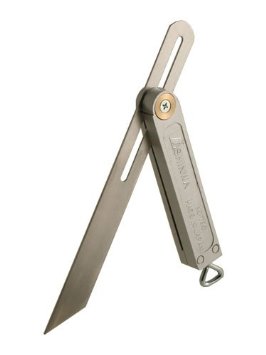 Shinwa Sliding Bevel 8″ ($25)
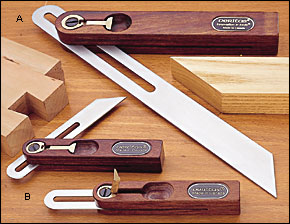 LV 10 inch ($52)
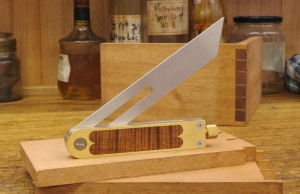 Vesper Sliding Bevel ($214)
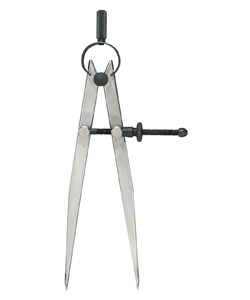
Dividers: 3″
 General 4″ Divider ($17)
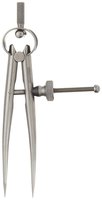 Starrett 3″ Divider ($56)
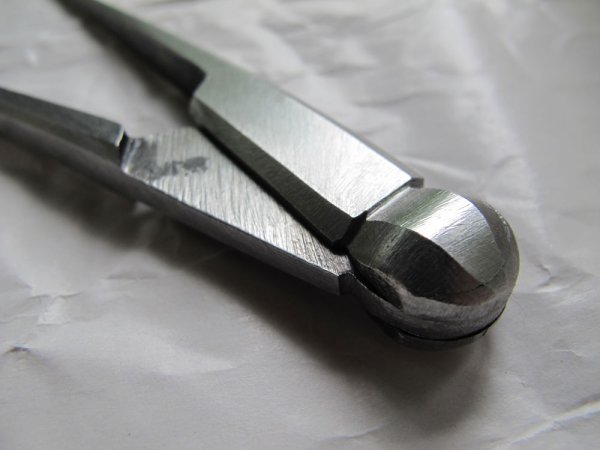 Peter Ross Hand Forged Divider ($125)
 Dividers: 6″
 Starrett 6″ Divider ($72)
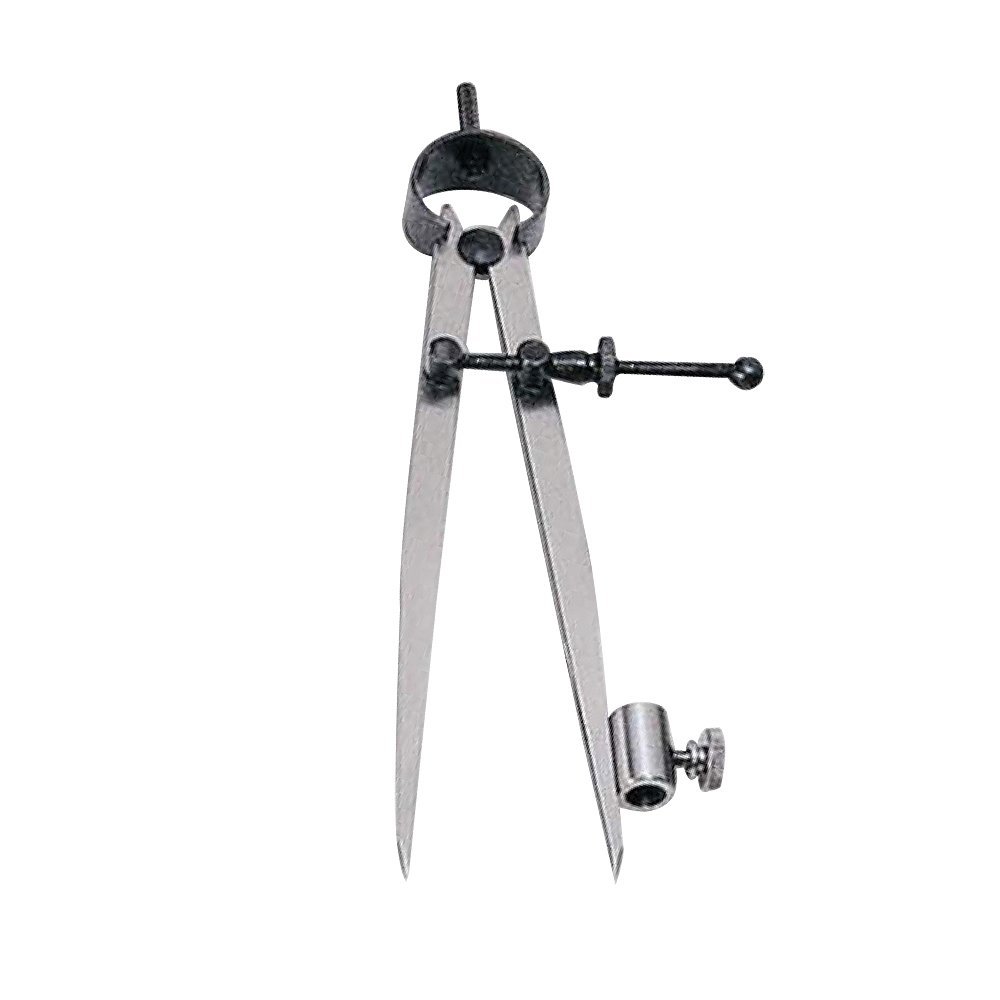 Kaufhof Compass ($9)
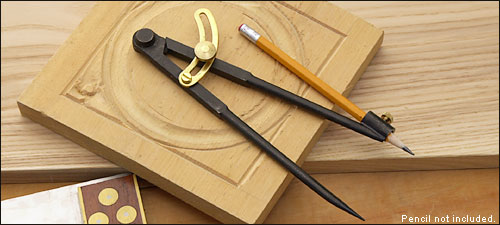 LV Compass ($44)
Protractor
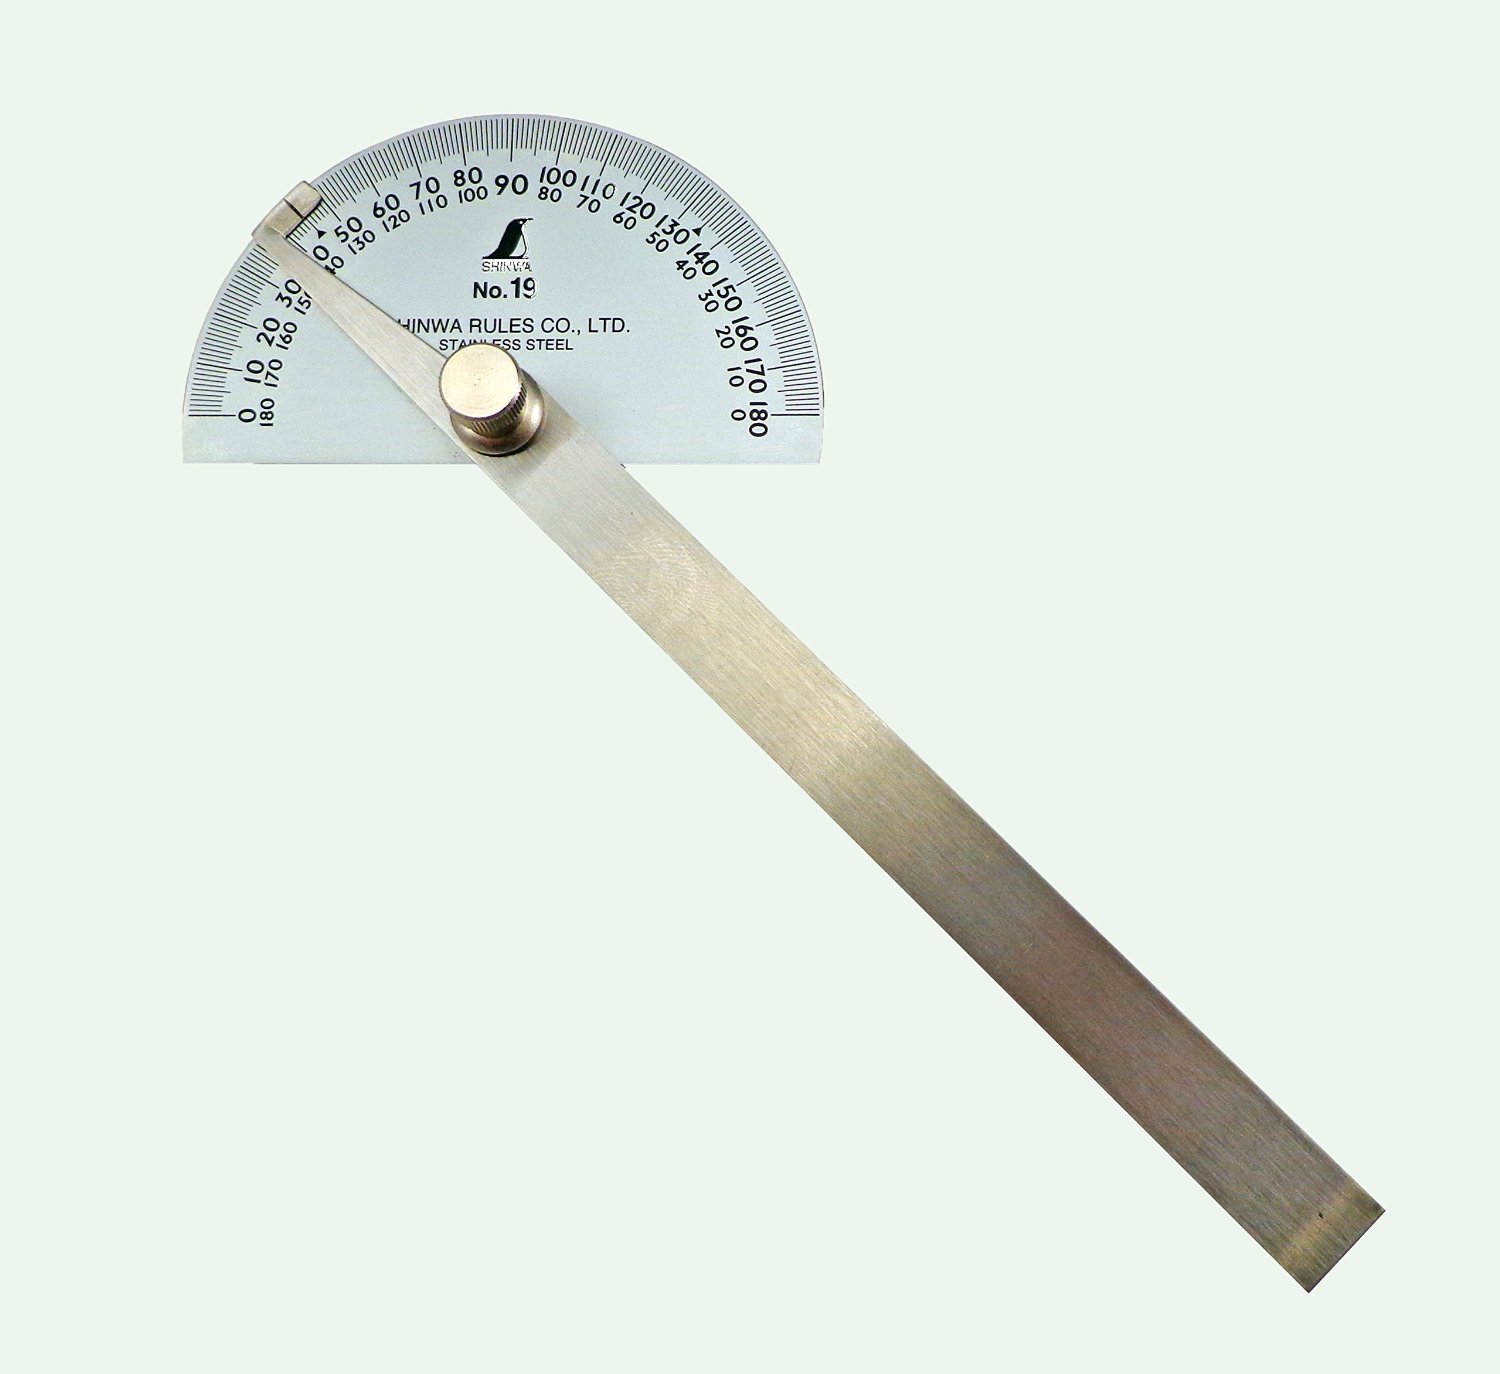 Shinwa Protractor ($15)
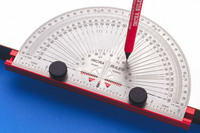 Incra Marking Protractor ($22)
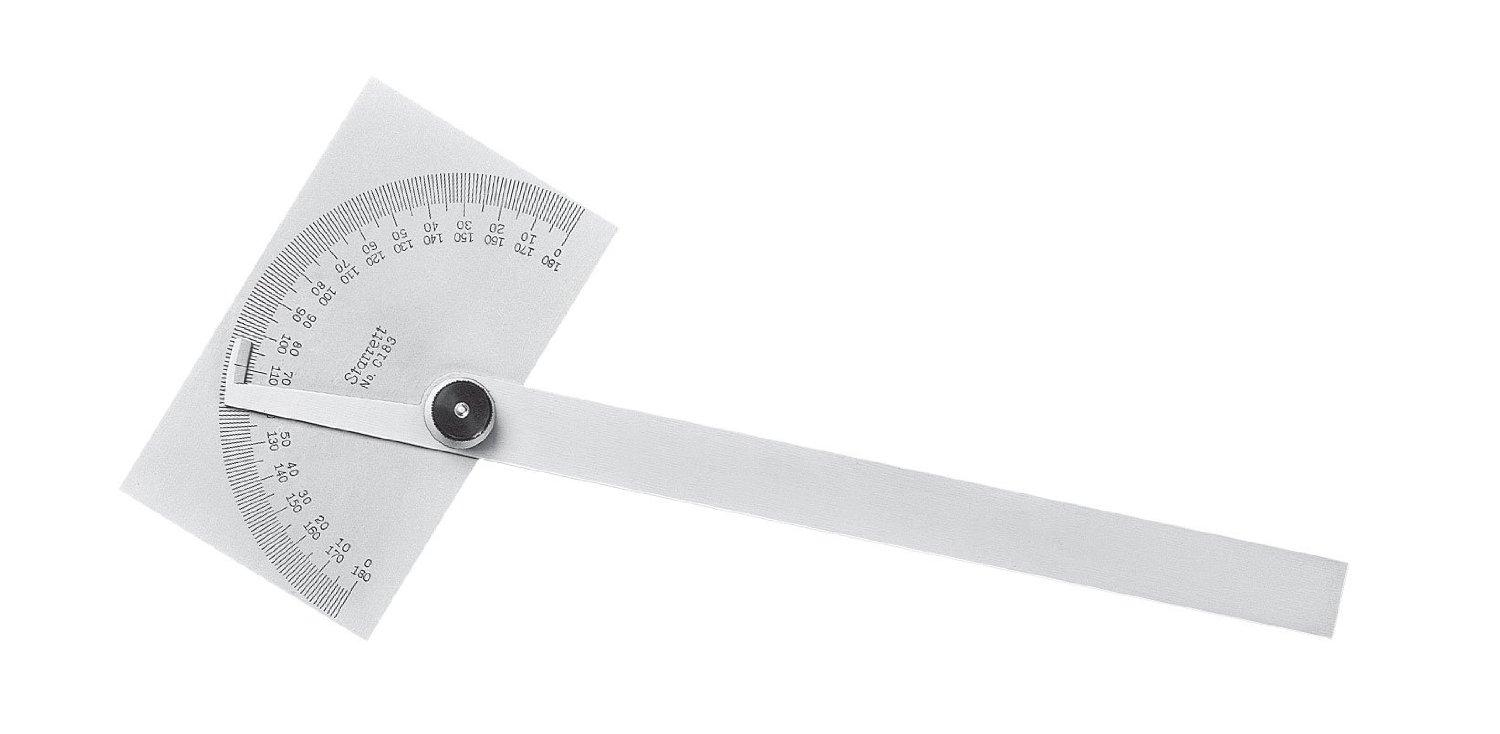 Starrett Protractor ($71)
Lumber Marker
Lumber markers help identify your pieces, whether it's labeling what type of wood your lumber is, or identifying the different furniture pieces. It's handy to have a few different kinds. Crayons are bright, but could affect your finish. Chalk is good for marking darker woods. Pencils for lighter woods. Whatever you use, learn about how to use traditional woodworker marks and the cabinetmaker's triangle to help remember which piece goes where. [ 1 2 ]
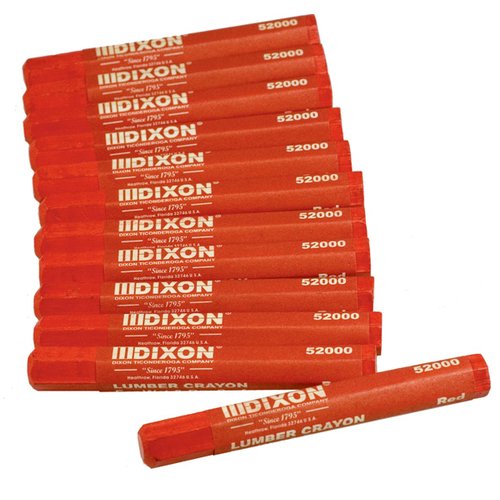 Lumber Crayons ($11)
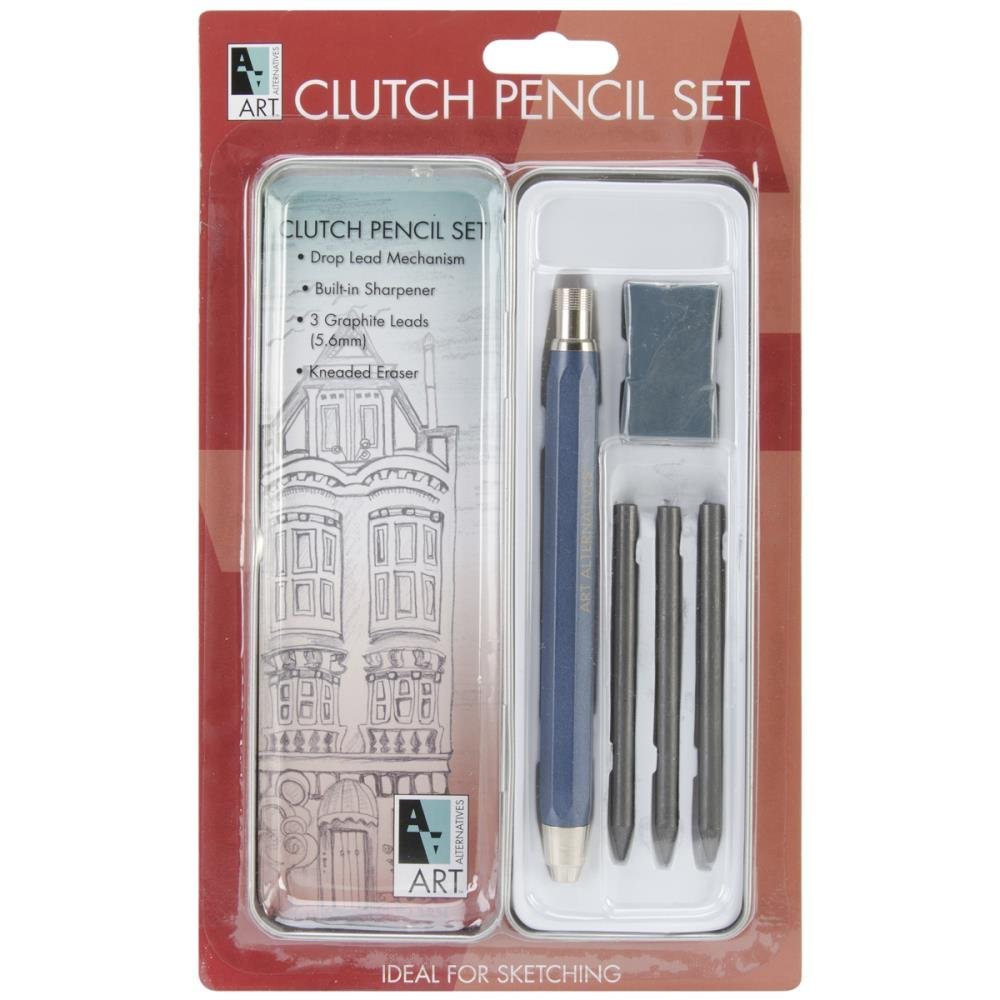 Pencil Lead Holder ($6)
$$$
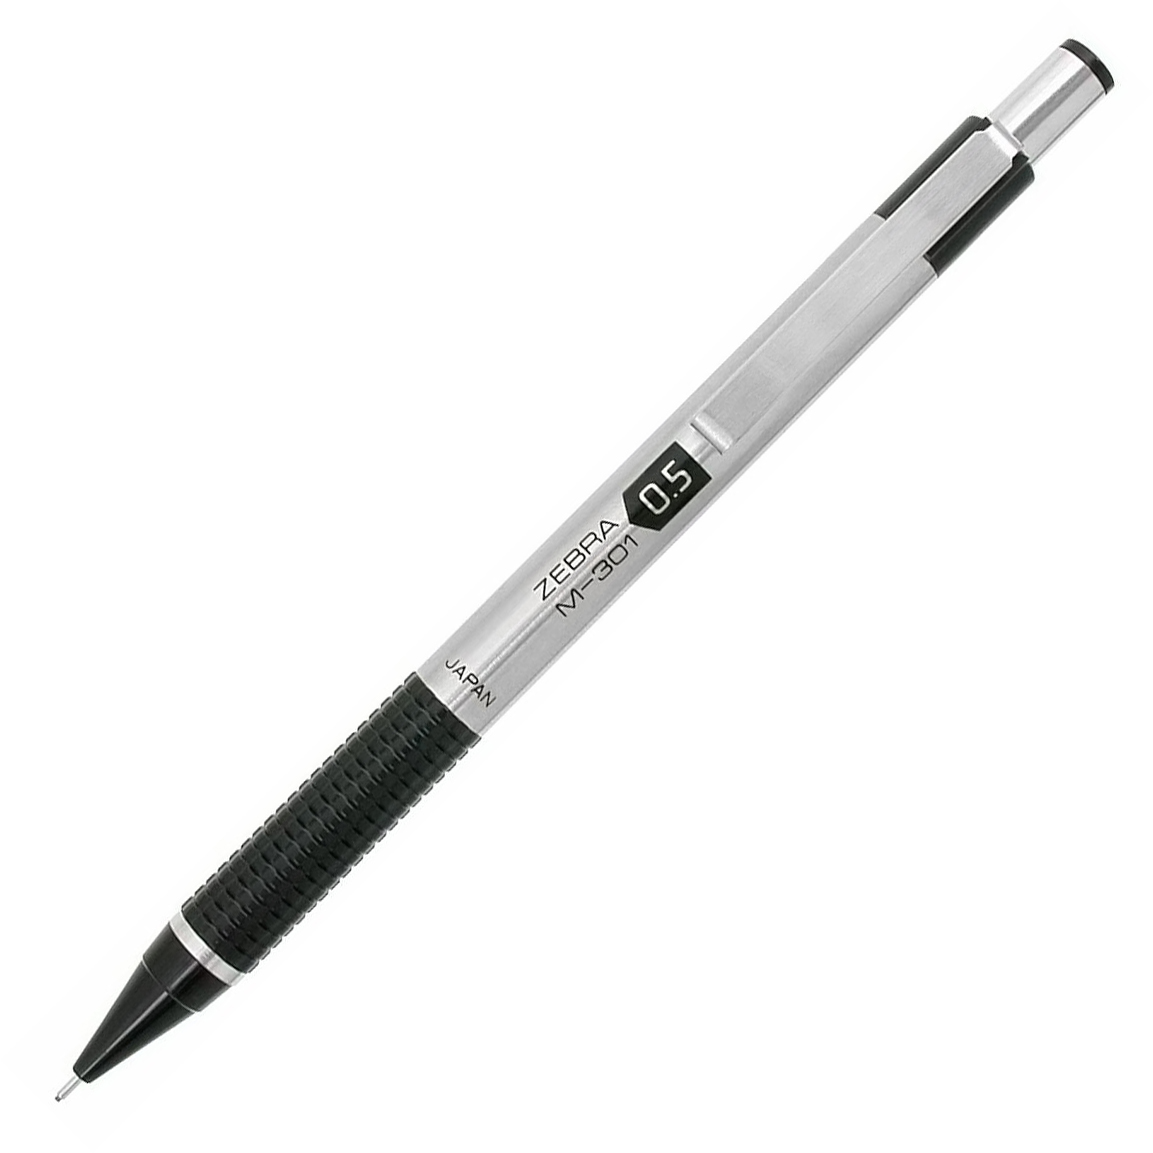
Mechanical Pencil
While marking knives are prefered over pencils in woodworking, a fine-pointed (0.5mm) mechanical pencil is handy for rough measurement. It's also useful for going over a knife lines to emphasize the marks. The pencil will highlight each side of the line and make it easier to see where to saw and chisel.
 Zebra ($3)
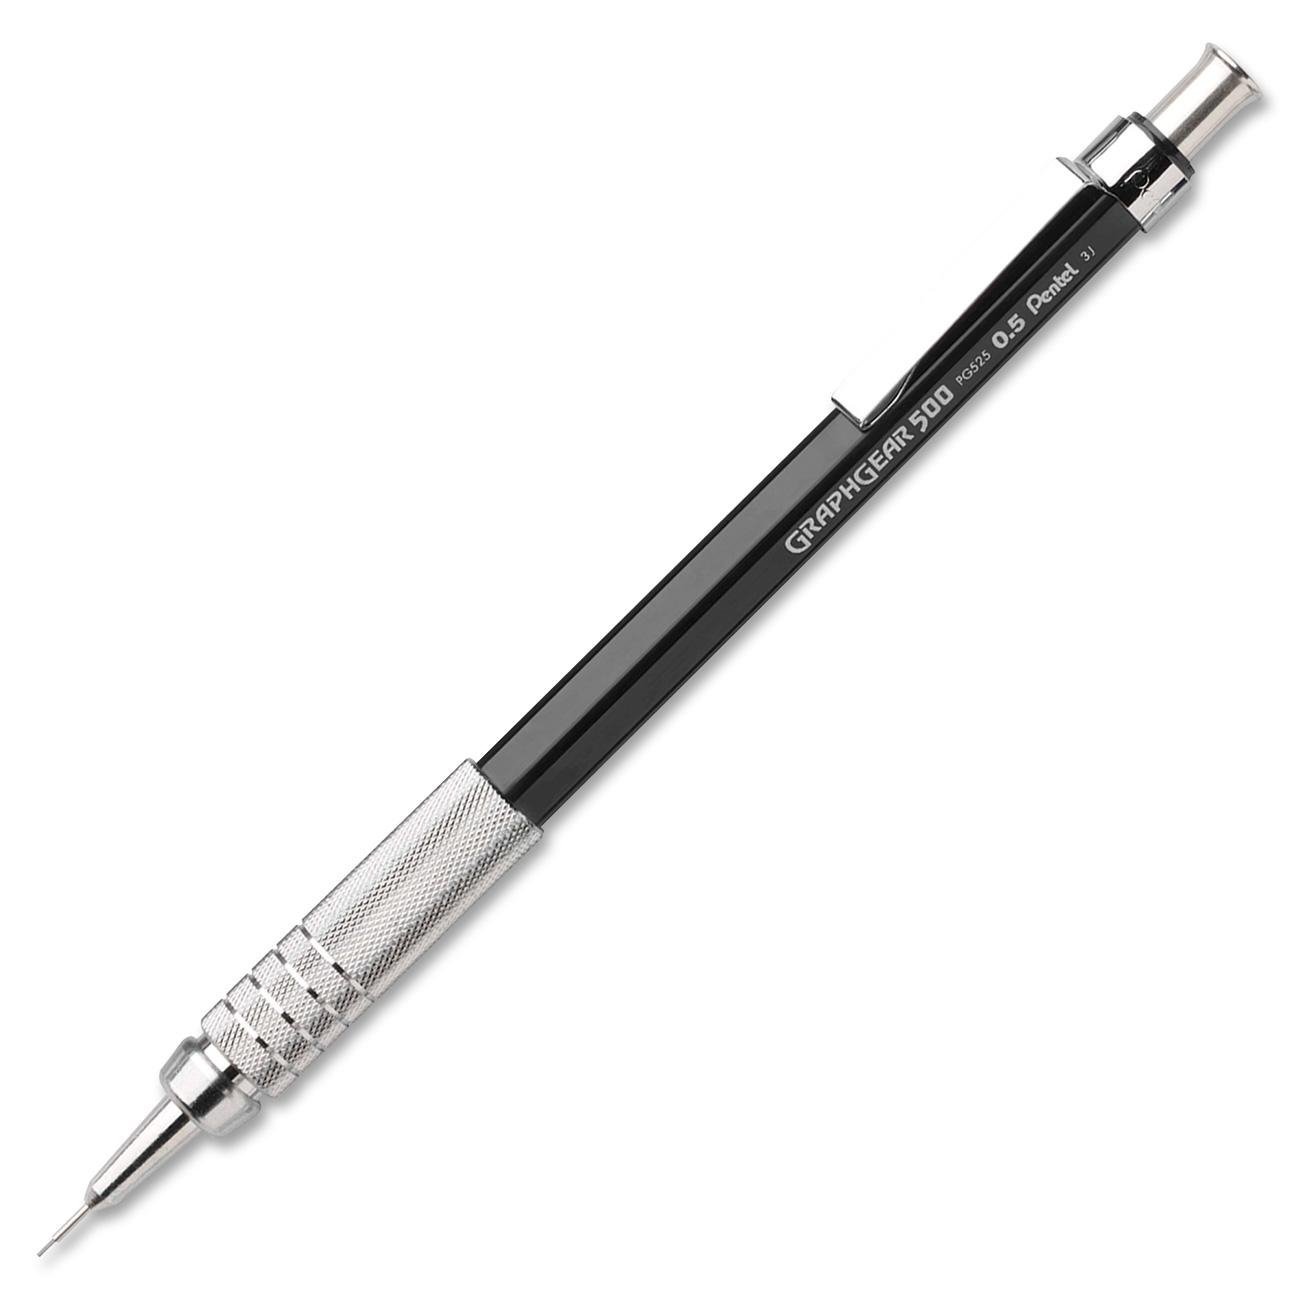 Pentel ($7)
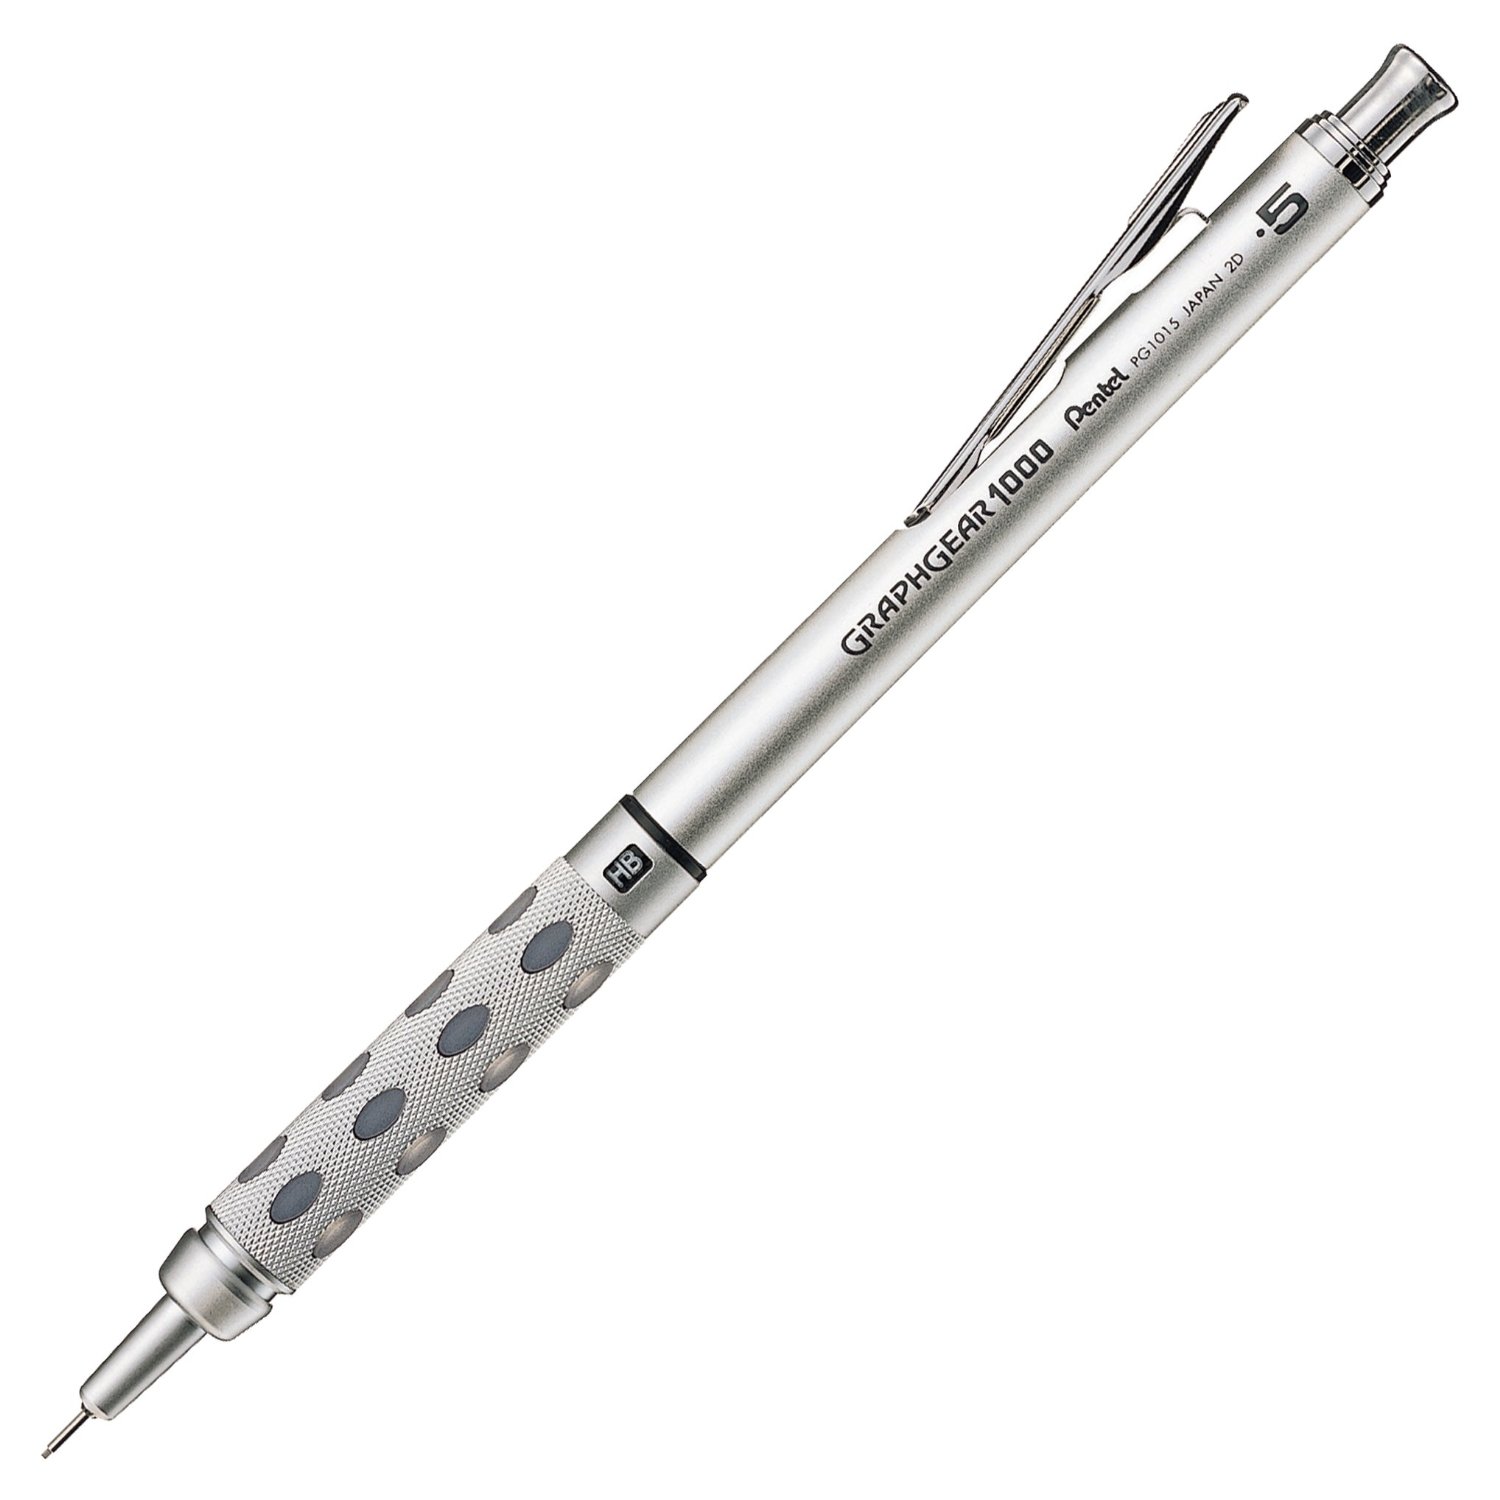 Pentel Retractable ($14)
$$$
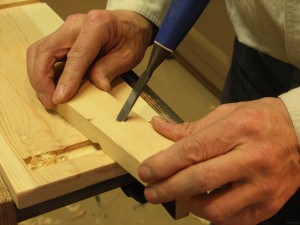
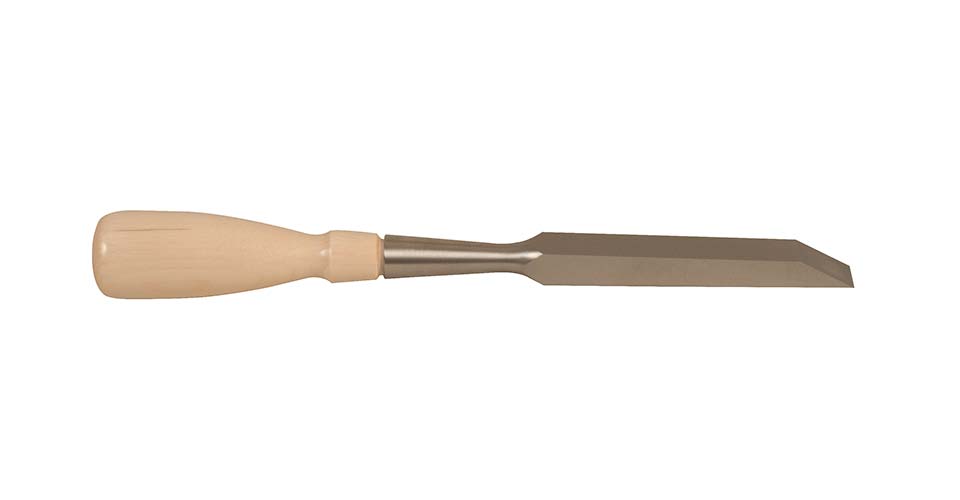
Chisels & Cutting
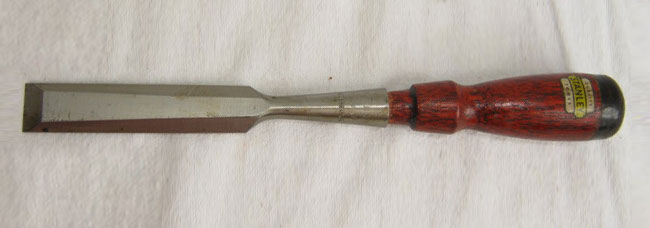
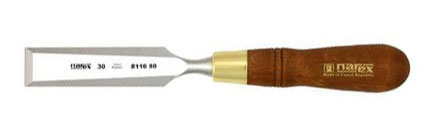
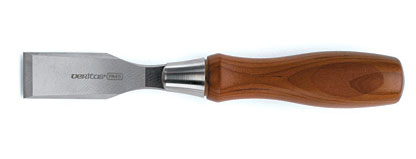
Bench Chisel Set
$
 Buy vintage:
 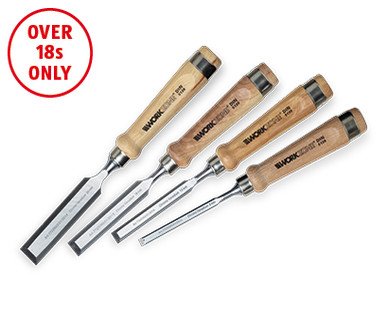 Aldi 4pc Metric ($13)
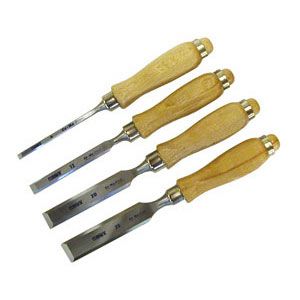 Narex Bevel 4pc Metric ($27)
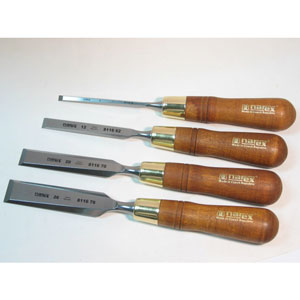 Narex Premium 4pc Metric ($40)
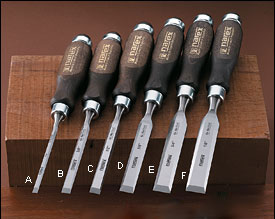
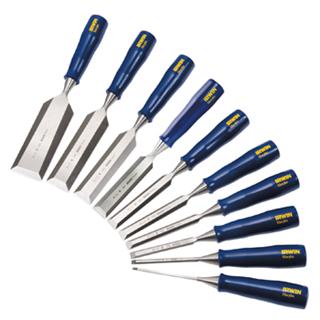 Irwin 4pc Inches ($37)
$$
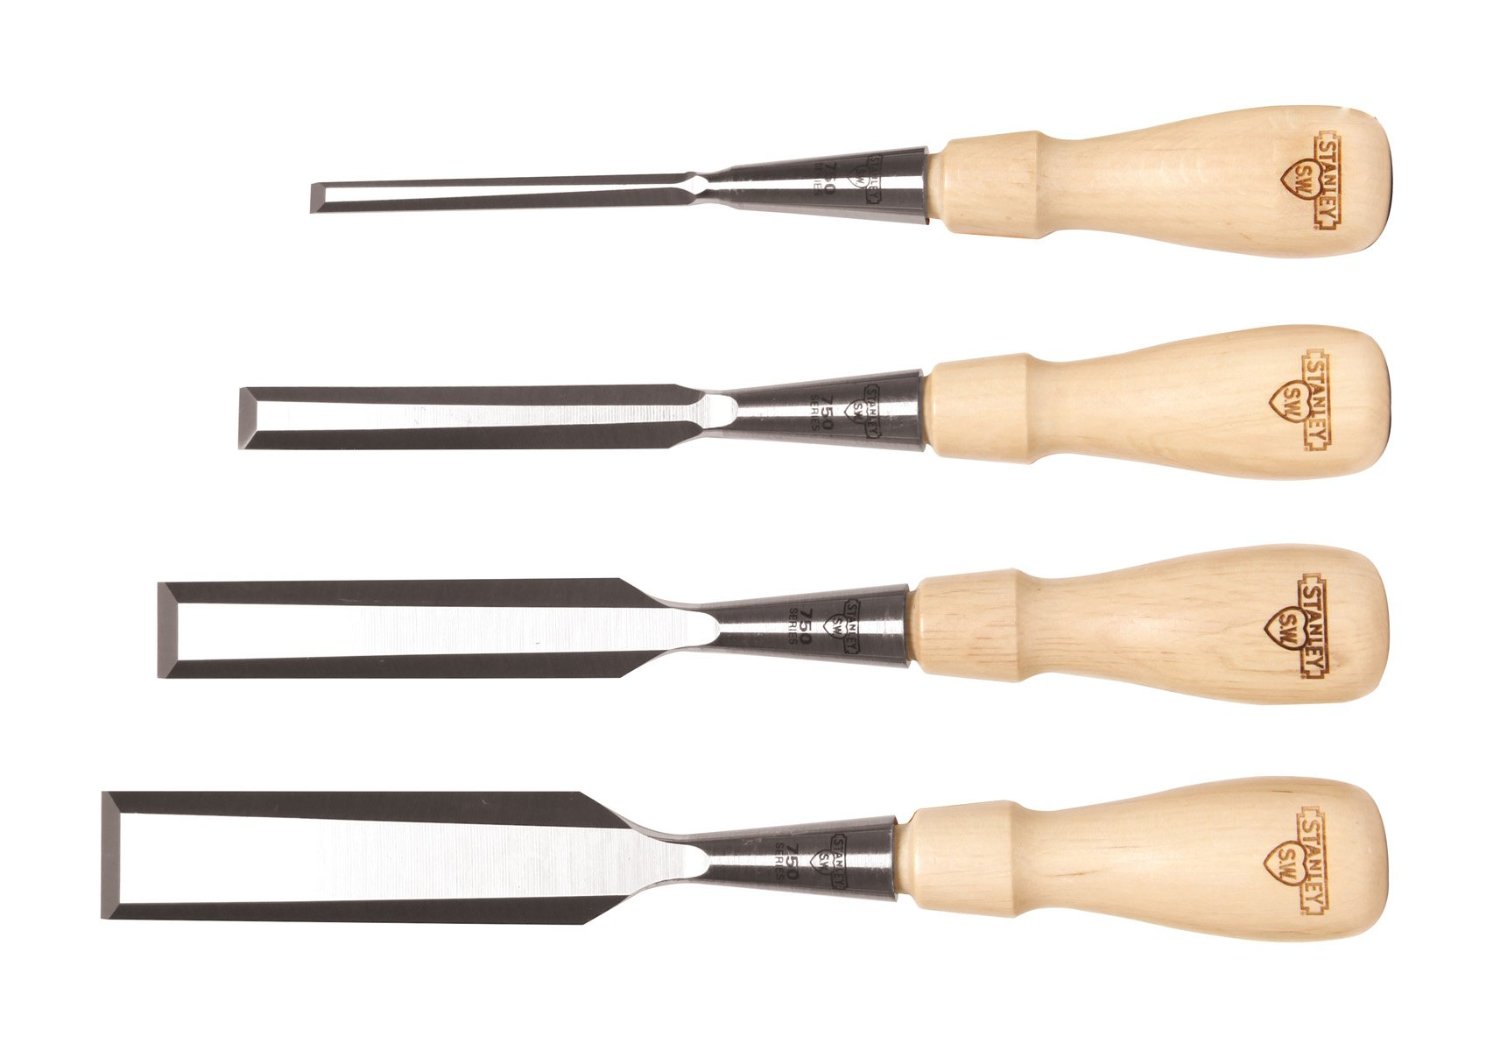 Stanley SW Socket 4pc Inches ($82)
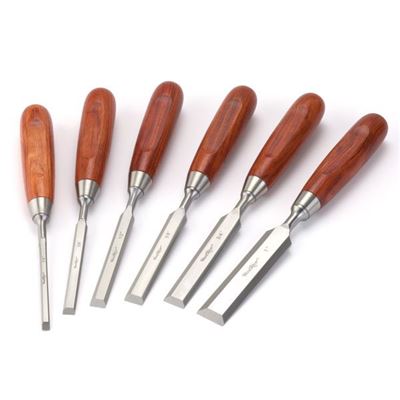 Woodriver 6pc Inches ($90)
 Ashley Iles Mk2 4pc Set ($121)
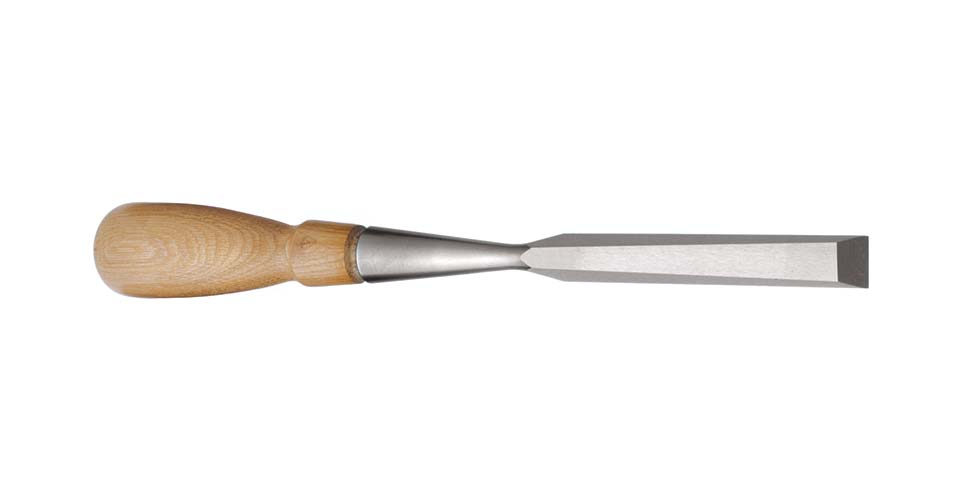 LN Socket Chisels 5pc Inches ($290)
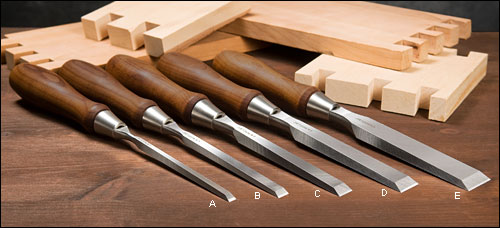 LV Chisels O1 4pc Inches ($309)
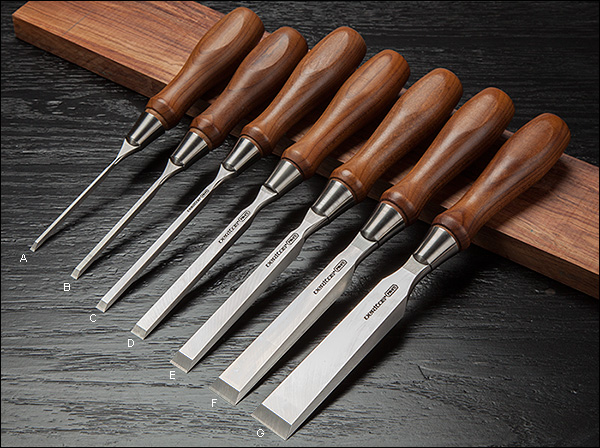 LV Chisels PM-V11 4pc Inches ($379)
 Blue Spruce 5pc Inches ($445)
Bench Chisel 1/8″
 Narex Bevel Metric ($8)
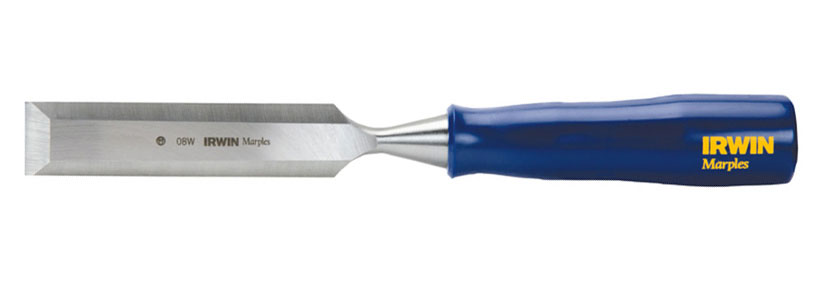 Irwin Inches ($10)
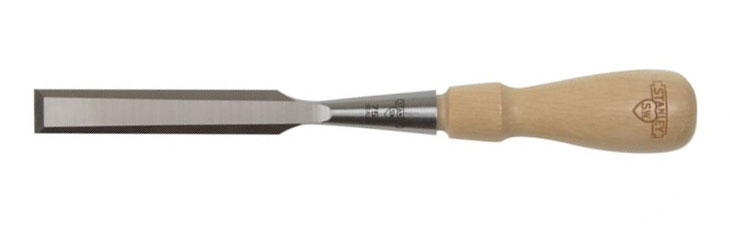 Stanley SW Socket Inches ($23)
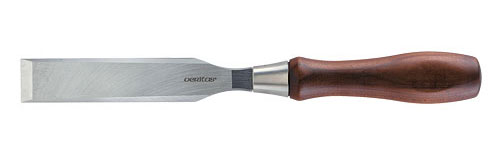 LV Chisel PM-V11 Inches ($72)
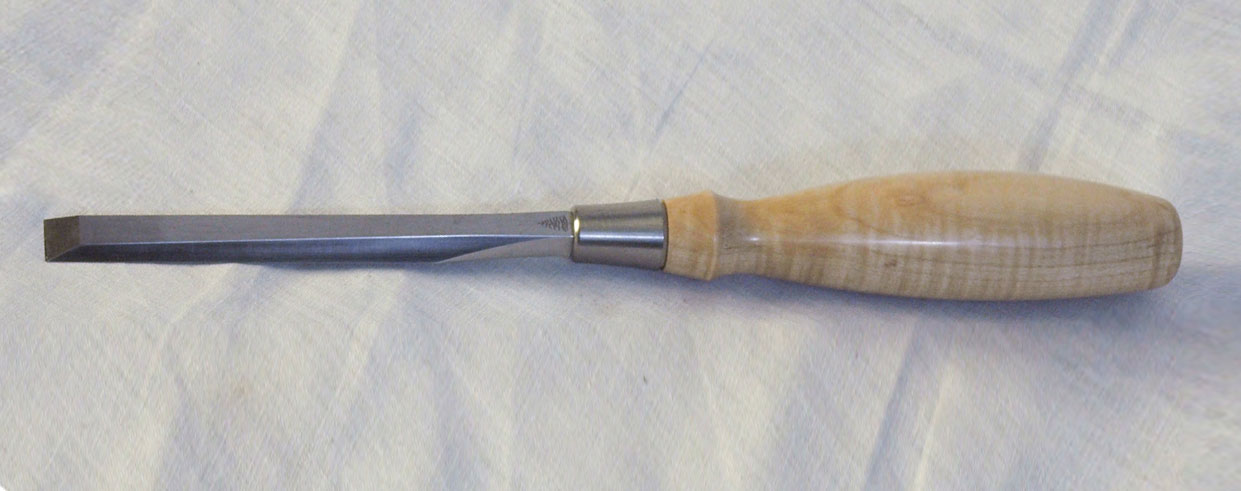 Blue Spruce Inches ($80)
Bench Chisel 1/4″
$
 Narex Premium Metric ($14)
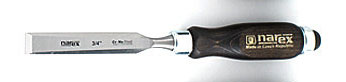
Bench Chisel 3/8″
$
Bench Chisel 1/2″
$
Bench Chisel 5/8″
$
Bench Chisel 3/4″
$
Bench Chisel 1″
$
Bench Chisel 1 1/4″
$
 LV Butt Chisel PM-V11 Inches ($83)
Bench Chisel 1 1/2″
$
$$
Bench Chisel 2″
$
$$
Mortise Chisel 1/4″
 Buy vintage:
 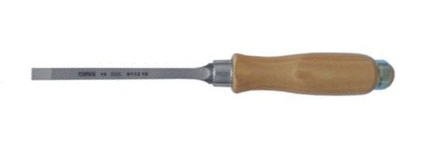 Narex Mortise Metric ($14)
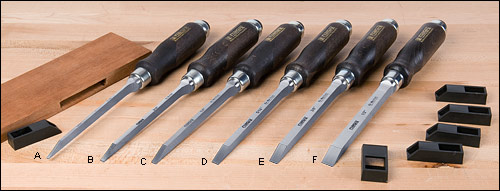
 LN Socket Mortise ($65)
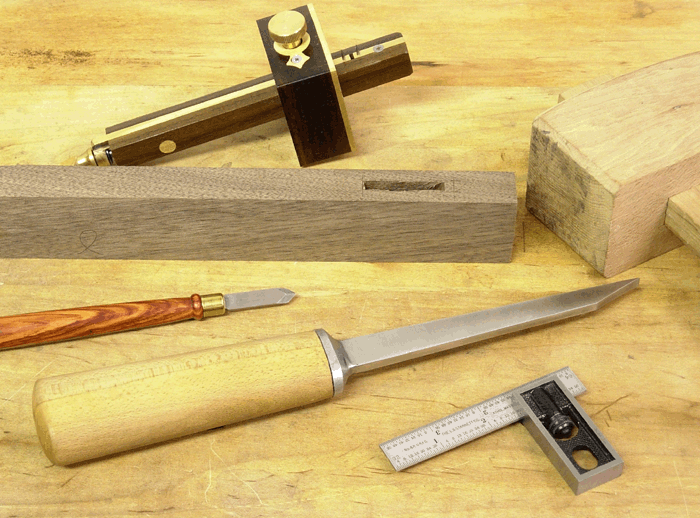 Ray Iles English Mortise ($68)
Mortise Chisel 5/16″
Mortise Chisel 3/8″
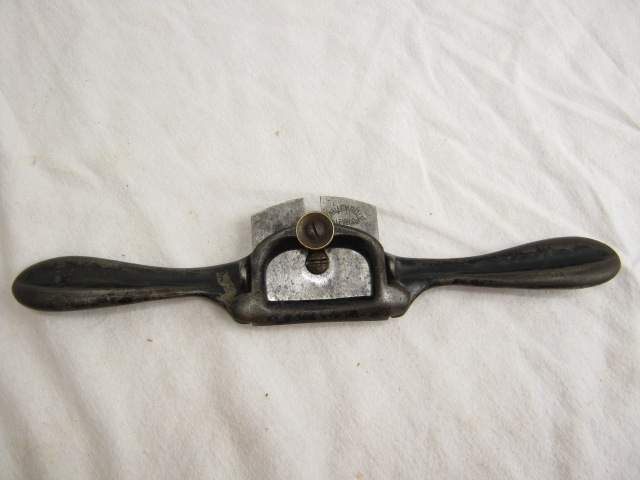
Spokeshave
The standard flat spokeshave is the best to purchase first. It can do both chamfering and shallow curves. Kunz is reported to be the best of the inexpensive Stanley copies. The LV/Veritas spokeshave has adjusters, but the Lie Nielsen is as easy to adjust with only a little guidance. [ 1 2 3 4 ]
$
 Buy vintage Stanley 51 or 52:
 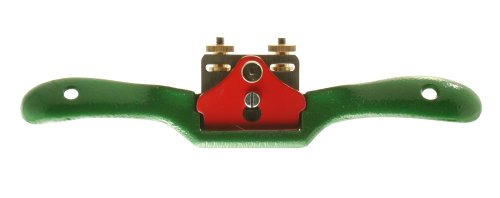 Kunz Spokeshave ($26)
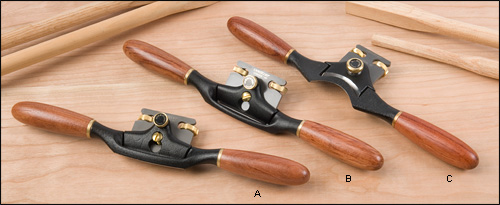 LV Spokeshave ($95)
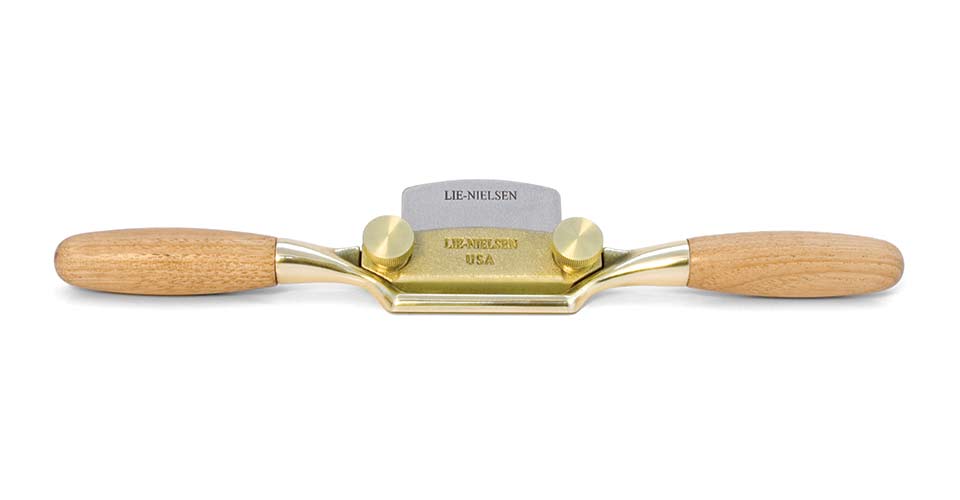 LN Boggs Spokeshave ($135)
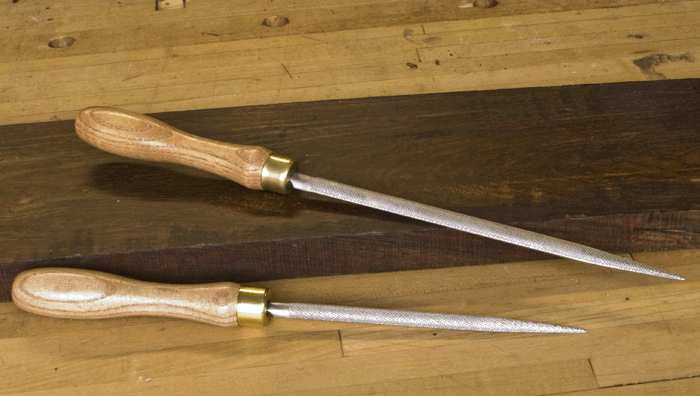
Rasps: Cabinet
The Shinto rasp isn't truly a cabinet rasp like these others, but it works great as an intro to using rasps. Many report that the quality of Nicholson rasps has slipped recently, so it may not be the best option. It is included here since it was recommended by name in a list. [ 1 2 3 ]
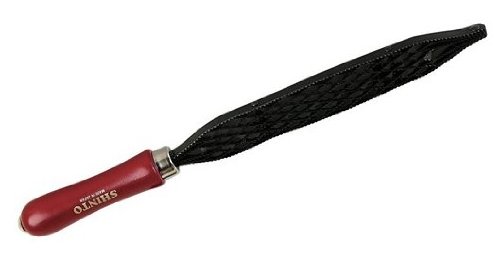 Shinto Rasp S ($20)
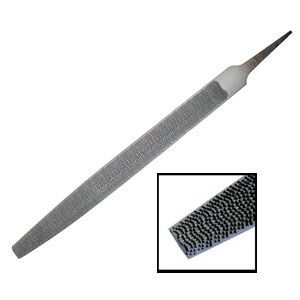 Nicholson #50 ($53)
 Gramercy 10″ 16tpi ($105)
 TBT 10″ Grain 9 ($93)
 Auriou 10″ Grain 9 ($124)
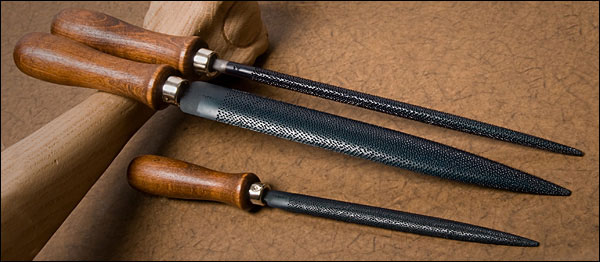 Liogier Set ($389)
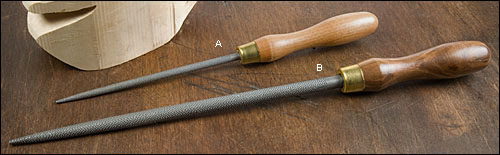
Rasps: Modelling
A medium rasp is for detailed work. Auriou tends to be mentioned most by woodworkers, although the Liogier has a similar history. The Gramercy is a newer option made in Pakistan and The Best Things have some made for them by Liogier. [ 1 2 ]
$
 Gramercy 6″ 25tpi ($40)
 TBT 6″ Grain 15 ($80)
Rasps: Rattail
A rattail rasp is for fine curves. Auriou tends to be mentioned most by woodworkers, although the Liogier has a similar history. The Gramercy is a newer option made in Pakistan and The Best Things have some made for them by Liogier. [ 1 2 ]
$
 Auriou 6″ Grain 13 ($84)
Rasps: 4 way
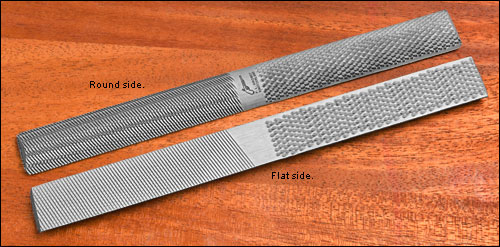
4 way rasps are a inexpensive way to get introduced to curved woodworking.
 Grobet 4-in-1 ($14)
$$
$$$
Gouge
$
$$
$$$
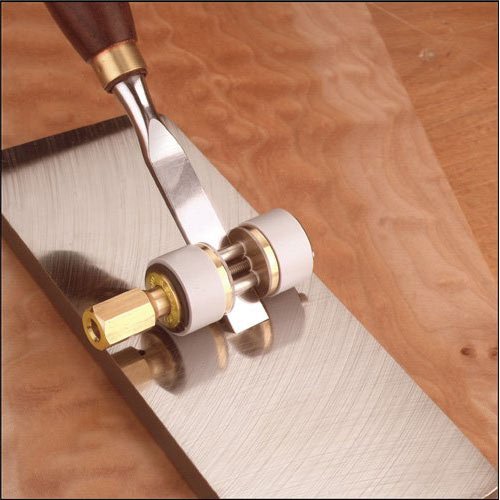
Card Scraper
Working with card scrapers is like having a never-ending supply of sandpaper. They are especially useful when you need to smooth out difficult grain. Card scrapers really only differ in their thickness (which affects flexibility) and shape. A thickness of 0.80mm (.032″) is fine to start with and the Bahco brand is nice since it comes with a case. Sharpening card scrapers often requires a burnisher. You can likely use a tool you already have (like a nail set), or buy one just for the task. [ 1 2 3 4 ]
$

$$
$$$
Carpenter's Hatchet
$
$$
$$$
Drawknife
$
$$
$$$
Striking & Fastening
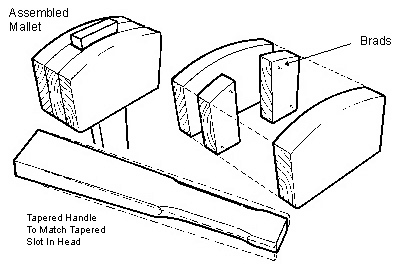
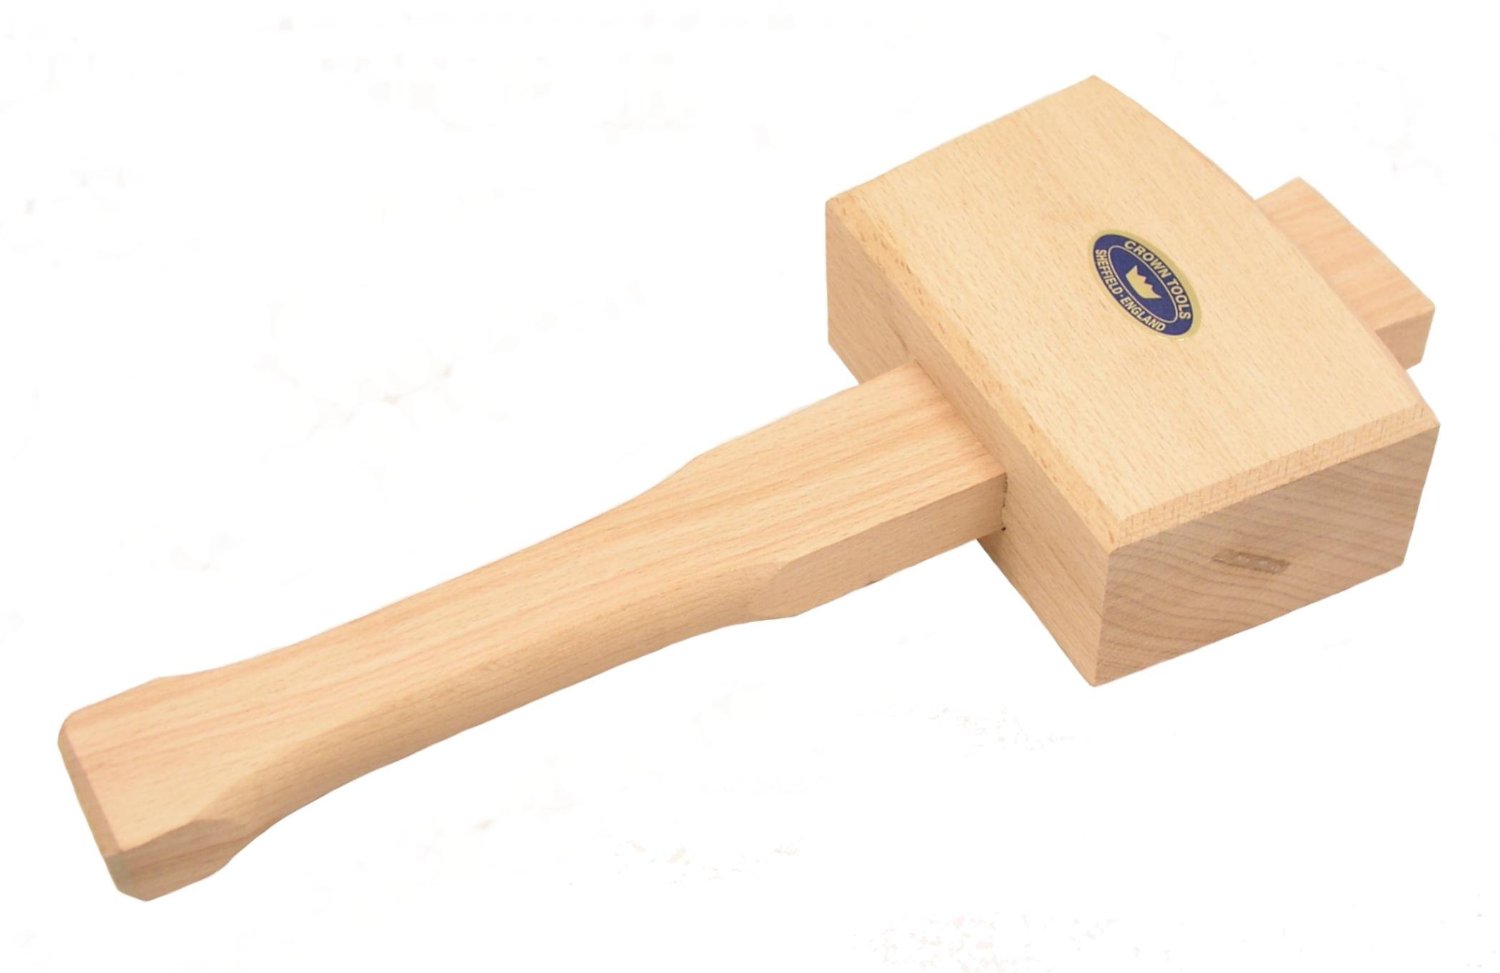
Mallet
Mallet choice can be very personal, but almost any mallet will work to start with. The differences are mostly shape (a square Joiners Mallet vs. round Carvers Mallet) and weight (lighter for detail work vs. bigger for heavy work like mortises). Consider something between 16oz to 20oz (4-1/2″) to start with. If you choose to make a mallet, the laminated ones are the easiest to build and most forums have great examples and tutorials. More expensive mallets are often made with different materials, like brass, urethane, or resin-impregnated wood, to change the weight, size, or durability. [ 1 2 3 4 ]
$
 Thorex Thor Two Sided 712R ($27)
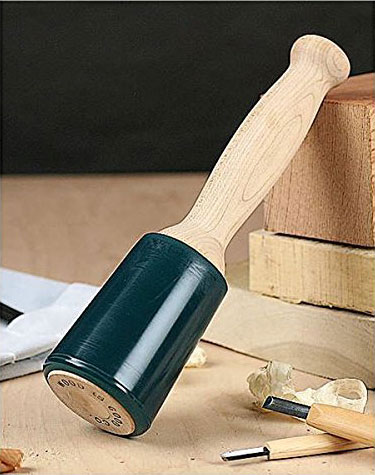 Wood is Good 18oz ($35)
 Blue Spruce Round Mallet 16oz ($80)
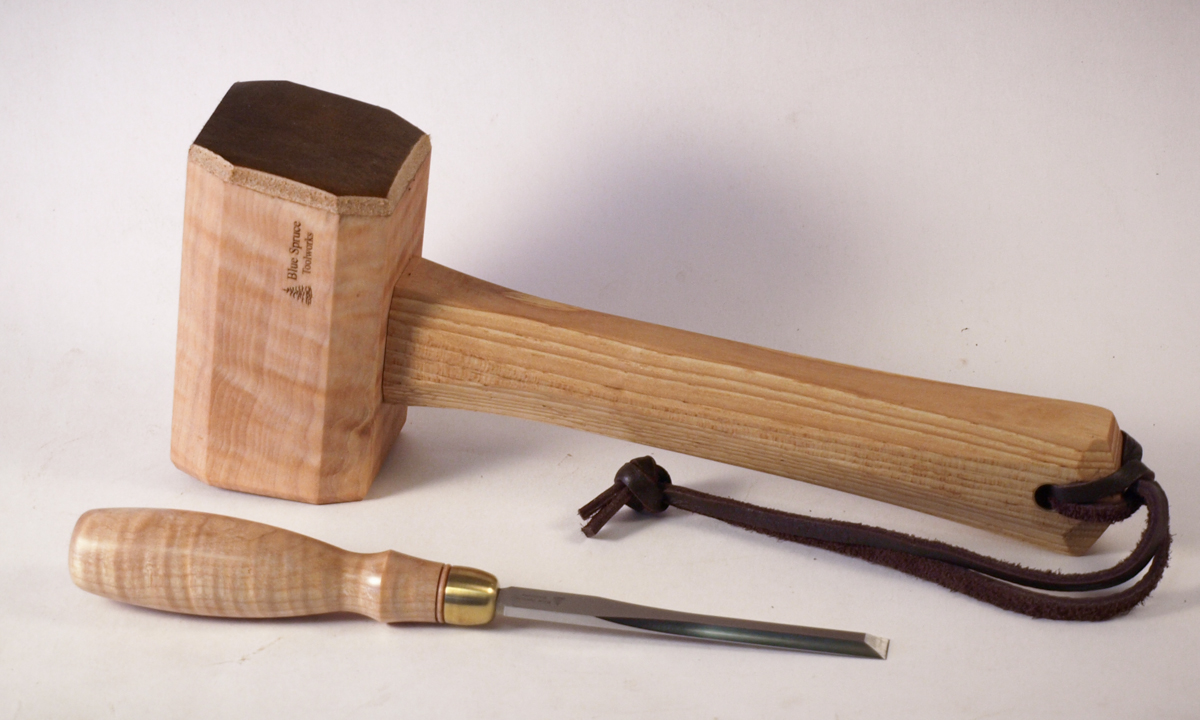 Blue Spruce Square Mallet 16oz ($95)
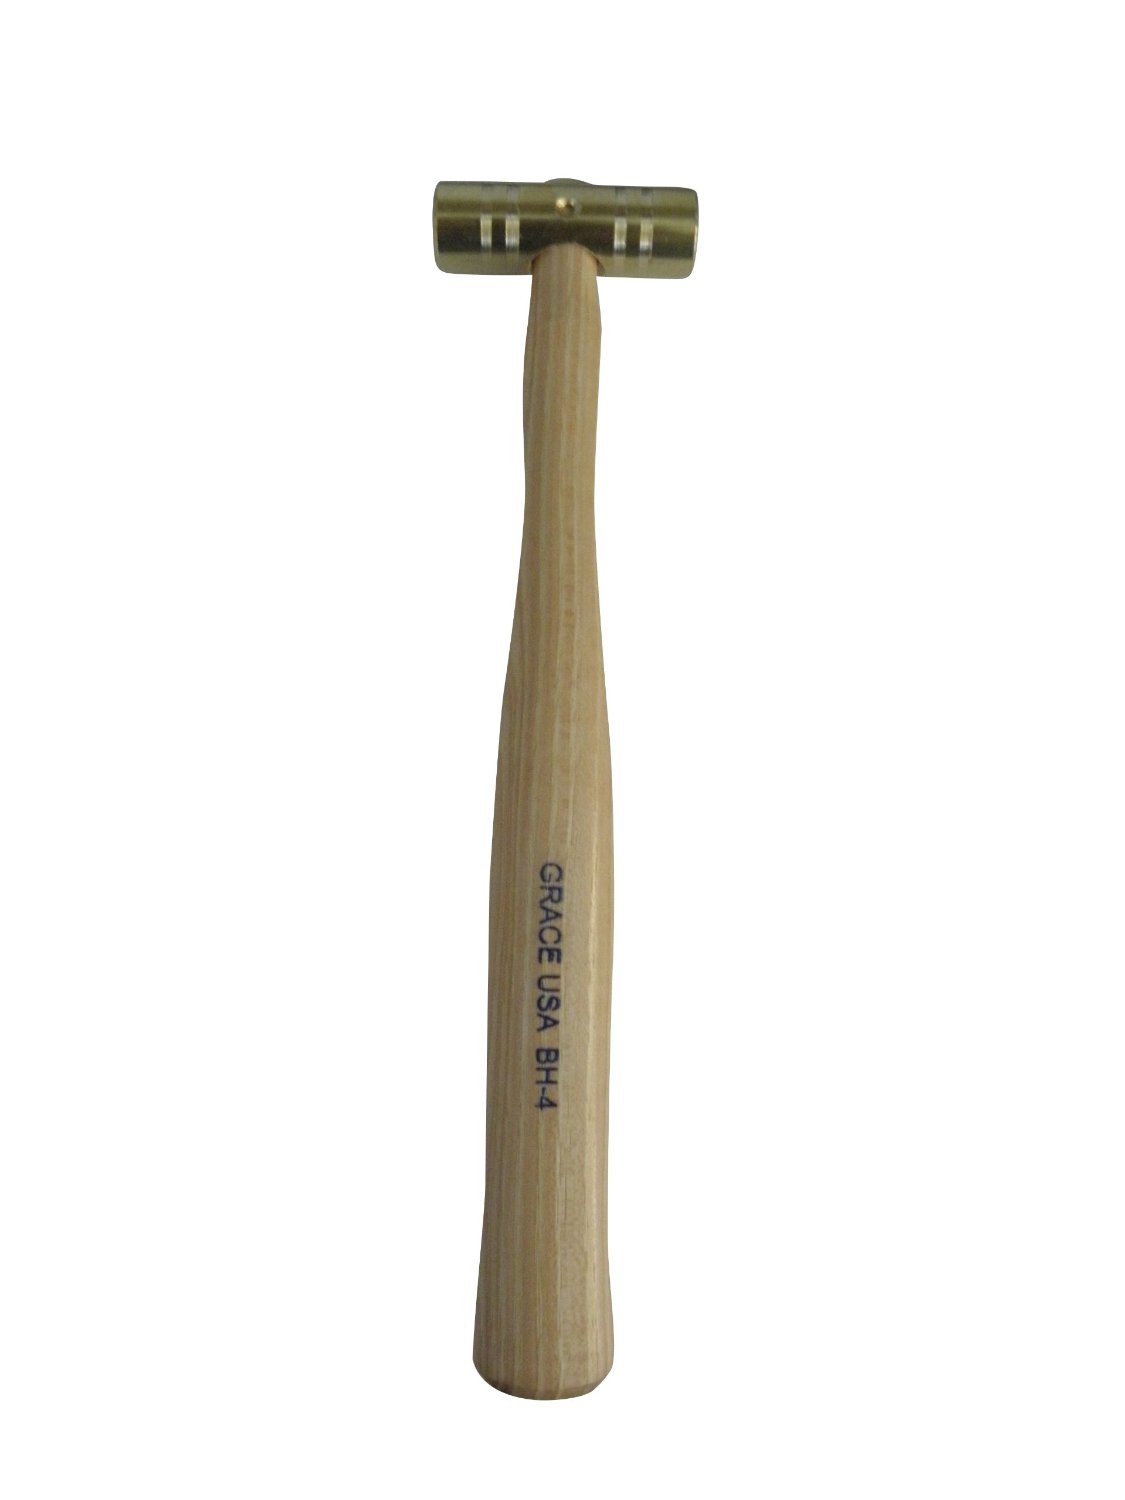
Cross-peen Hammer
Cross-peen hammers can be used for small nails (brads), but in a hand-tool shop it is more often used for adjusting your plane blades. For use with a plane, some prefer Brass because it is softer than the iron your blade is made of, and some hammers come with a wooden side for use with wooden planes. Schwarz in the Anarchist's tool chest suggests a weight between 3oz to 6oz.
 Woodstock Cross-peen ($16)
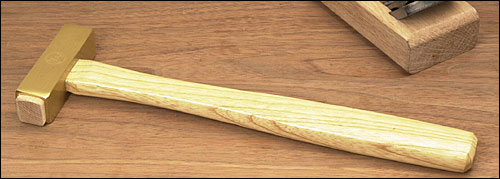 LV Plane Hammer ($37)
 Glen Drake Plane Hammer ($74)
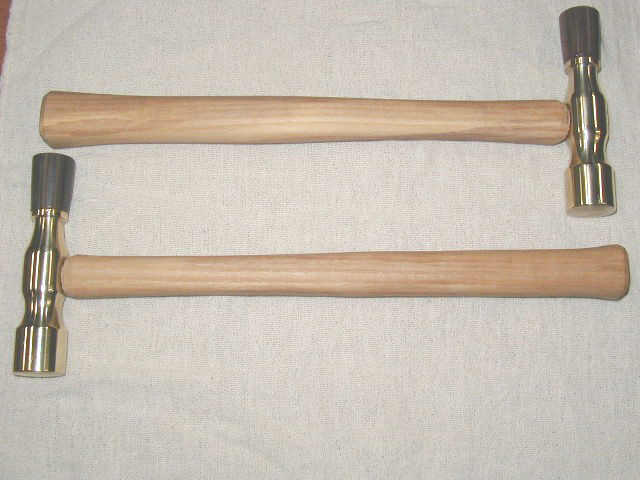 Chester Plane Hammer ($60)
 Sterling Plane Hammer ($135)
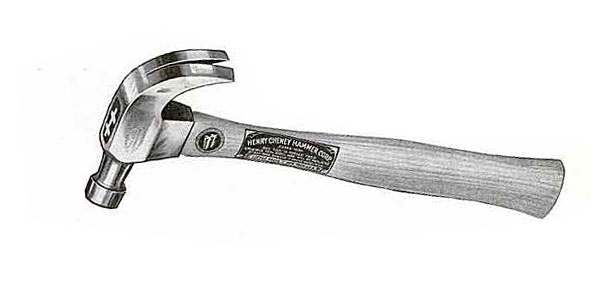
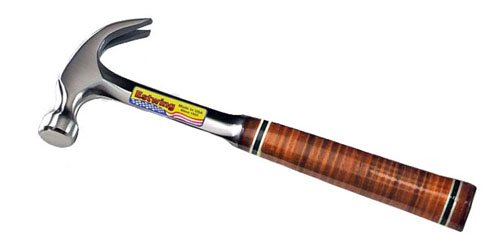
Claw Hammer
Nails are as traditional as dovetail joints, and hammers are essential for your kit. Traditionalists like wooden handles, smooth heads, and curved (not straight) claws. Woodworkers tend to use smaller hammers than carpenters so 16oz or less is prefered.
 Buy vintage:
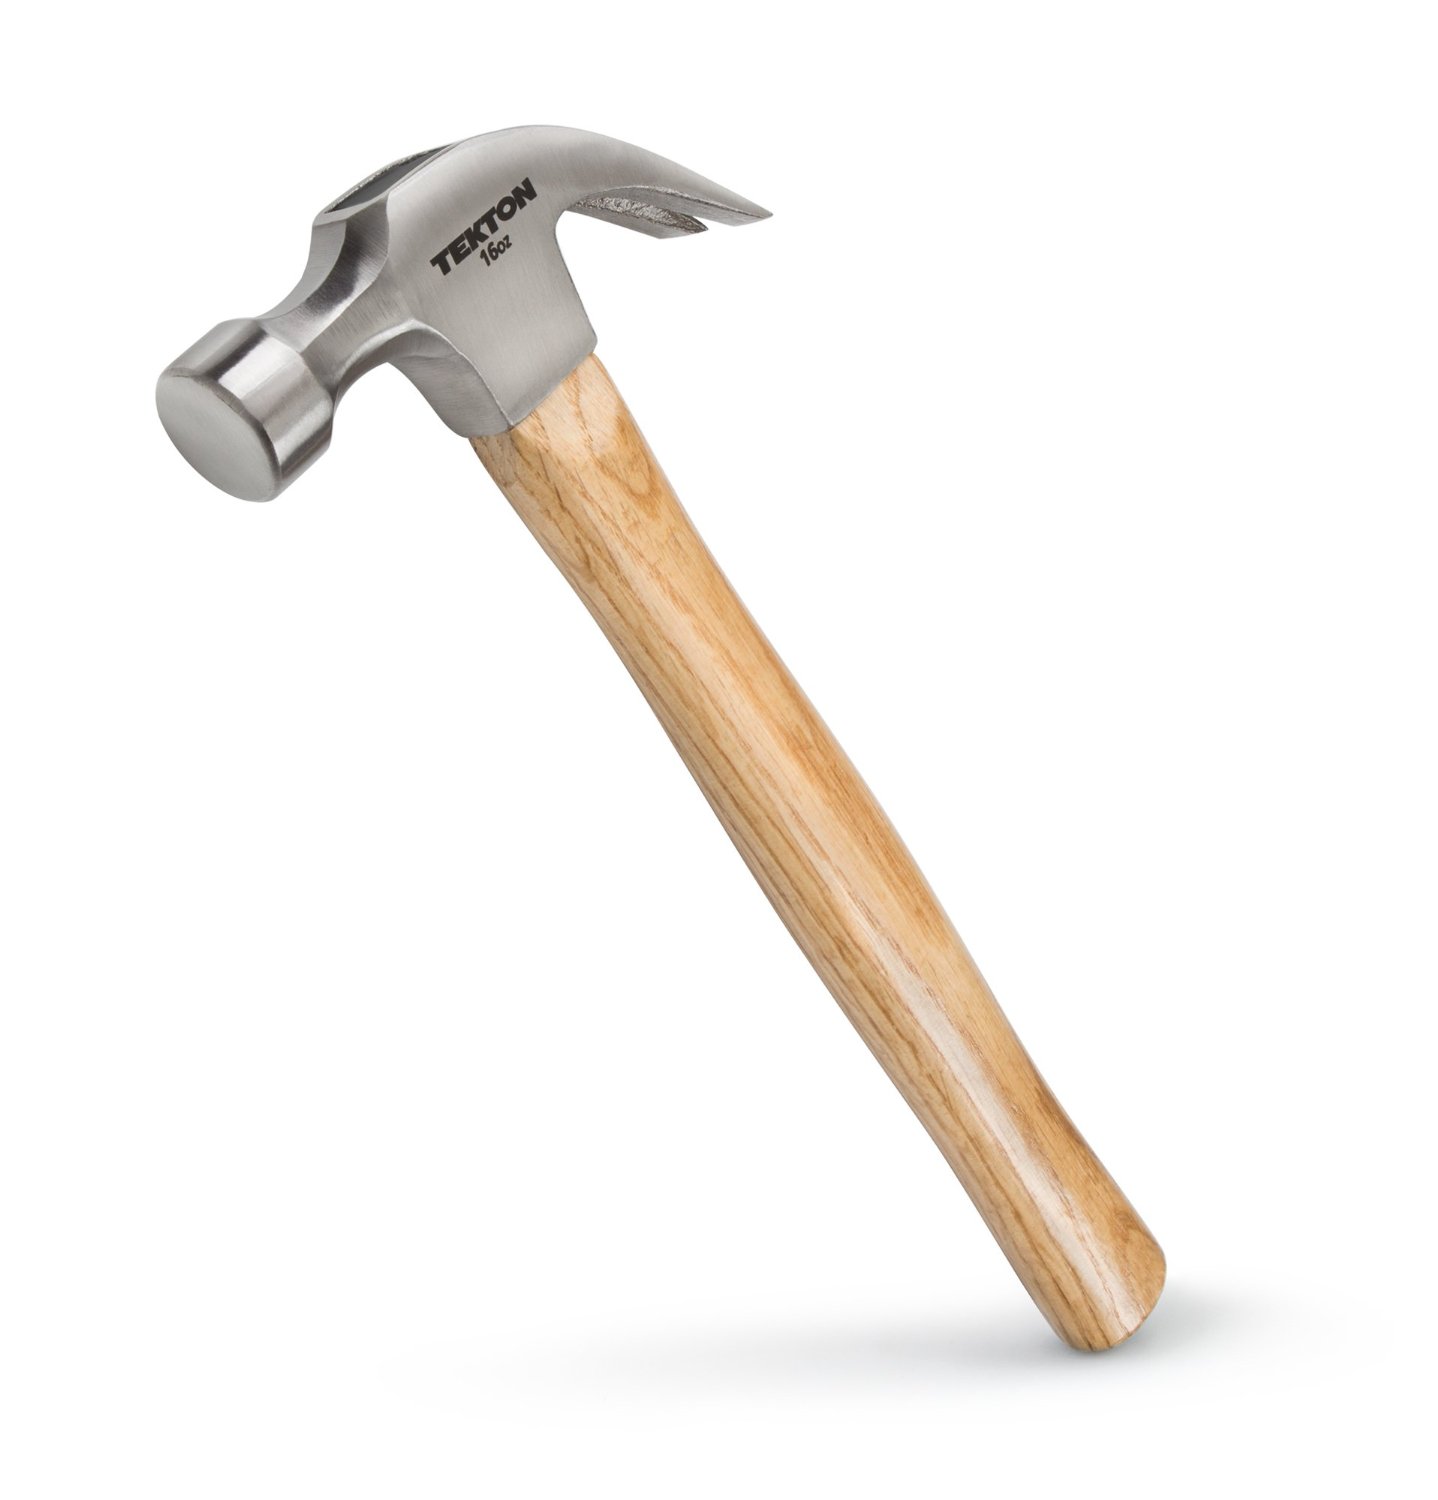
 Estwing Claw E16C ($38)
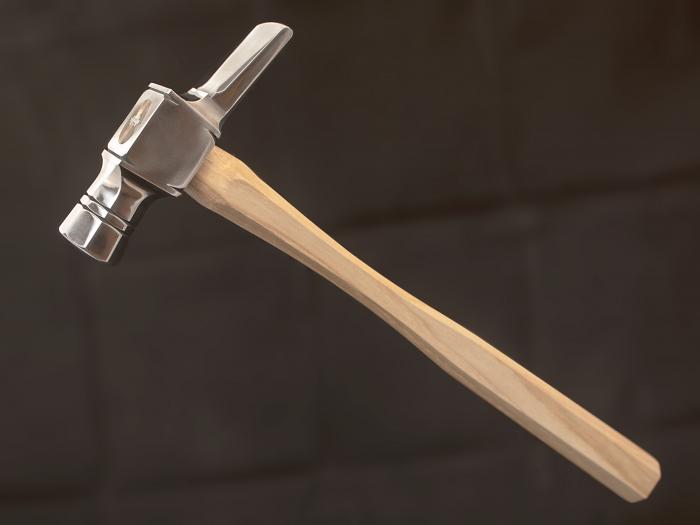 Gramercy Hammer ($250)
Drilling
Saws
TBD
[ 1 2 3 Where to Buy Saws There are lots of places to buy new, sharp backsaws, but buying a sharp handsaw or ripsaw is more of a challenge. However, there are three gentlemen I have bought handsaws and ripsaws from that I can recommend. Sometimes they also have backsaws in stock, though vintage backsaws are a lot more rare than handsaws. Daryl Weir (weir@gallatinriver.net): 781 S. Market St., Knoxville IL 61448. Daryl sharpens saws and sells saws on eBay on occasion. Steve Cook (SharpeningGuy01@aol.com): 1160 Taxville Road, York, PA 17408. Steve also sharpens saws if you have an old saw that you need toughed up (or completely refiled). Tom Law: 62 West Water St., Smithsburg MD, 21783, 301-824-5223. Tom no longer sharpens saws for hire, but he will sell you a saw that he has rehabbed and sharpened. If you know of other reliable sources for buying sharp handsaws, add a comment below. ] [ 1 2 ]
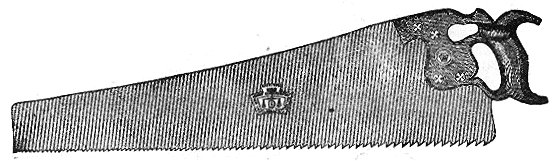
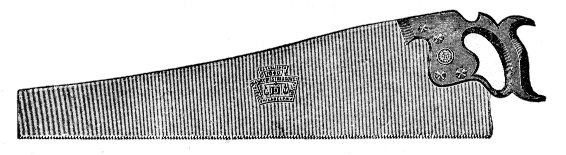
Rip Hand Saw
A rip saw is a good choice for your first hand saw because making rip cuts is more arduous than cross cuts.
$
 Shark (or equivalent) Ryoba ($29)
 Thomas Flinn PAX 26″ Rip Saw ($125)
 Wenzloff 20″ Panel for LV ($239)
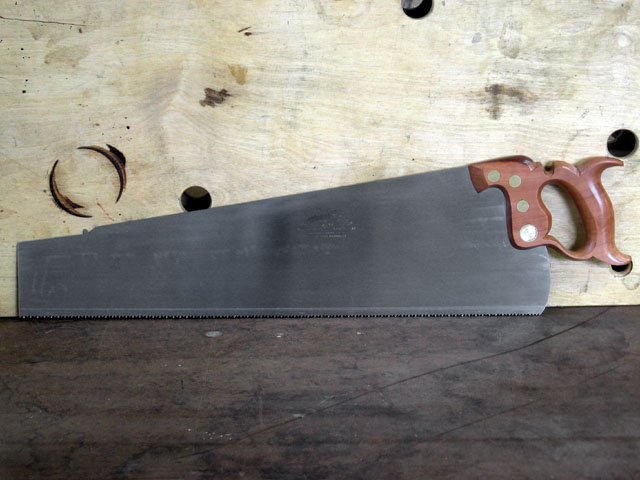 Wenzloff 24″ Panel Harvey Peace ($295)
Crosscut Hand Saw
Crosscut hand saws cut accross a board and leaves a fine surace.
$
Fine Crosscut Hand Saw
A fine crosscut hand saws will leave a fine surface only needing a couple passes on a shooting board for finishing.
$
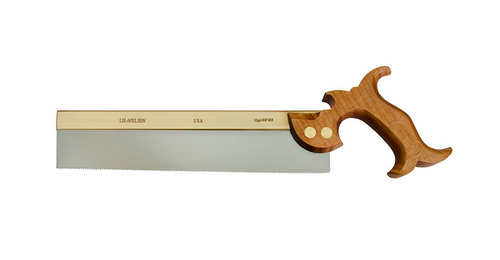
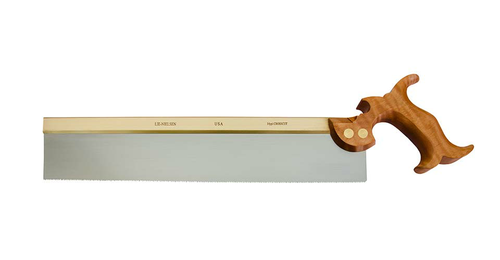
Dovetail Saw
Dovetail saws are the small detailed saws used for their namesake. If you only use hand tools, consider it for your second backsaw since it's shallow height and fine teeth limit it's flexibility. Ther are a lot of options these days, from the best value Veritas line, to custom makers here and listed below. There are even some unique ideas like Glen Drake's two-handed saw. [ 1 ]
See Hand Tool Makers for even more saw wrights and custom saw builders.
$$
 LN Dovetail 10" 15ppi Rip ($125)
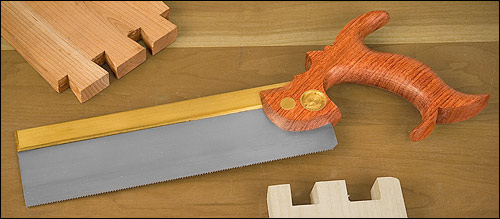 Wenzloff Dovetail 9" 14ppi Rip ($150)
 Wenzloff Peace Dovetail 9" 15ppi Rip ($150)
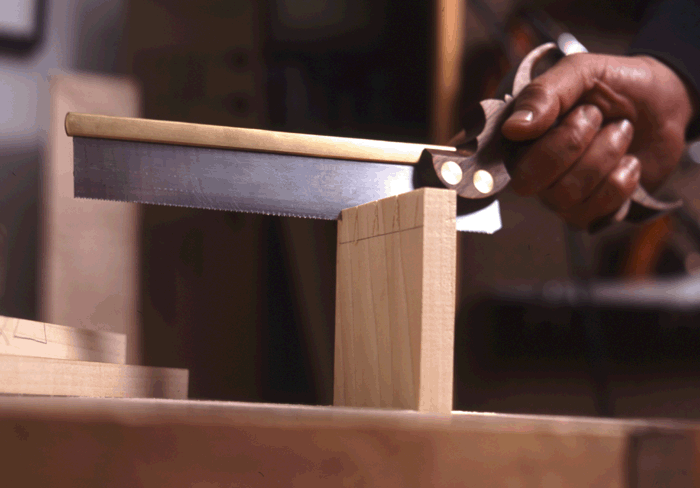 Gramercy Dovetail 9" 19ppi Rip ($190)
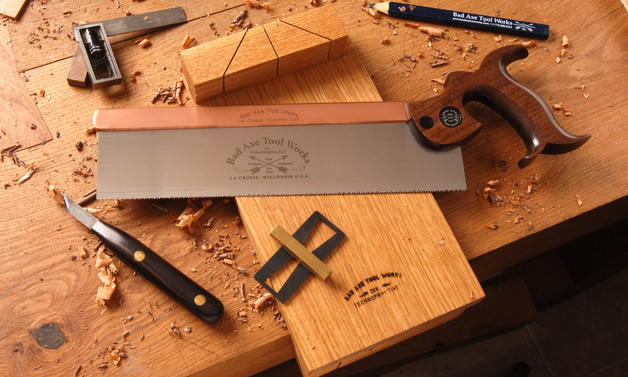 BadAxe 12" .02 gauge 14 ppi Rip ($245)
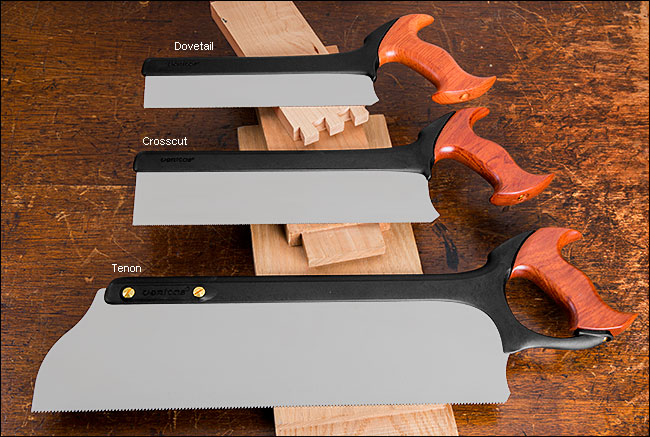
 Glen Drake 2-handed Saw ($240)
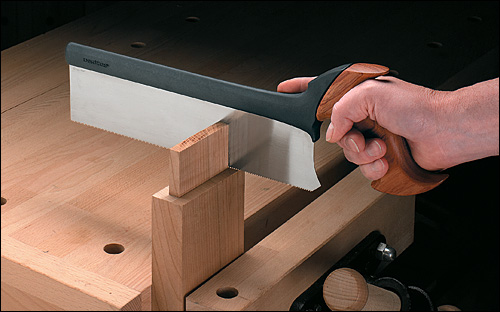
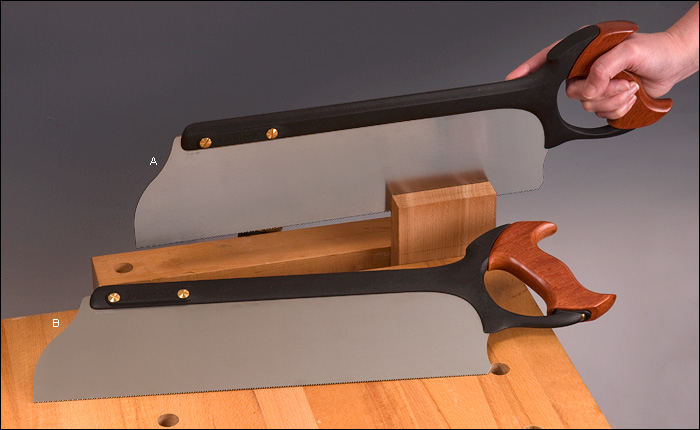
Carcass Saw
Carcass (carcase) saws are typically medium sized back saws filed crosscut with 12-14 teeth. It is used for the cutting pieces to final size, along with typical fine cross grain cuts, like tenon shoulders and dados. This is a great first backsaw saw to purchase because its medium size allows it to be used in a lot of cases. Consider also the hybrid-filed sash saws which were a traditional option in combination with a finer dovetail saw. [ 1 2 ]
See Hand Tool Makers for even more saw wrights and custom saw builders.
$$
 LN Crosscut 14" 14ppi ($140)
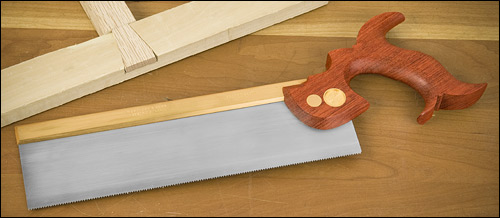 Wenzloff Carcass 11" 13ppi Crosscut ($150)
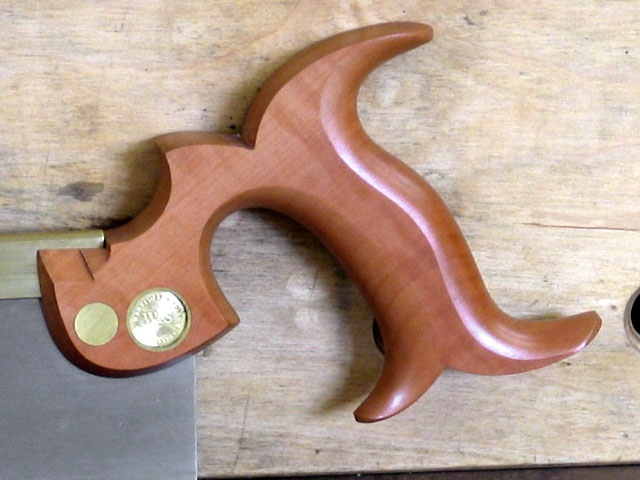 Wenzloff Peace Carcass 11" 14 ppi Crosscut ($160)
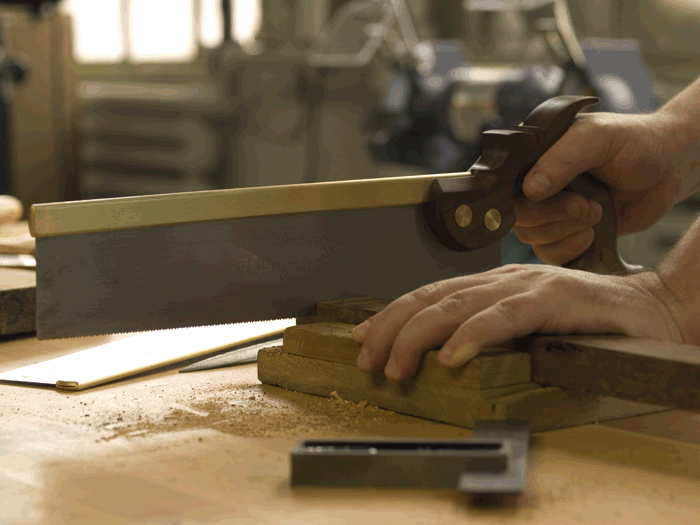 Gramercy Carcase 12" 14ppi Rip ($210)
 BadAxe Sash Saw 14" .025 gauge 12 ppi Hybrid ($265)
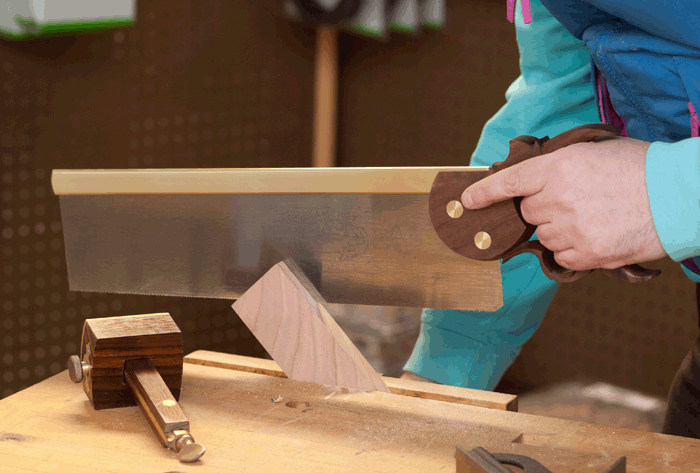 Gramercy Sash 14" 13ppi Hybrid ($260)
Tenon Saw
A tenon saw's larger height doesn't just allow it to cut deeper. The height makes it easier to tell if the saw is balanced left or right, so cuts are easier to keep vertical. Some makers have slightly bigger or smaller options. Note that while the Gramercy Sash saw is the biggest of the Gramercy saws, it is smaller and with it's hybrid filing can be used in place of a carcass saw.
See Hand Tool Makers for even more saw wrights and custom saw builders.
$$
 LN Tenon 16" 11 ppi Rip ($175)
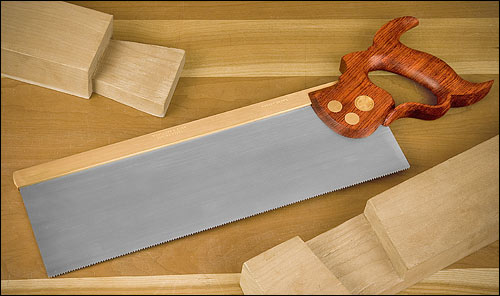 Wenzloff Tenon 14" 11ppi Rip ($195)
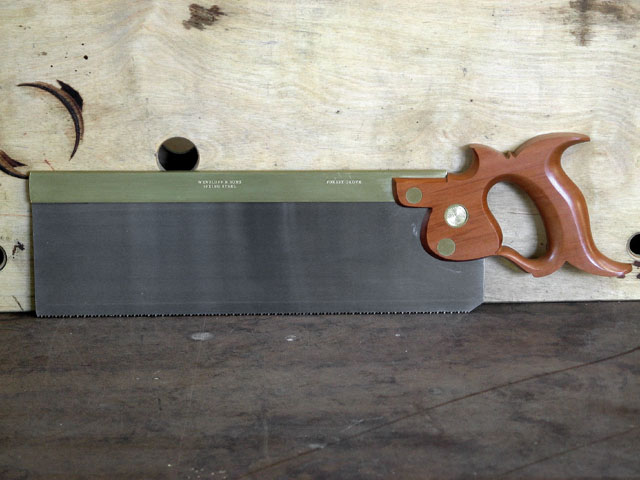 Wenzloff Peace Tenon 16" 10 ppi Rip ($220)
Sharpening
Honing Guide/Jig
Honing guides make sharpening easy. While many suggest learning to sharpen without guides, using a guide makes sharpening consistent for the beginner. Certain guides are better for different blades.
- The Eclipse-style side clamping guide is great for most blades, specially with some customization.
- The Lee Valley/Veritas MKII guide is another good all purpose guide, specially for wide and skewed blades.
- The Small Kell guide is good for deep mortise chisels.
- The Large Kell guide is shallower blades.
- The Lie-Nielsen guide is like the standard "Eclipse" guide on steroids, with better more true machining, and interchangeable blade holders to accomodate different blades, including tall, shallow, and skewed blades. It's been pending release soon, but early samples are proving it will be worth the wait.
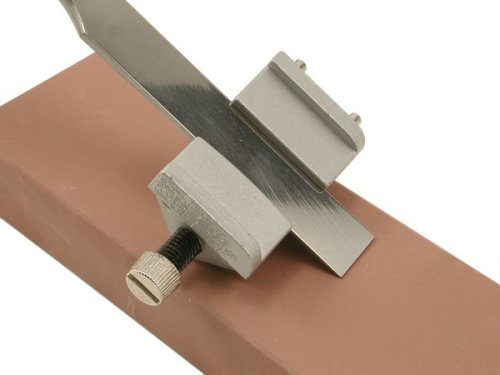
$$
 Kell Honing Guide Small ($63)
 Kell Honing Guide Large ($82)
 LV MkII ($69)
 LN Honing Guide (Soon?)
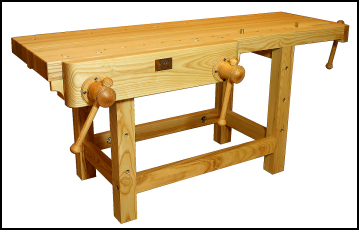
Workbench
Workbench
A good workbench is the centerpiece of a hand tool workshop. It functions both as a work surface and a giant surface for clamps. If you're just starting out, building a workbench should be your first project. Don't worry. It doesn't have to be fancy, just functional and cheap! Eventually you will figure out your preferences and build something better. If you have more money than time, purchasing a bench is a valid option. If you're somewhere in the middle, try finding a class or rent some shoptime in a communal space. It'll expedite your workbench build.
See below for workbench books and plans.
$
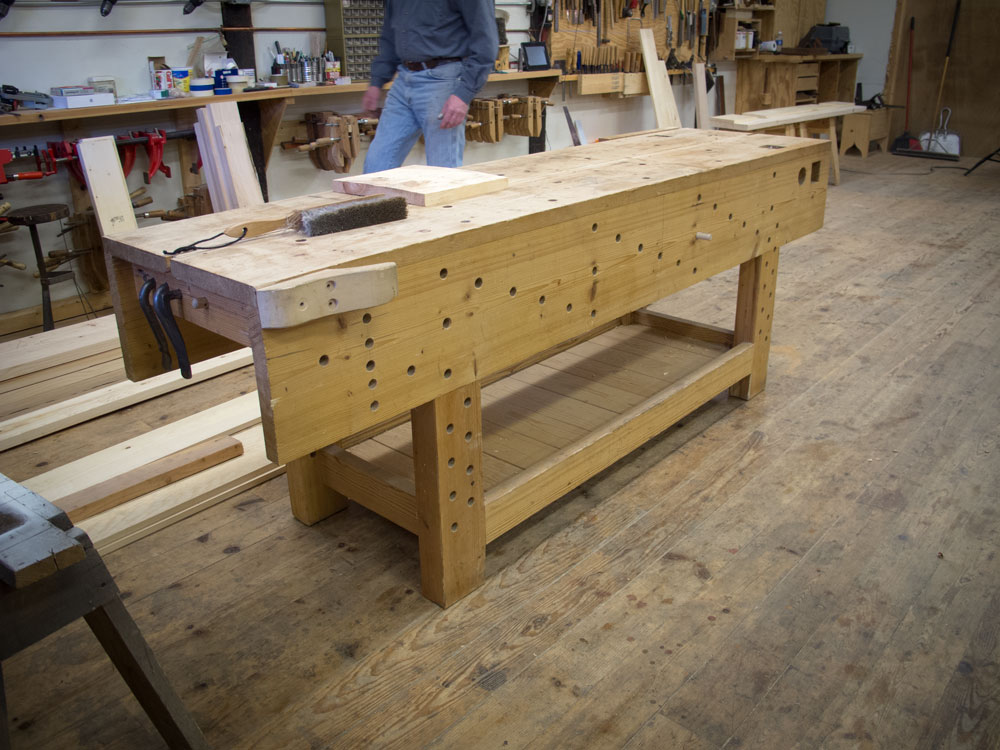 Build one
Simple Workbench Plans
$$

Take a Class
Example classes
 Maguire Workbench ($4740)
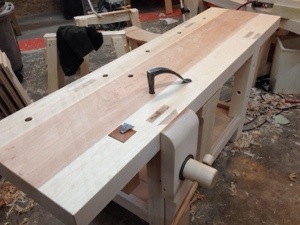 Plate 11 Ruobo ($2250)
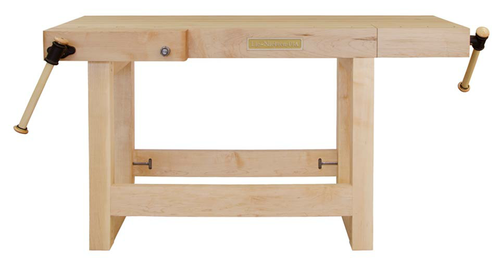 LN Studio Bench ($1800)
Vices
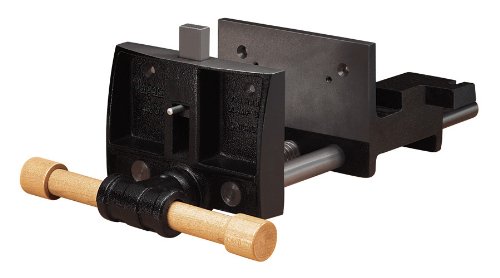
Workbenches work best with efficient ways to hold your work. One inexpensive option is to go "viceless" and use holdfasts along with appliances as Mike Siemsen demonstrates in this video. The norm however is to include some sort of vice. There are increasing options out there, from simple to complex. The best thing you can do is purchase Schwarz's Workbench book to guide you. [ 1 2 ]
See below for workbench books and plans.
See clamp section for holdfasts.
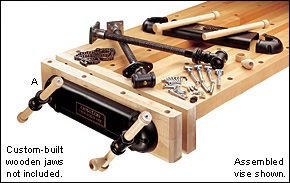
Front Vise
 Jorgensen QR Small ($150)
 Jorgensen QR Large ($150)
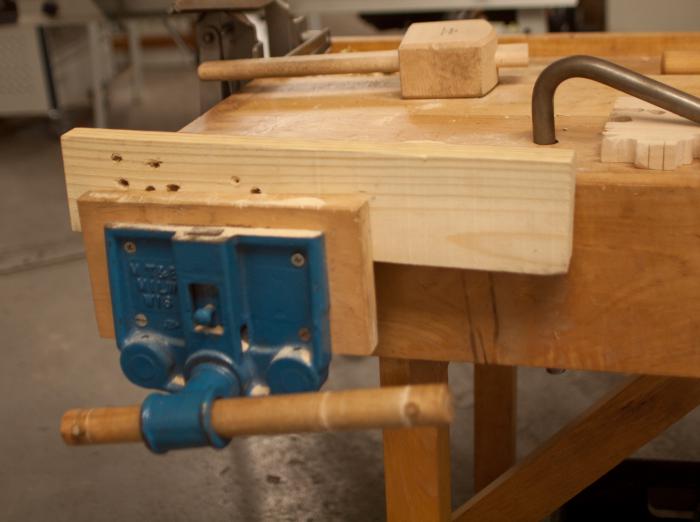 Milwaukee QR Small ($210)
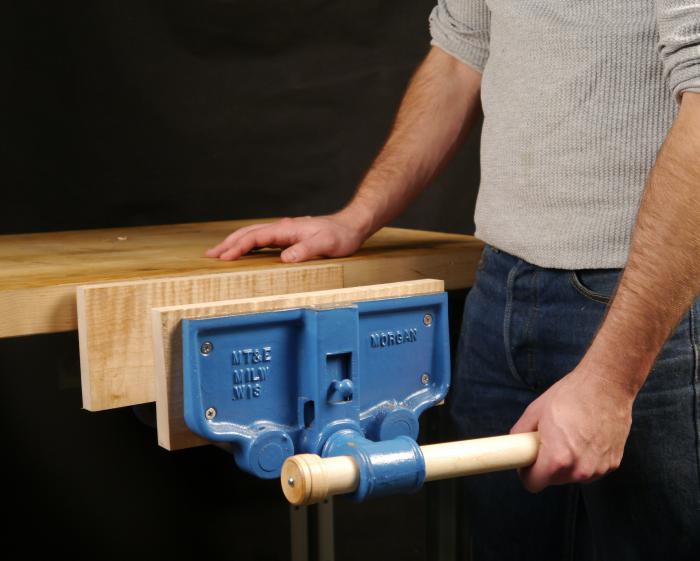 Milwaukee QR Large ($240)
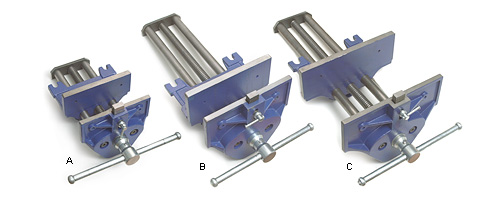 LV European QR Front ($115, $150, $170)
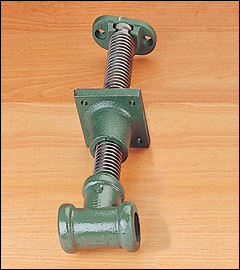
recommendedLeg Vise
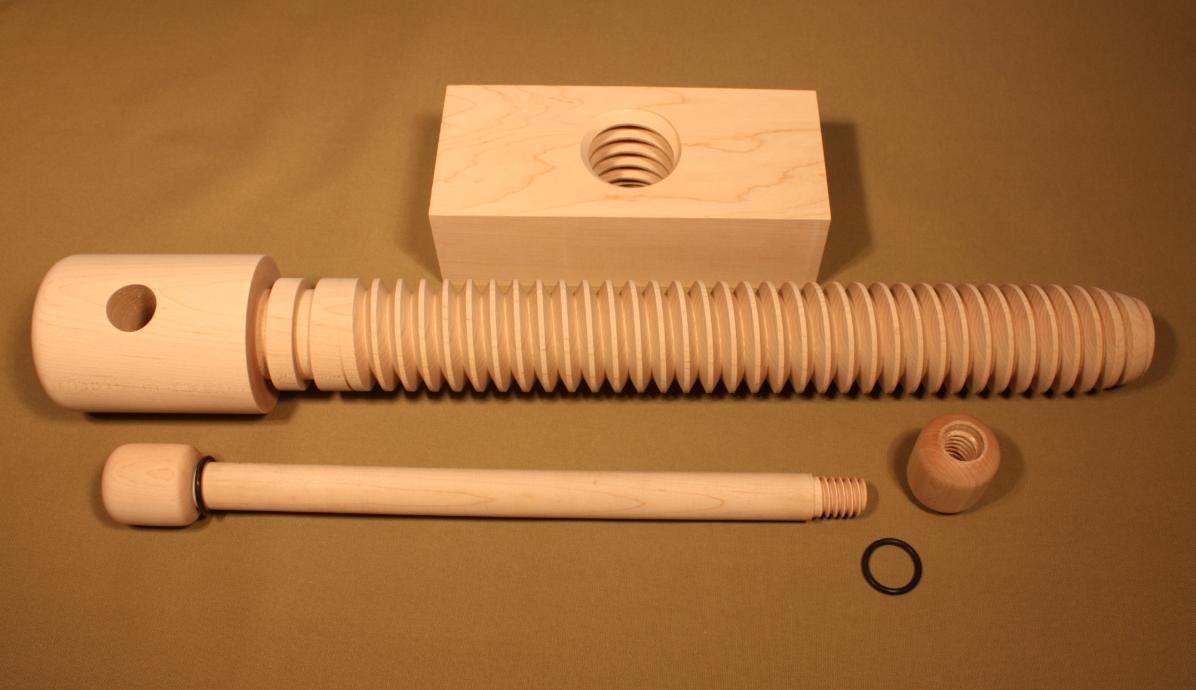 Lake Erie Standard Leg ($175)
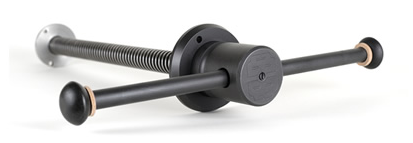 BC Classic Leg Vise ($195)
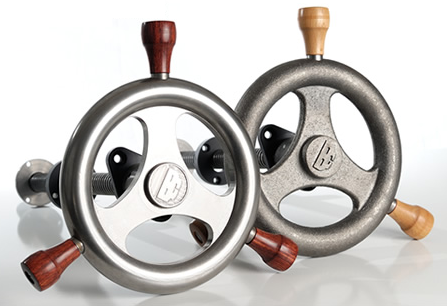 BC Glide Leg Vise w/ Crisscross ($369+)
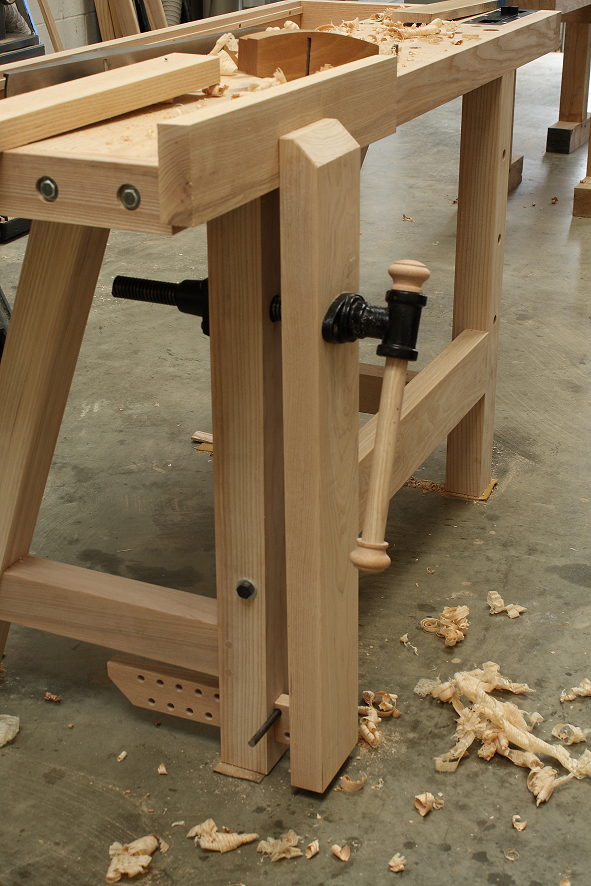
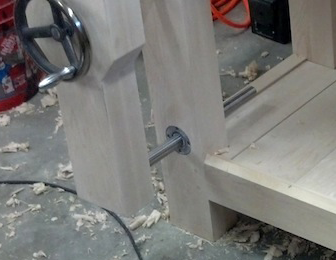 Linear Bearing
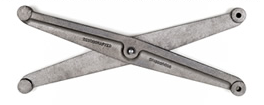 Crisscross ($99+)
Twin Screw Vise
 LV Twin Vise ($230.00)
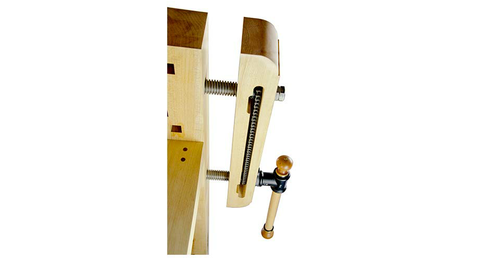 LN Vise ($285)
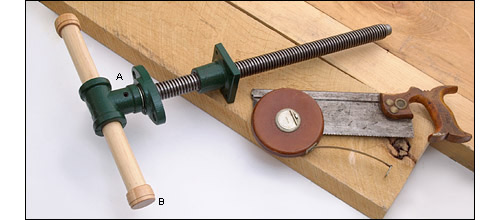
Moxon Vise
Alternatively you can use a Moxon Vise
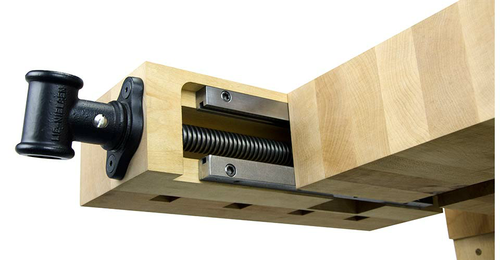
Wagon Vise
 LV Generic Shoulder Vise Screw ($33)
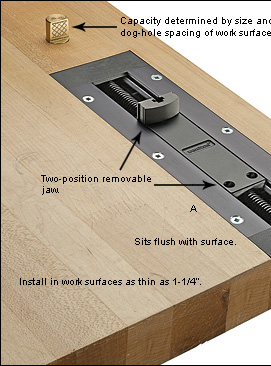 LV Inset Tail Vise ($90)
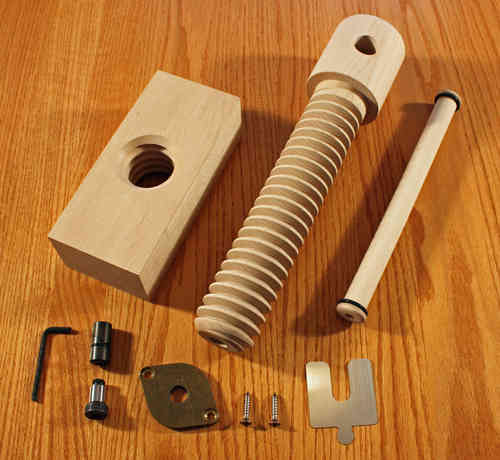 Lake Erie Wagon Vise ($210)
Tail Vise
 LN Tail Vise ($275)
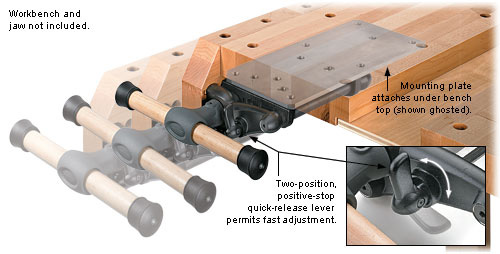 LV QR Sliding Tail Vise $290
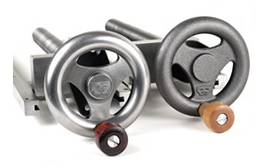 Tail Vise ($295)
Battens
Alternatively you can use battens
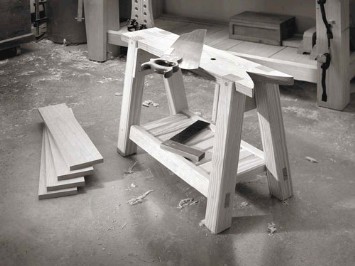
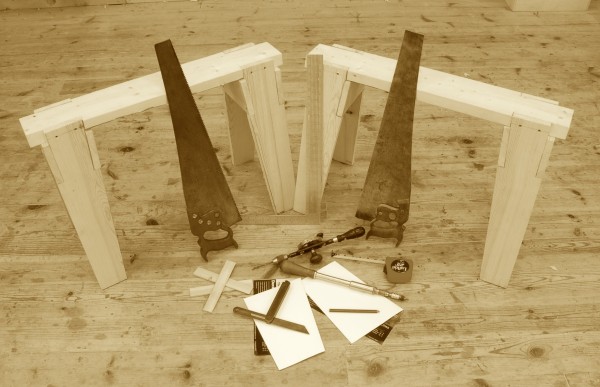
Saw Bench
Sawbenches put your work at the right height to use a hand saw efficiently: the top should be knee height. This is another great first project. As far as making a saw bench without a saw bench, Siemsen arrived at a great solution, by using common 5 gallon buckets. Many commercial saw horses are too high to be used as a saw bench.
$
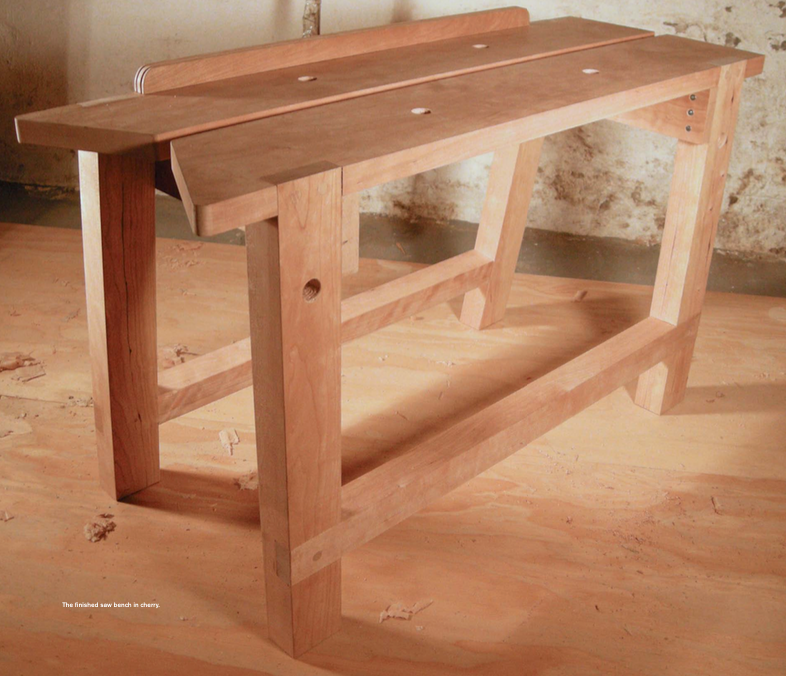 Build Fidgen Sawbench
 Build Tolpin Sawbench
 Bucket (2 @ $3)
$$$
Appliances
Clamps
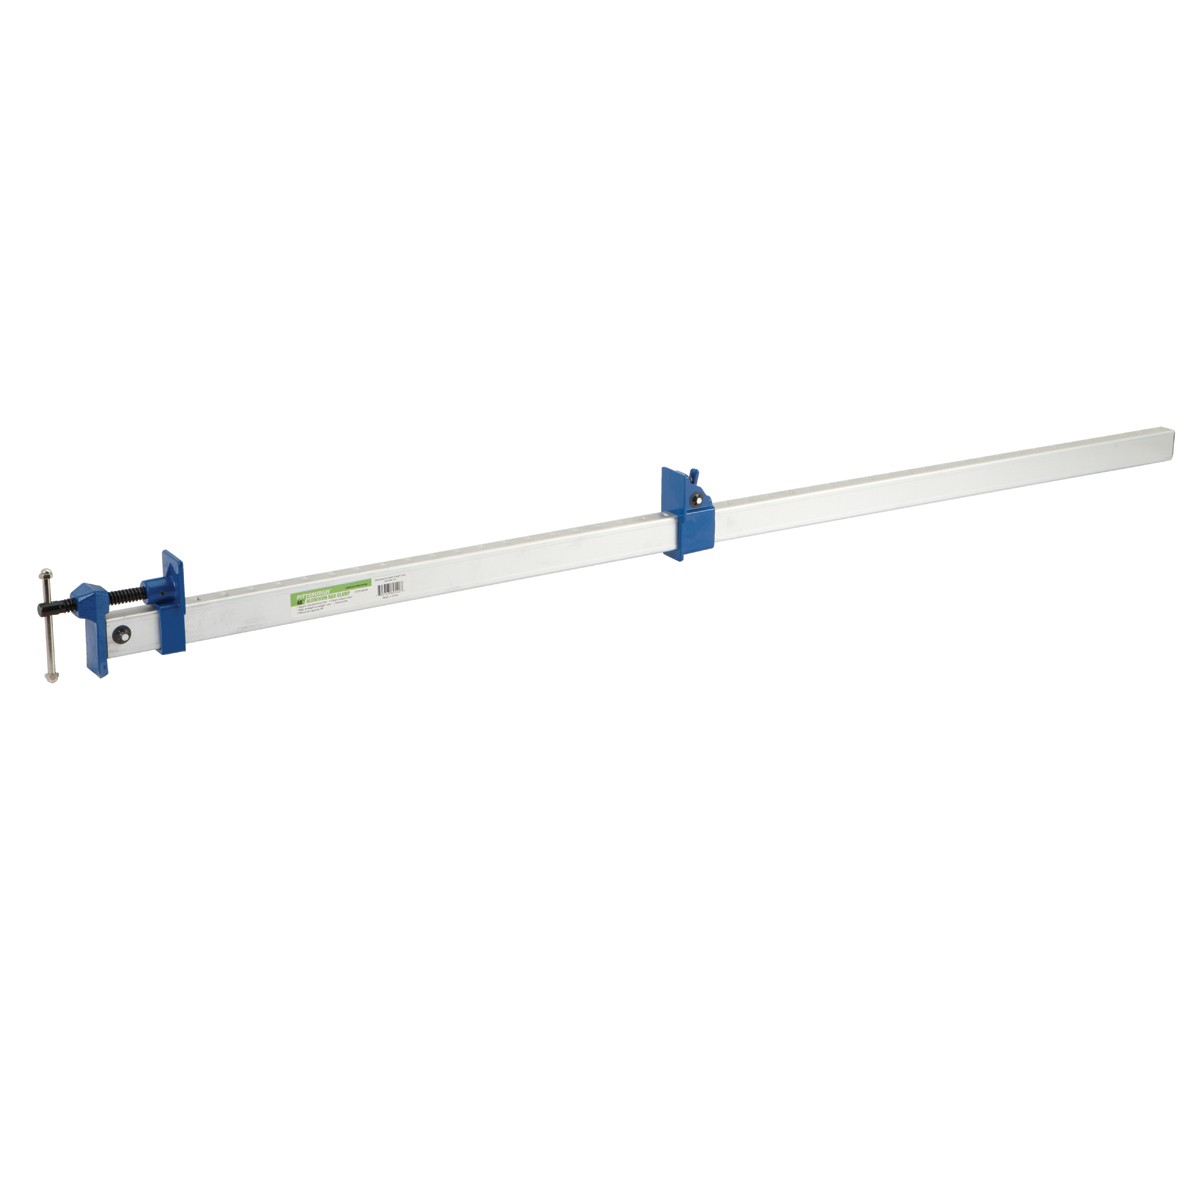
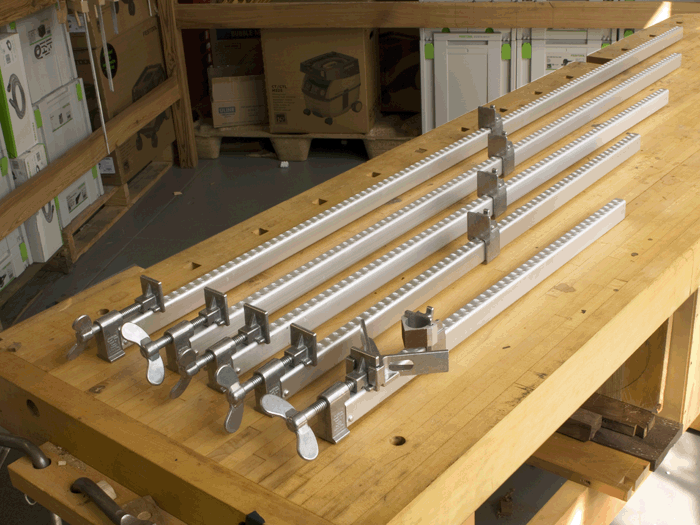
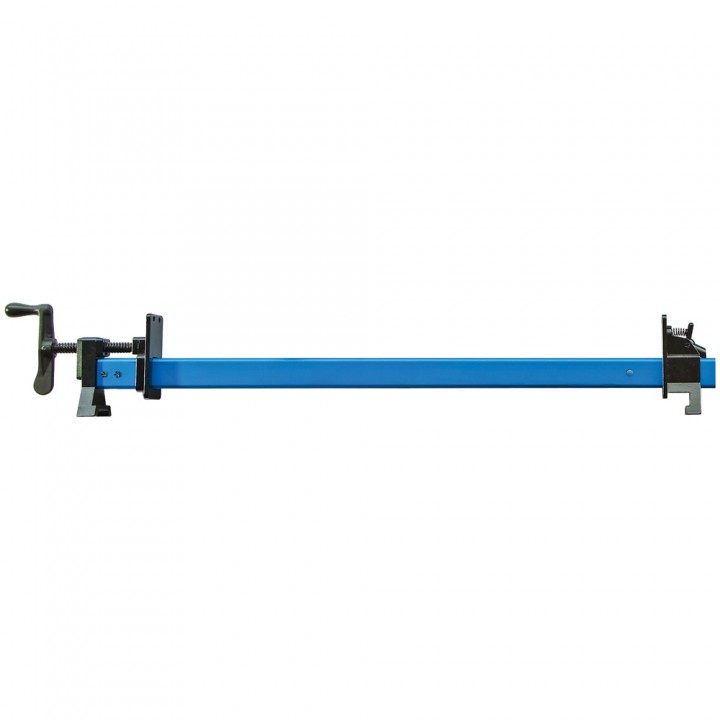
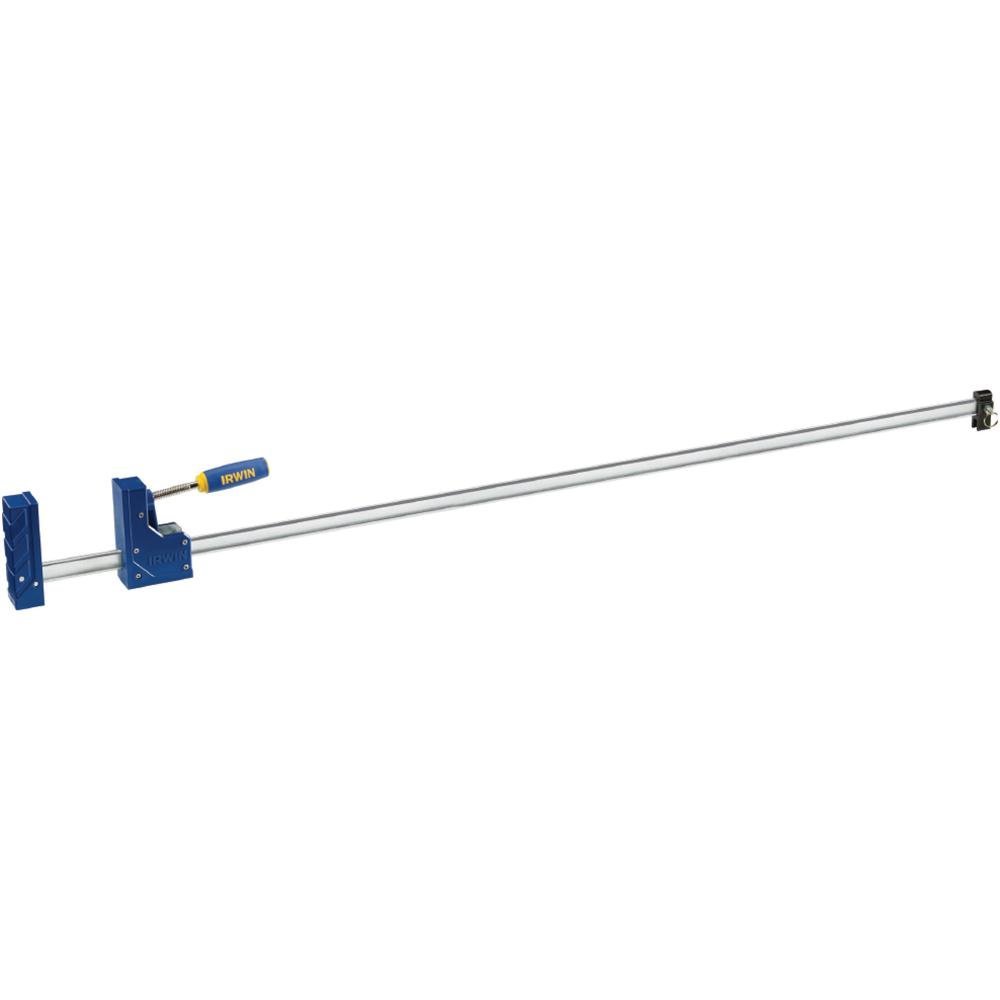
Cabinet/Parallel Clamps
There are 2 types of cabinet clamps that are most recommended. The Parallel clamp has deep jaws whose faces stay parallel. A lot of people are fans of Jet, although Irwin and Bessey are also popular. They are expensive, but you could save by buying a set or waiting for the sales that happen a few times a year. The aluminum bar clamp is prefered by Paul Sellers. The jaws aren't as deep but they have the benefit of being lightweight yet sturdy. To start, you can buy 4 that are about 40″ or 2 at 40″ and 2 at 24″. [ 1 ]
$
 Harbor Freight 48" ($13) [lower quality]
 Rockler Aluminum 48" ($44)
 Irwin 48" ($50)
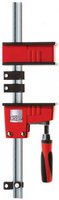 Bessey 40" ($62)
Wooden Handscrew
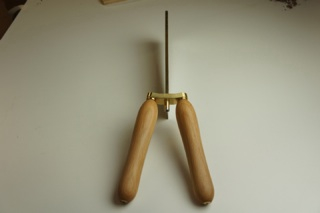
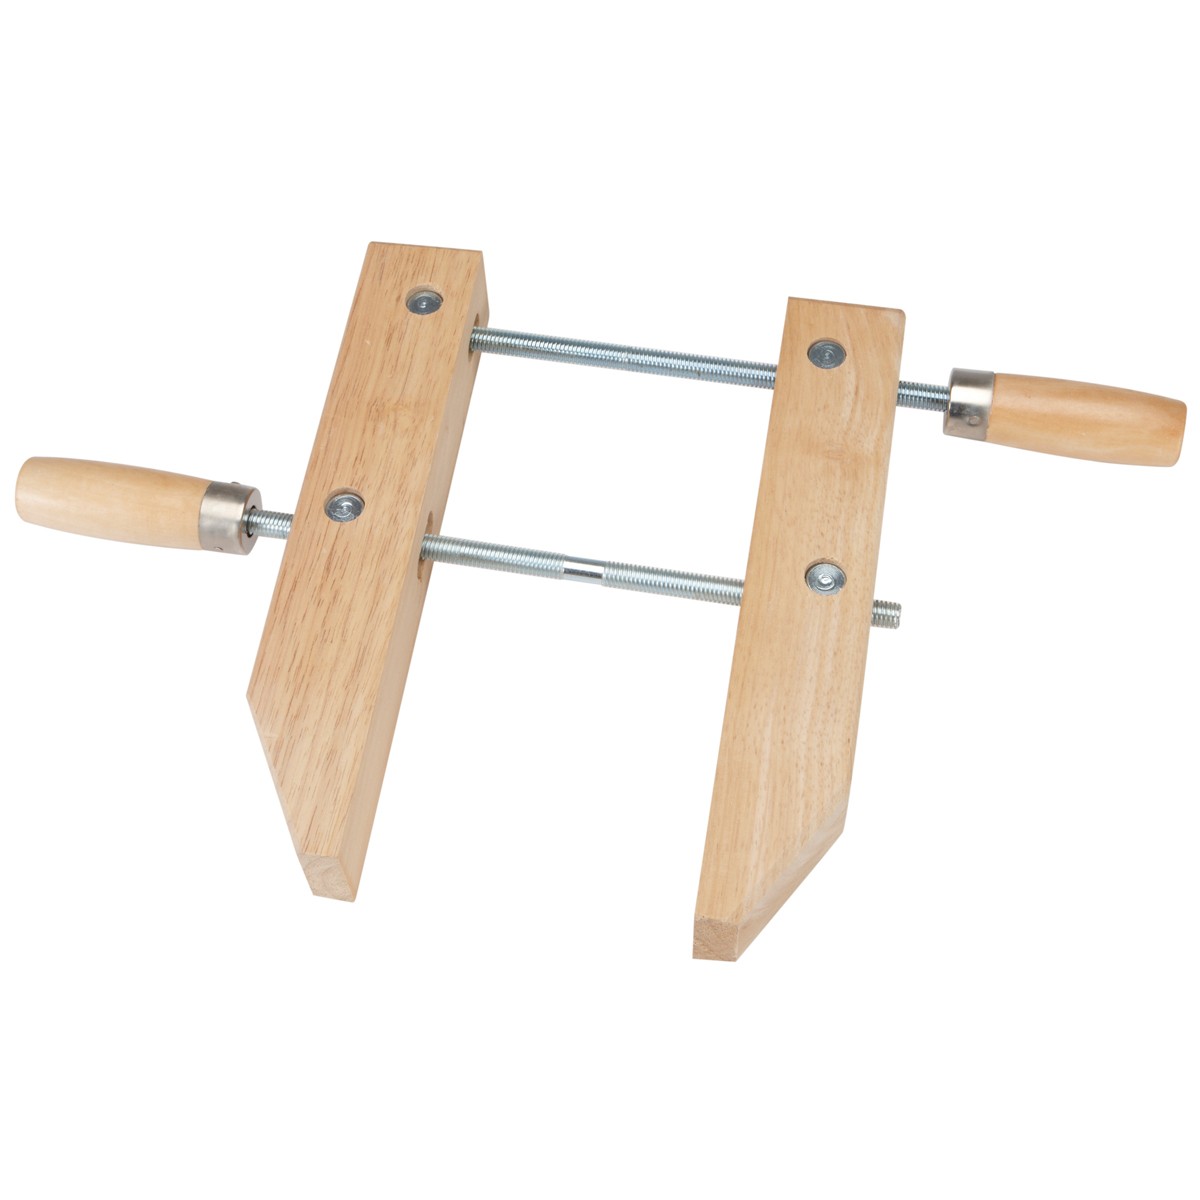
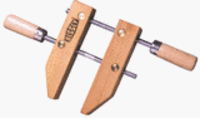
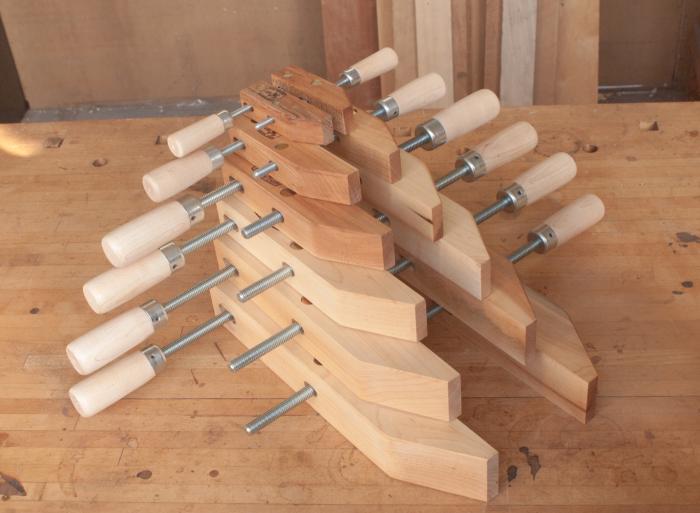
Wooden Handscrews are a great first set of clamps to purchase because of their versatility. Because of their shape you can clamp these clamps onto a table or workbench to create a temporary front vise or to hold wood to mortise. Buy 2.
$
 Harbor Freight Handscrew 10" ($8) [lower quality]
 Dubuque Handscrew 10" ($20)
 LN Handscrew 10" ($25)
Woodjaw/Cam Clamps
Woodjaw or Cam Clamps are light to medium duty clamps that allow for careful pressure. One of the benefits of Cam Clamps is that they are inexpensive to make.

$$
 Miro Moose Wooden Clamp (6" jaw x 8" depth) ($14)
 LN Wooden Clamp (6" jaw x 8" depth) ($18)
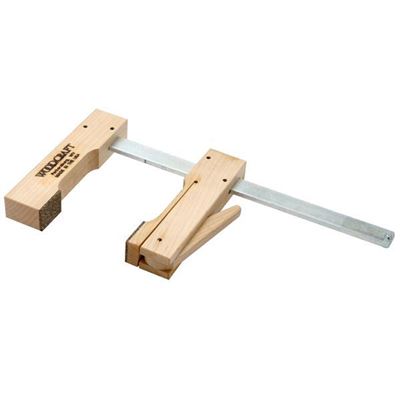 Woodcraft Clamp (6" jaw x 8" depth) ($19)
$$$
Holdfast
Holdfasts are the amazing clamp that lets you clamp something to the middle of a table. Most holdfasts are made for 3/4" holes. The Gramercy is the standard. Custom holdfasts can be made for holes larger than 3/4". The LV/Veritas hold fast offers more precise pressure though the screw. Buy a pair. [ 1 2 3 4 ]

 LN Holdfast ($50)
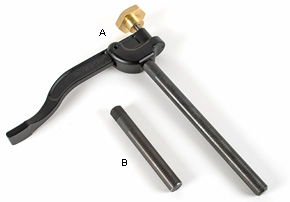 LV Hold-down ($80)
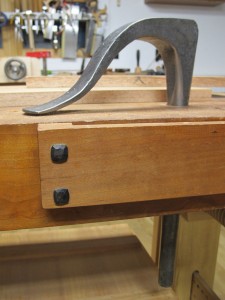 Peter Ross Custom Holdfast (Call)